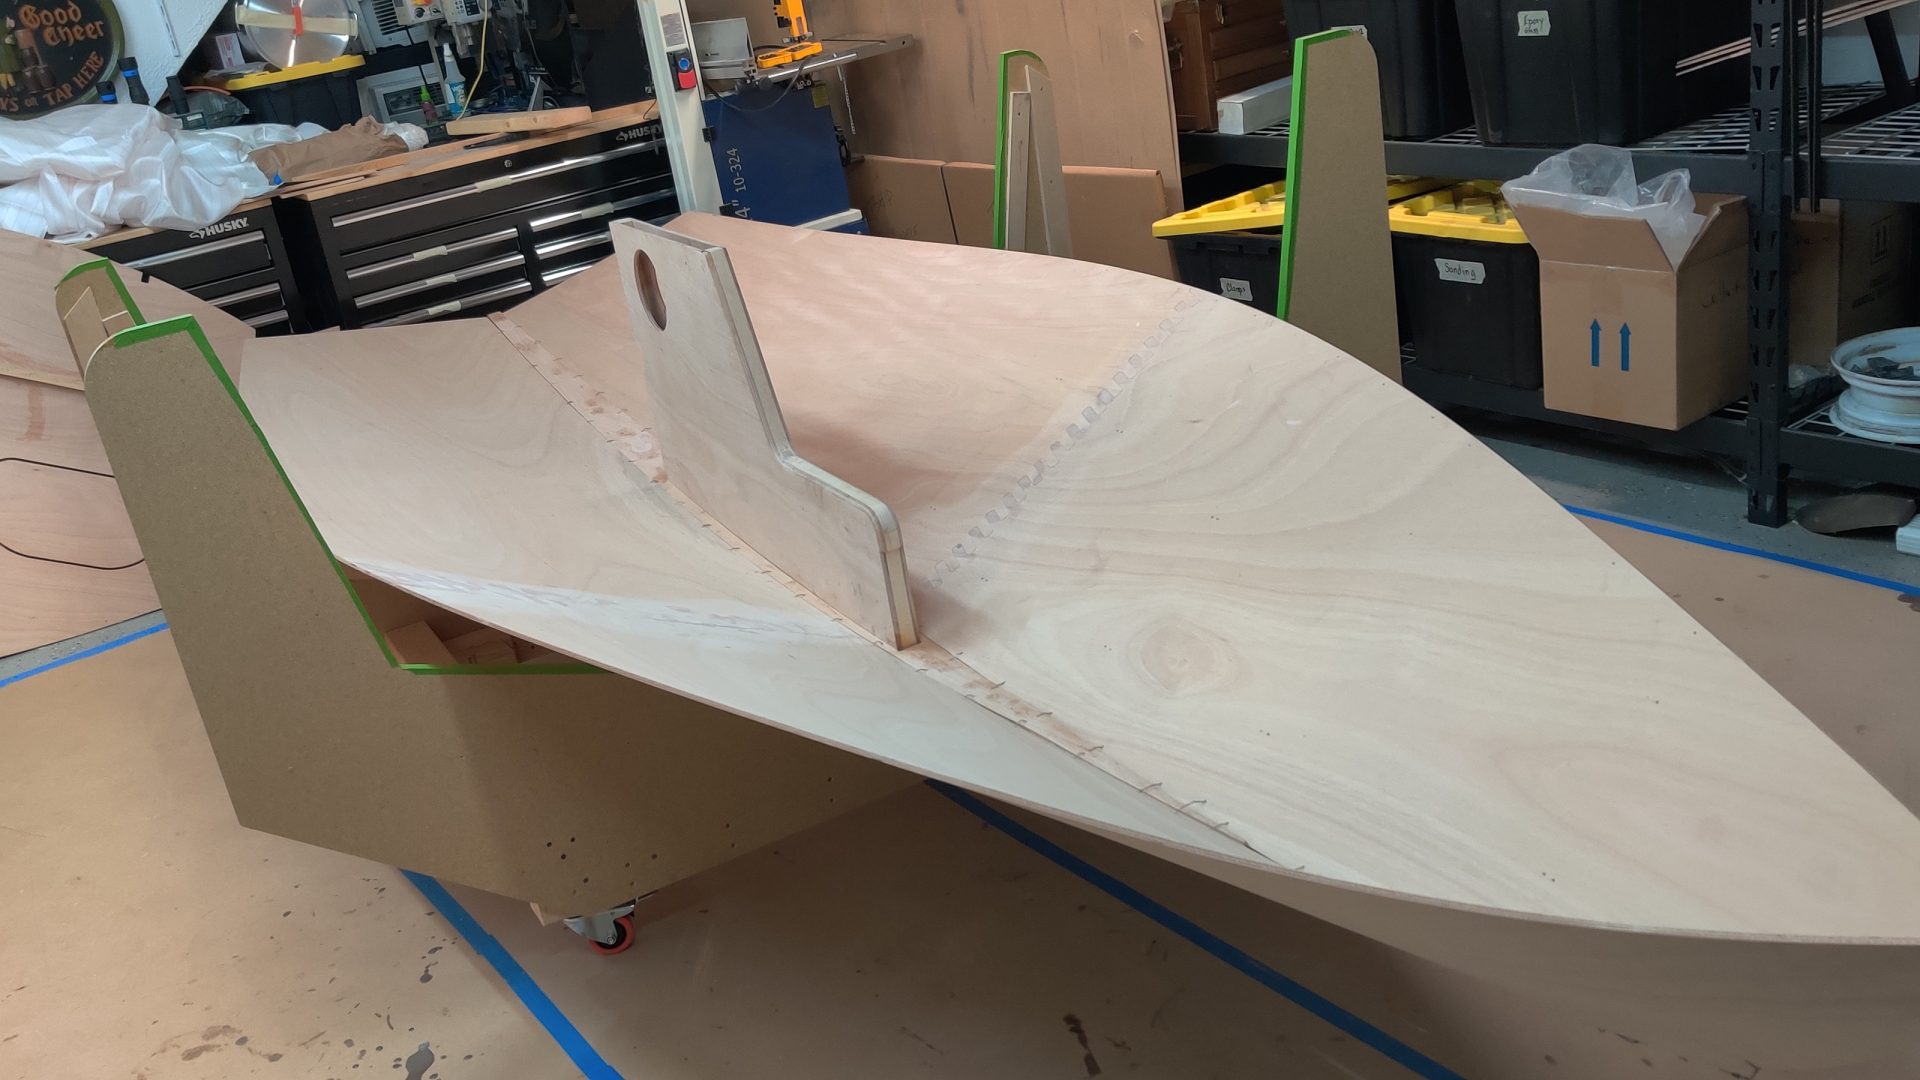
10/13/21 – Boat like shape detected

I keel you.

Keel meet cradle, almost… Bow portion expanded slightly from lead so opened up slot slightly with a rasp and sandpaper. I ensured that the slot stayed centered.
That’s much better now. The keel is now centered on centerboard between the cradle arms. Don’t worry little forward part of the Keelson, the chance of you getting broken is over.
Snug fit

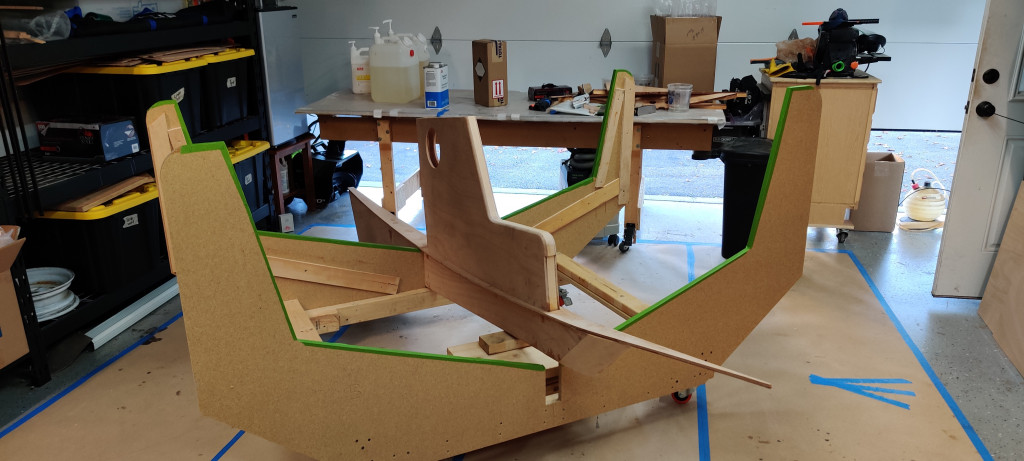
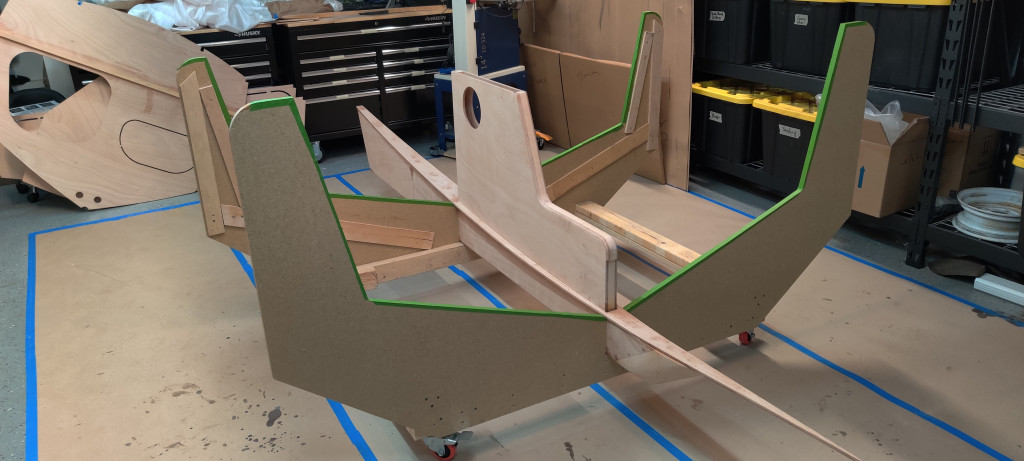
Let’s sew the keelson and panels together.

I must align the panels from the stern forward
What I didn’t capture here in pictures was quite a few broken wires and a bit of struggle towards the bow. I do recommend steaming the forward section to lessen the fight and finally took my own advice. The manual suggests dousing with boiling water but high temperature steam is sufficient to soften the lignin and fibers in the wood allowing the last few inches to draw tight.
You can easily see where the stitch part of ‘stitch and glue’ construction came from.
I am liking where this is headed
The sweeping curve is nice, the wood did not want to comply but steam helped a lot.
How do I tighten all the stitches? Slide under like working on a car.

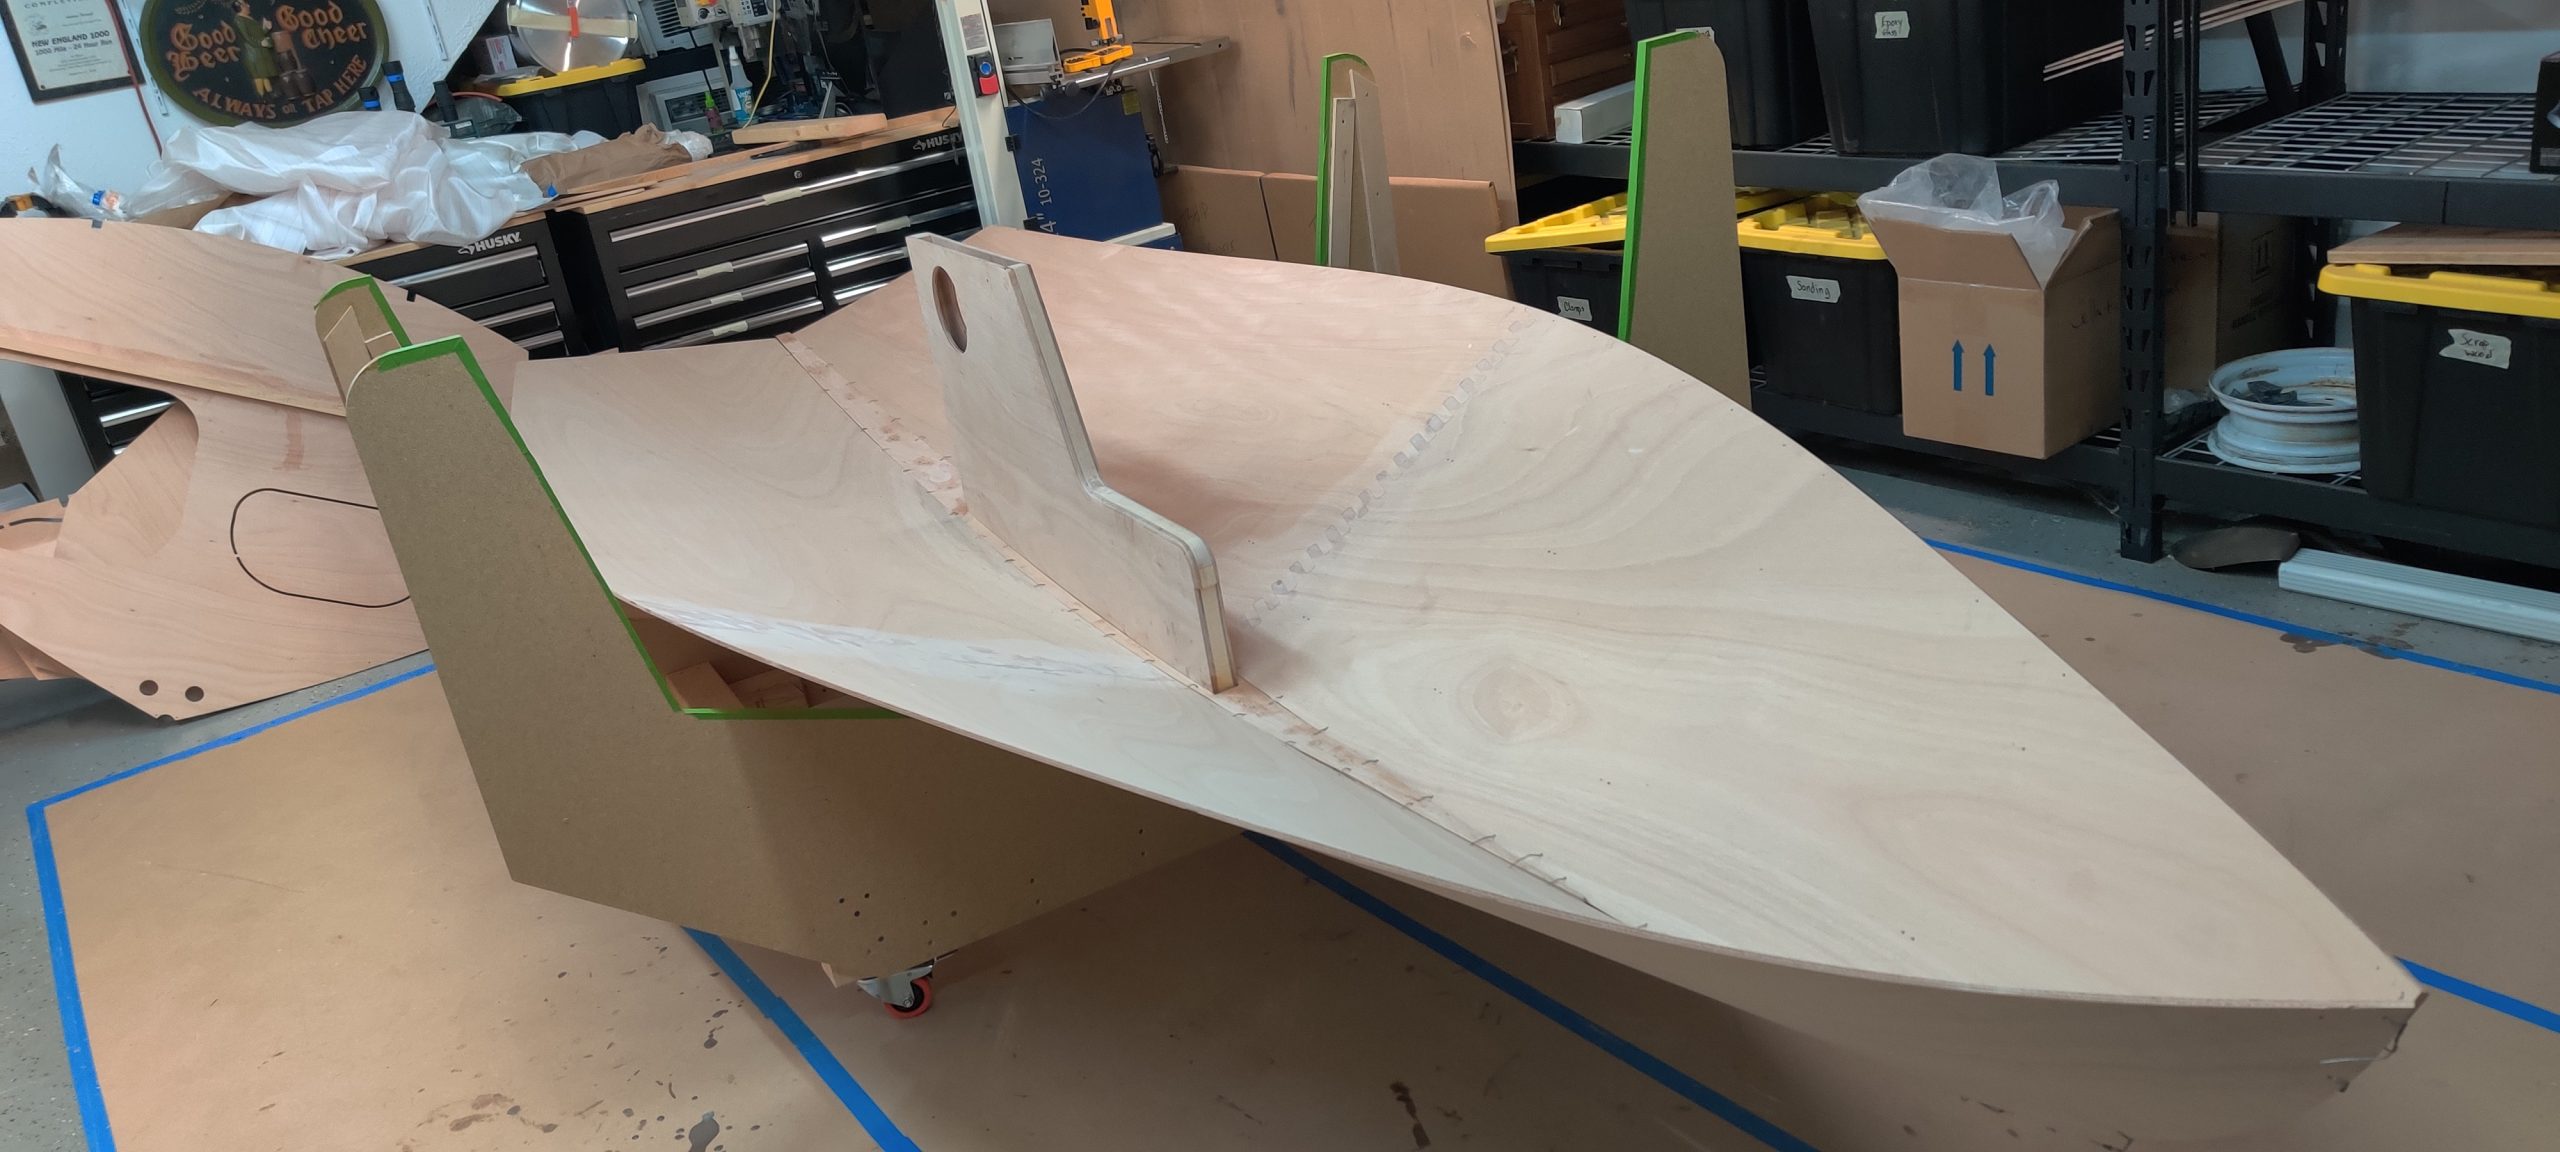
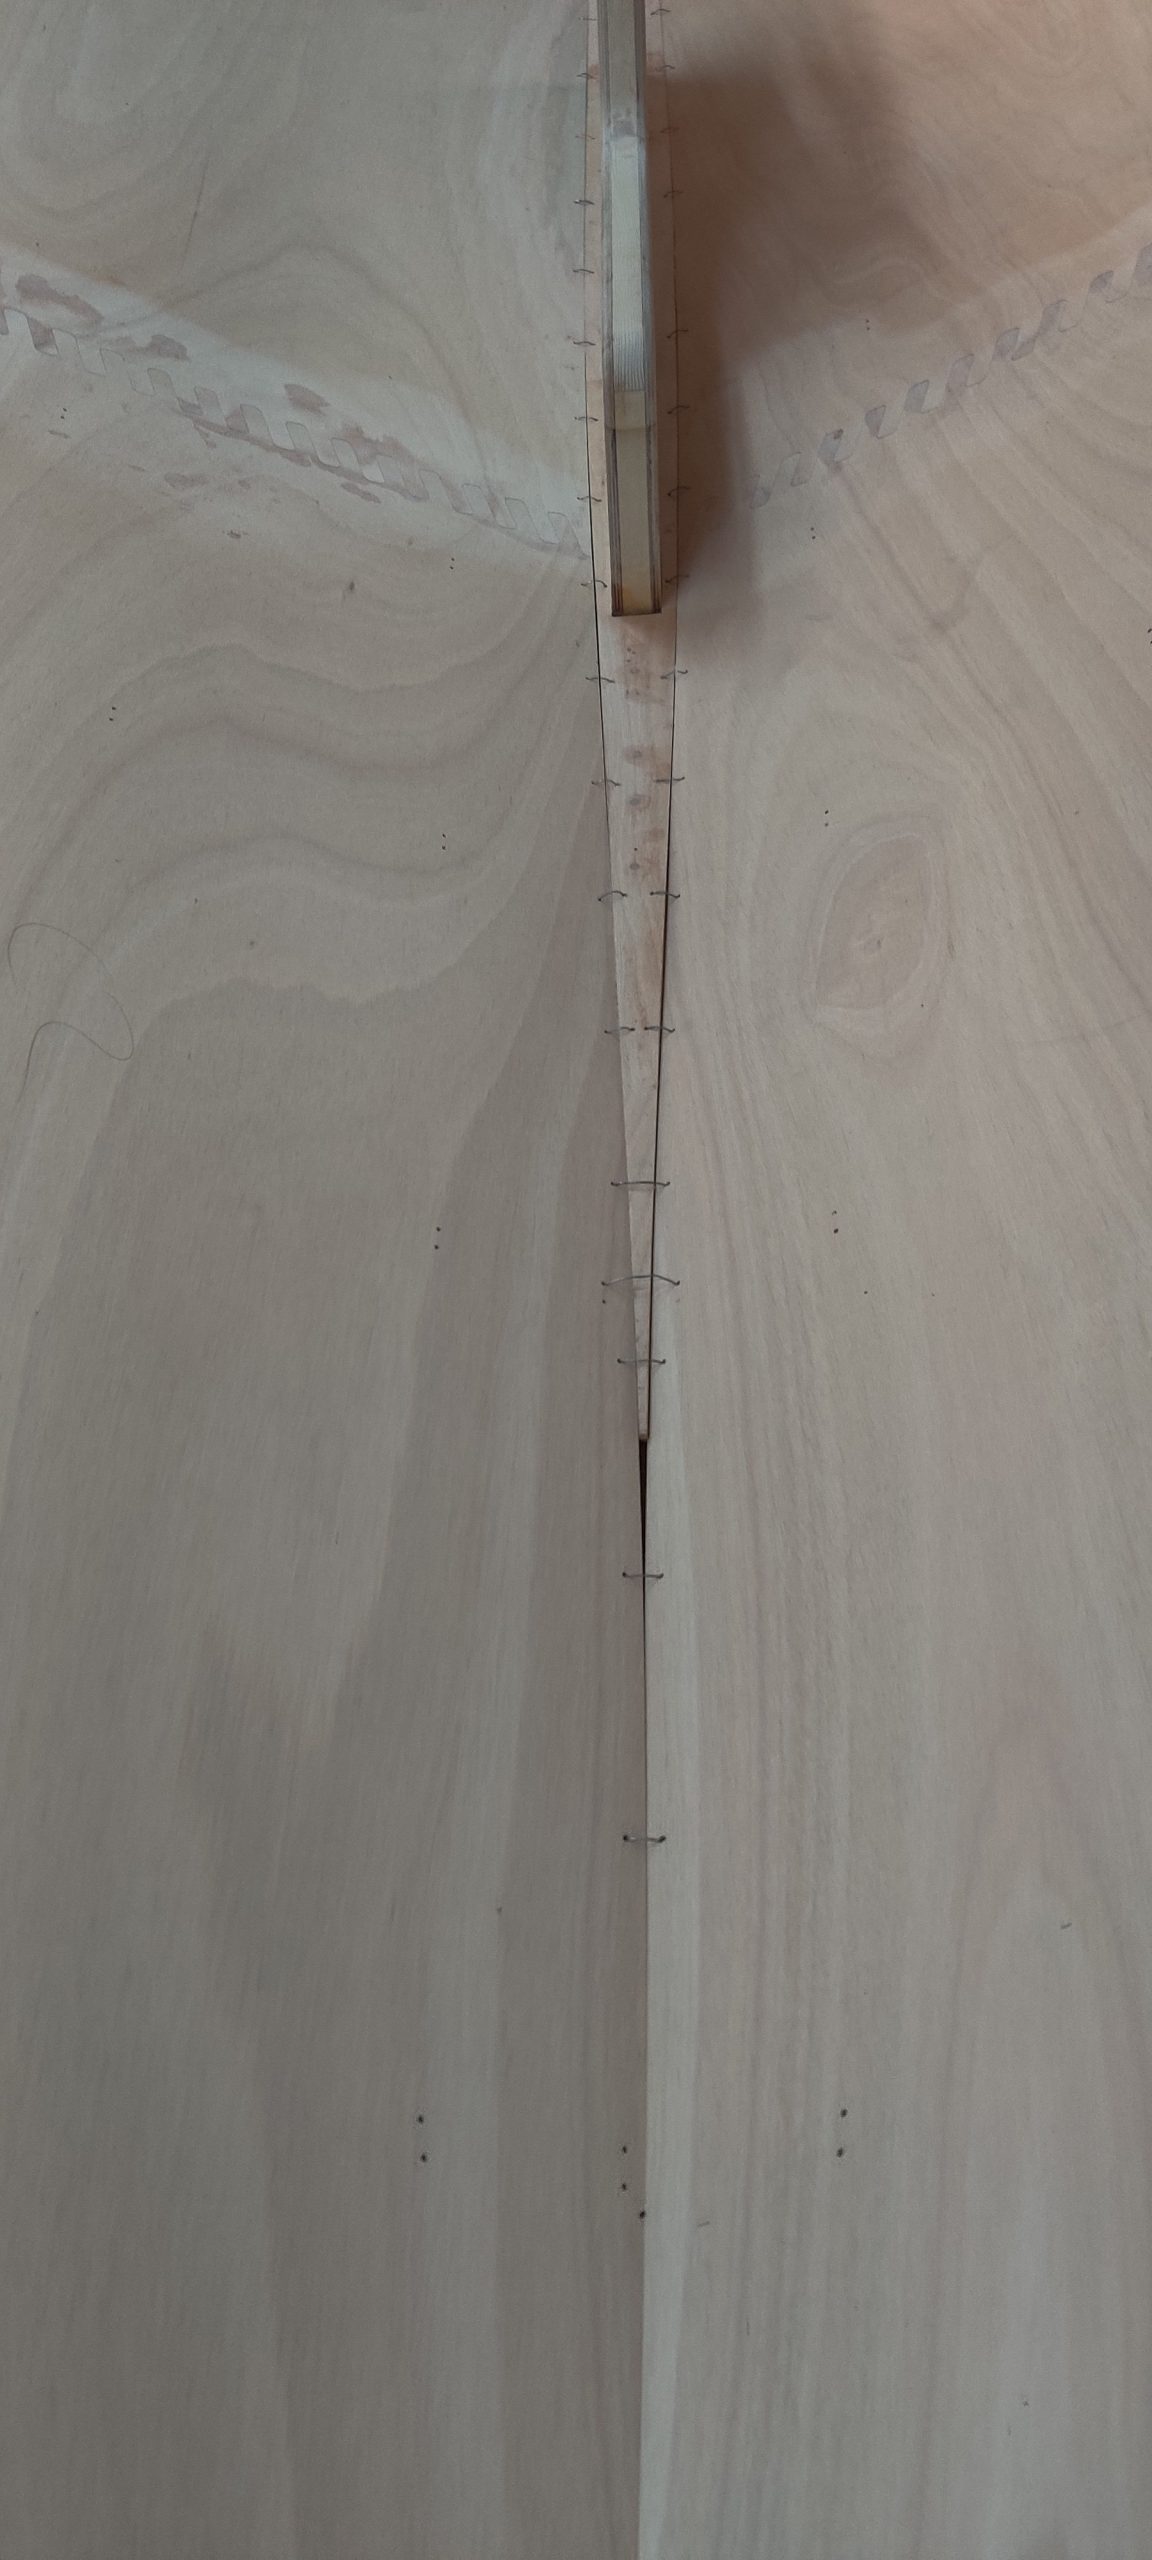
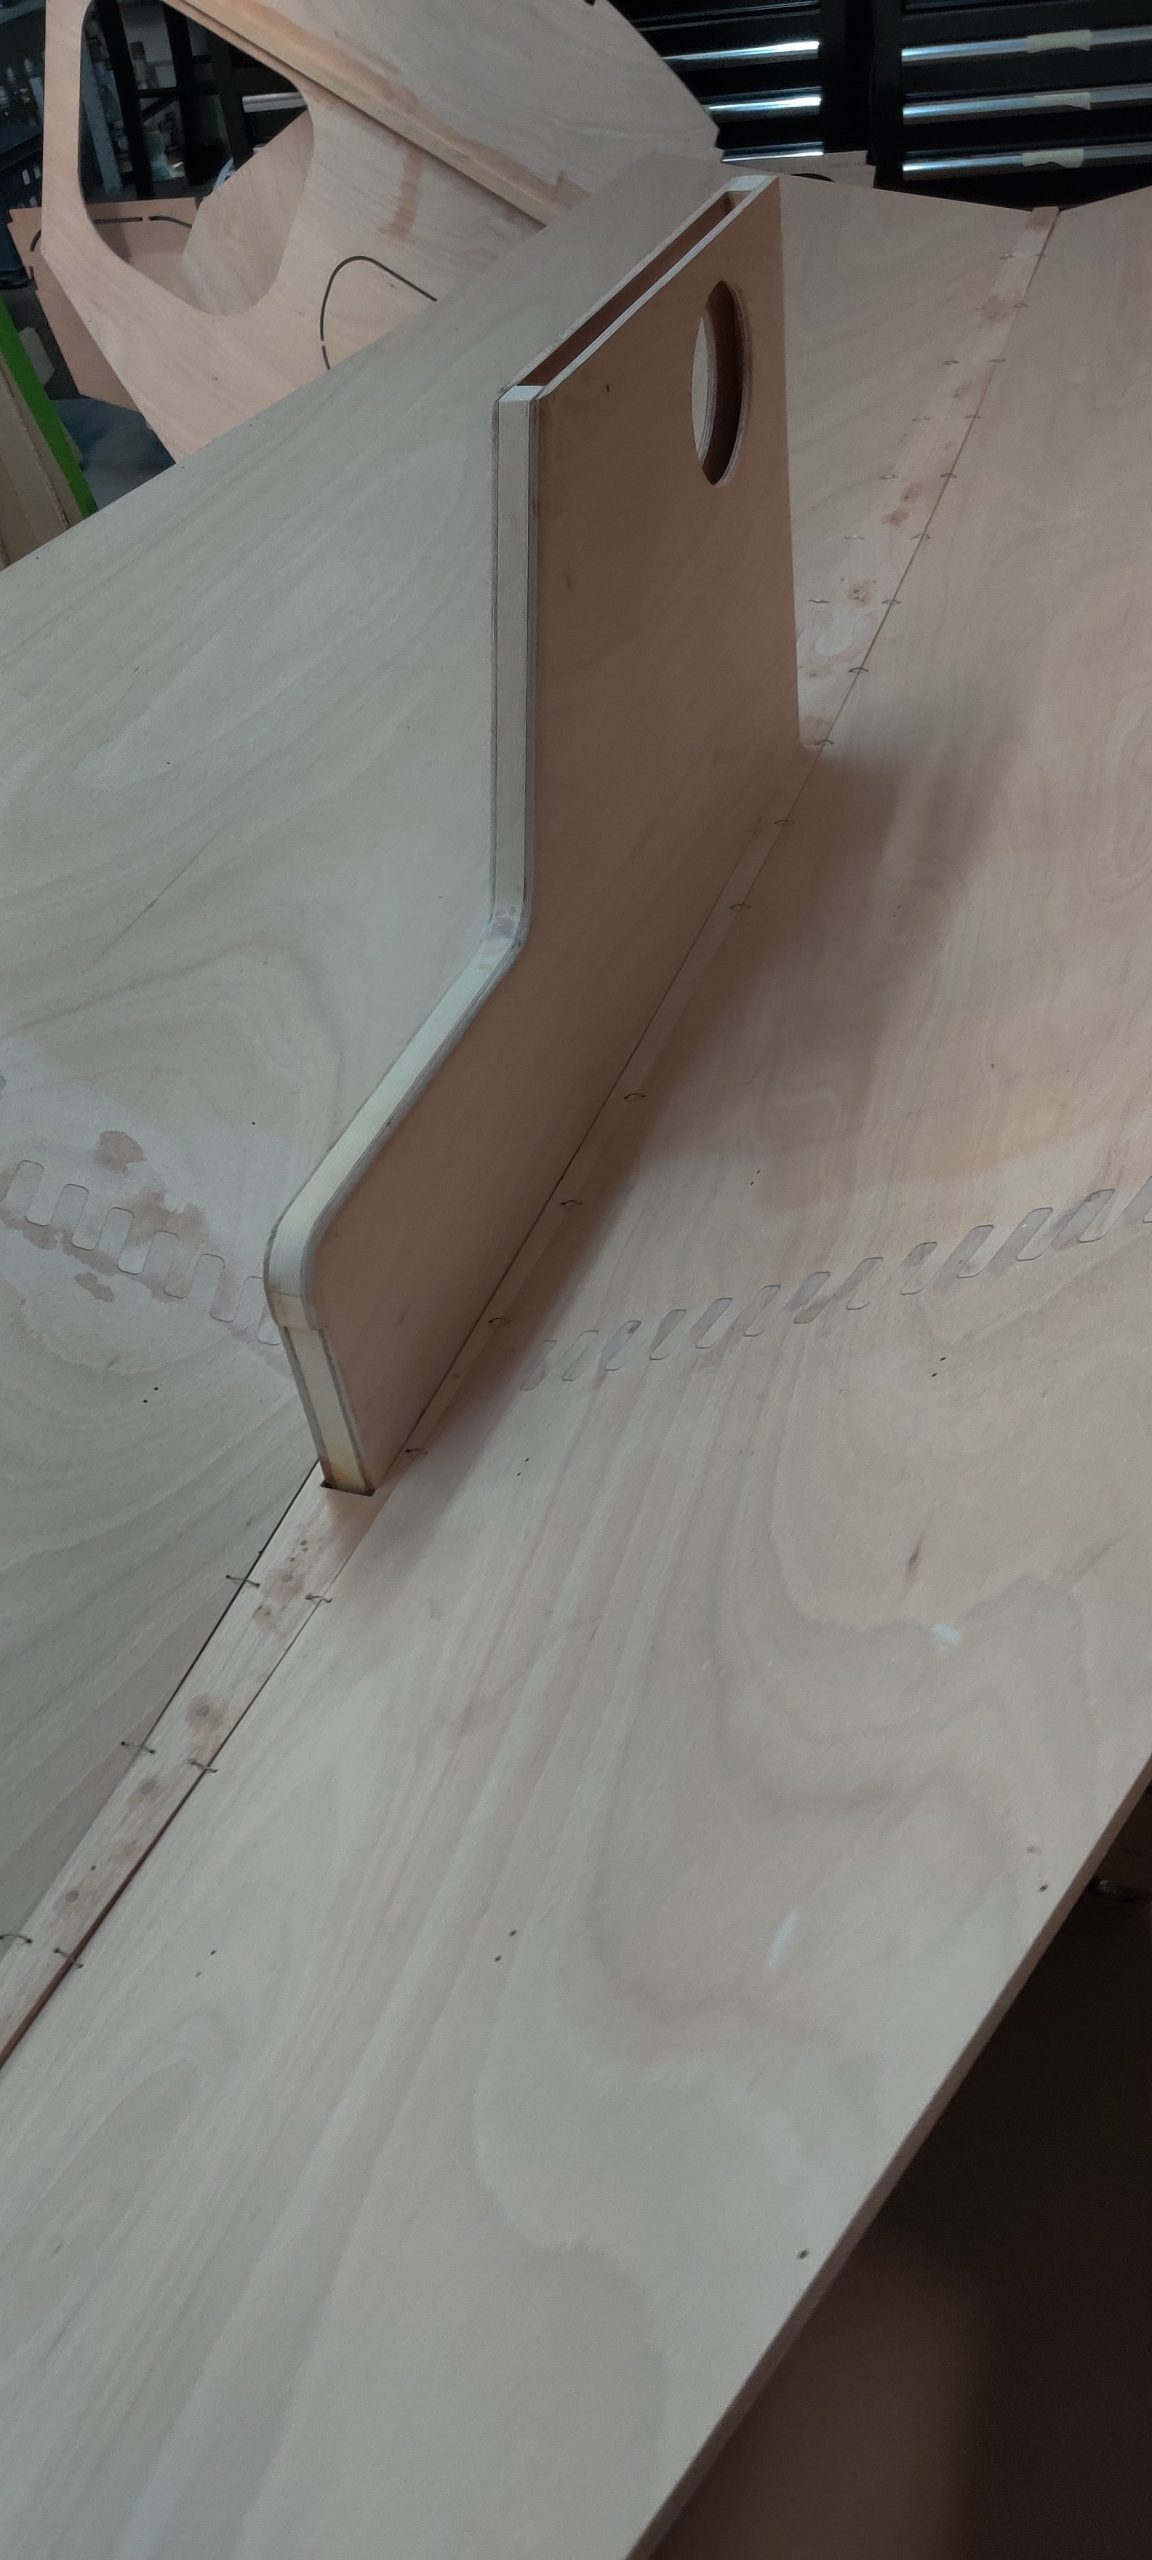
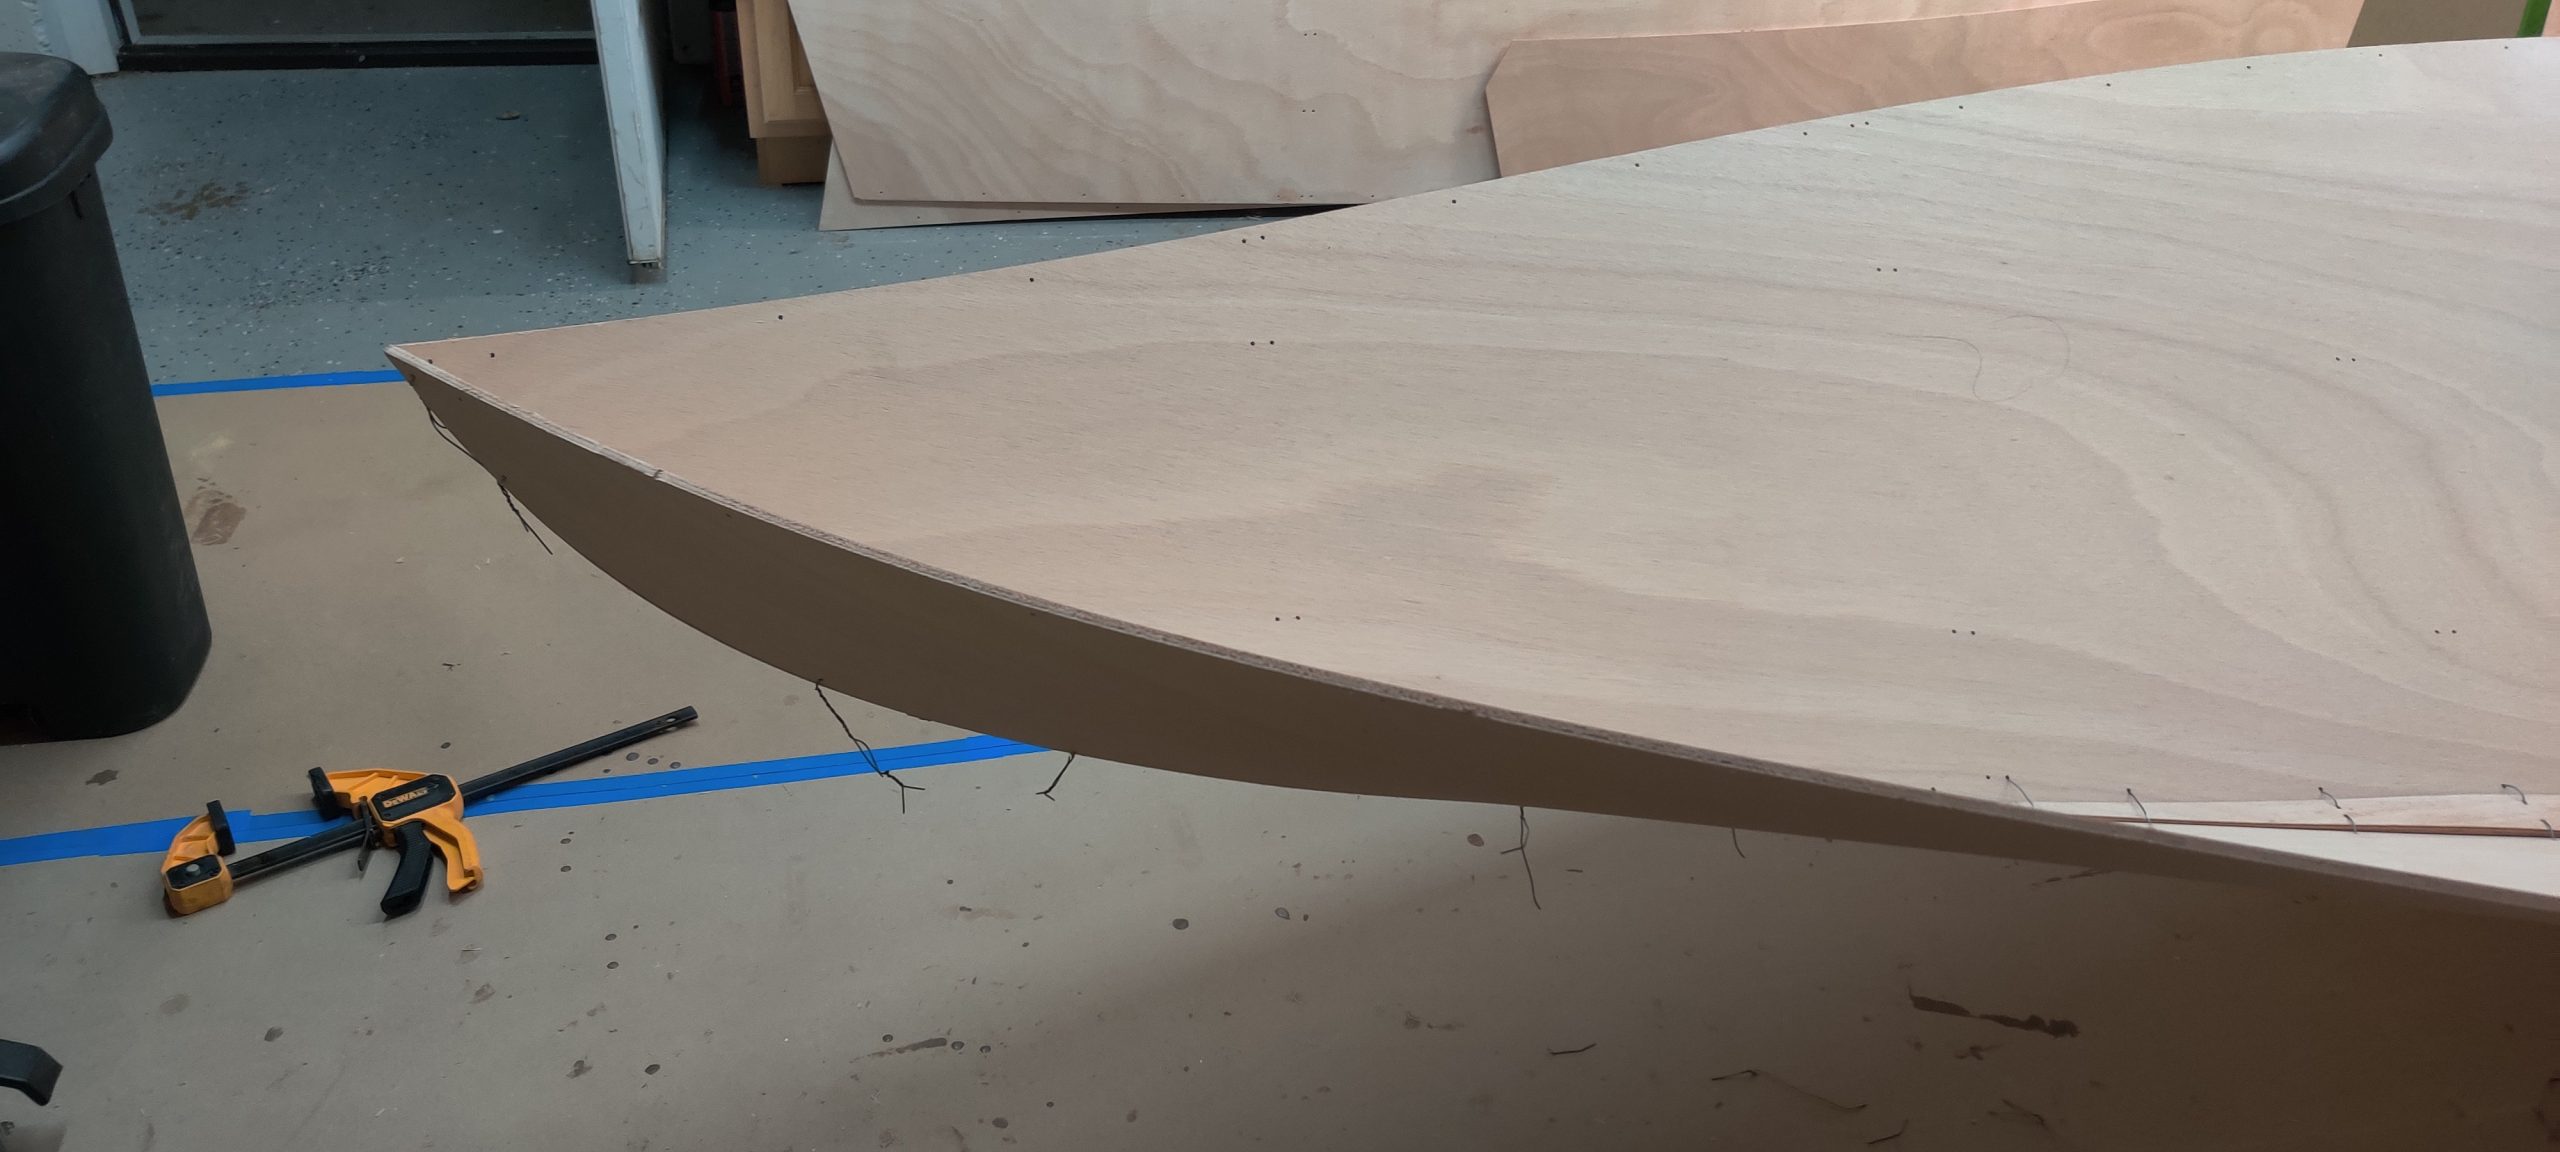
I will be bypassing the steel wire I used tonight after the first round of copper was a failure. I will be going back and swapping out several stitches with stainless steel wire particularly in the areas that will stress the most as I get the floor supports into place before the first epoxy beads join the seams.

0 0 votes
Article Rating
Subscribe
Notify of

This site uses Akismet to reduce spam. Learn how your comment data is processed.

0 Comments
Inline Feedbacks
View all comments
wpDiscuz
0
0
Would love your thoughts, please comment.x
()
x
WordPress Cookie Plugin by Real Cookie Banner
Exit mobile version
%%footer%%