
11/27/21 – Prepped for paint
Final epoxy coats
I got around to the sanding to fair the inside surfaces after the holiday visits spun down. Working around the floors again I took a Dremel with an extension cable to round the openings for the lumber holes and smooth the transitions. The key is to think like water and travel to low spots and take curves, not sharp angles. I went back with un-thickened epoxy to ensure I didn’t open any areas to wood grain.
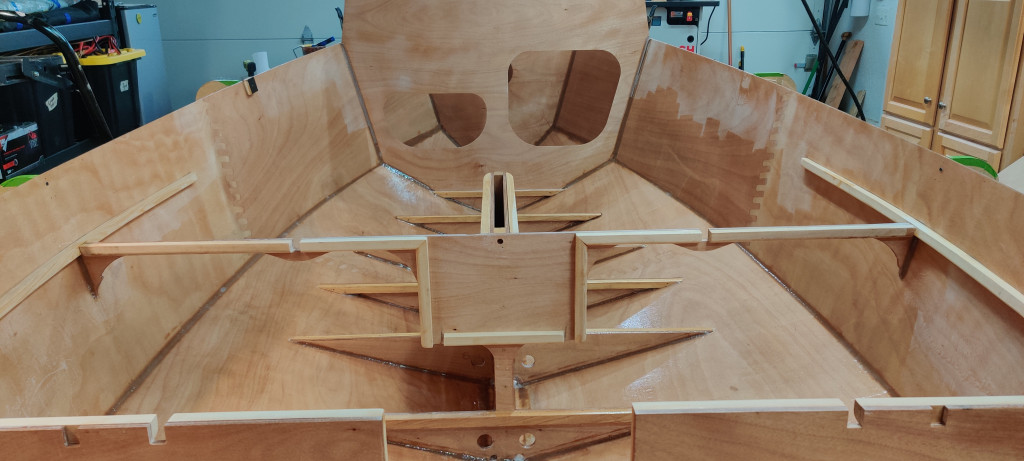
All of the wood cleats have been sealed with epoxy at this point
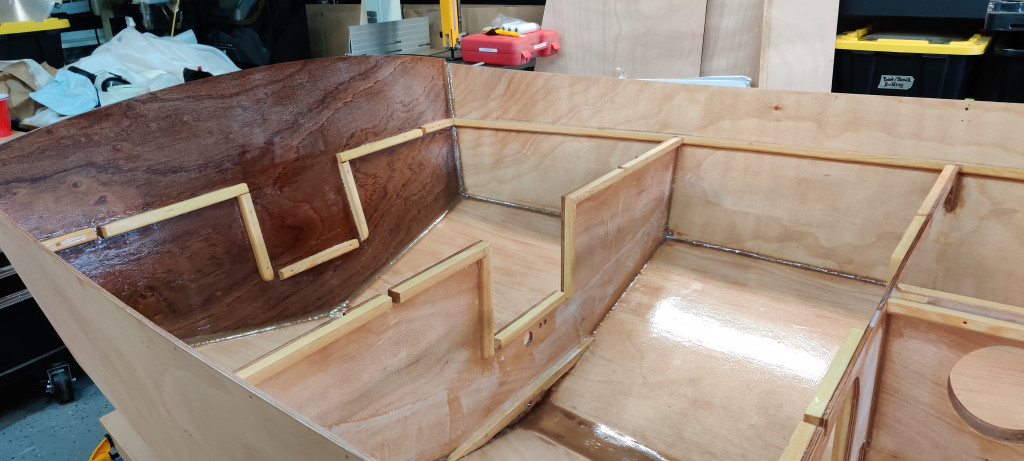
Sole part two
I decided that I had enjoyed the process of laying out the sole enough to continue ahead of bulkhead 2. I took advantage of the epoxy cure times to start this part. This solves two things, the first being the need for a stable platform for the battery, and the second to keep stored things out of potential moisture while providing sufficient airflow. It also has the benefit of visually carrying the sole lines forward and covers and protects the drain plug. The floor is easily removed.
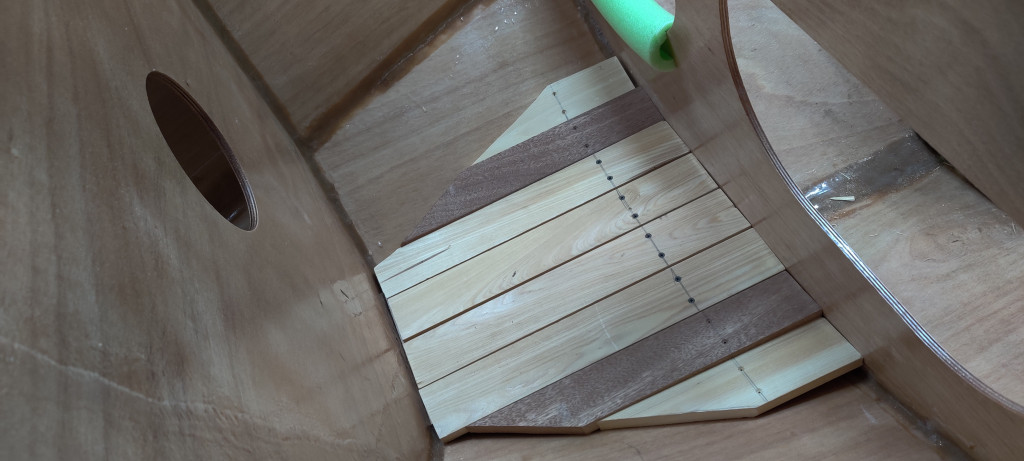
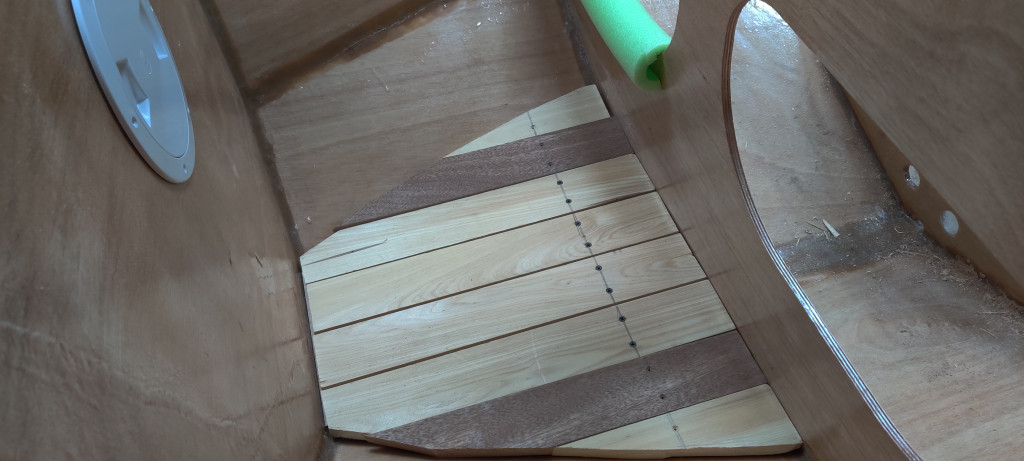
The second support is attached to the sole, not the hull, allowing access to the drain plug. The floor fits through the large opening allowing full access. I will smooth and blend the curve on the pieces with a sander before removing them to take them to the router table.
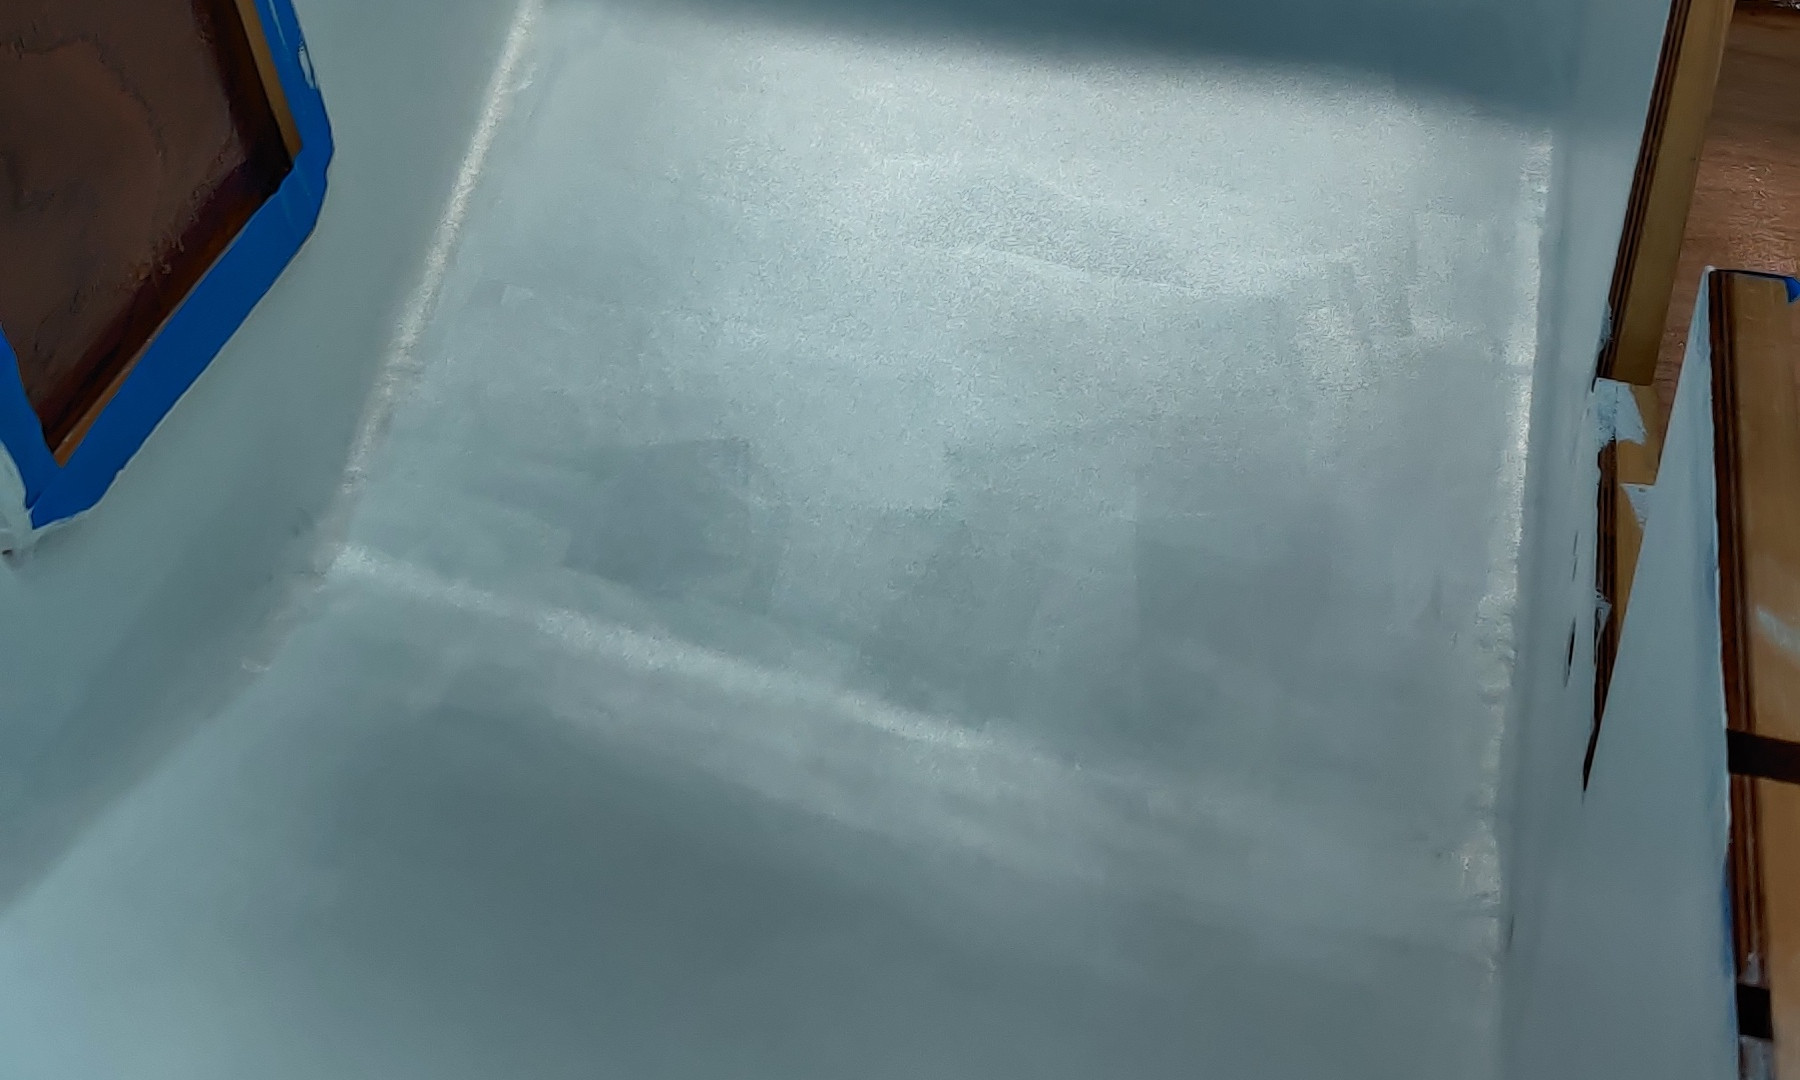
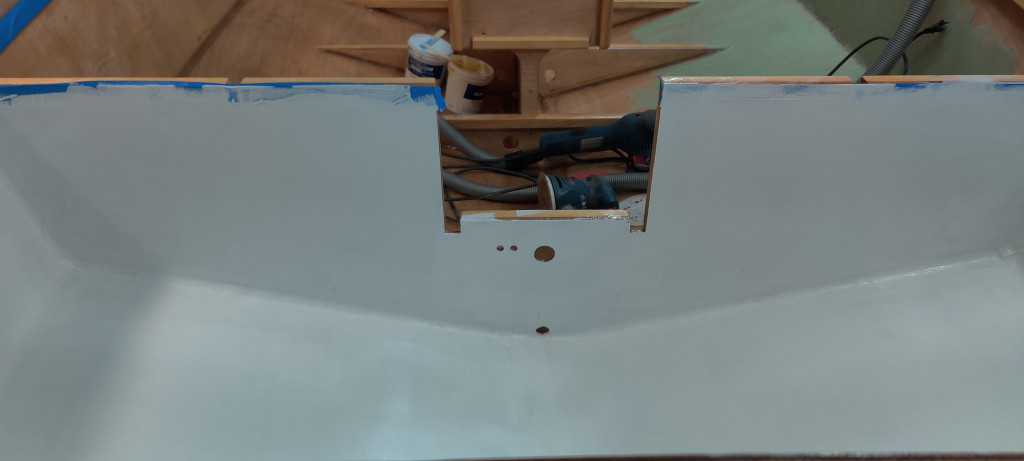
First paint!
It seemed like I was taking forever to get to this point. I finally gathered the paint supplies and decided I would start aft and practice before the main cabin areas. I did my final sand before paint application.


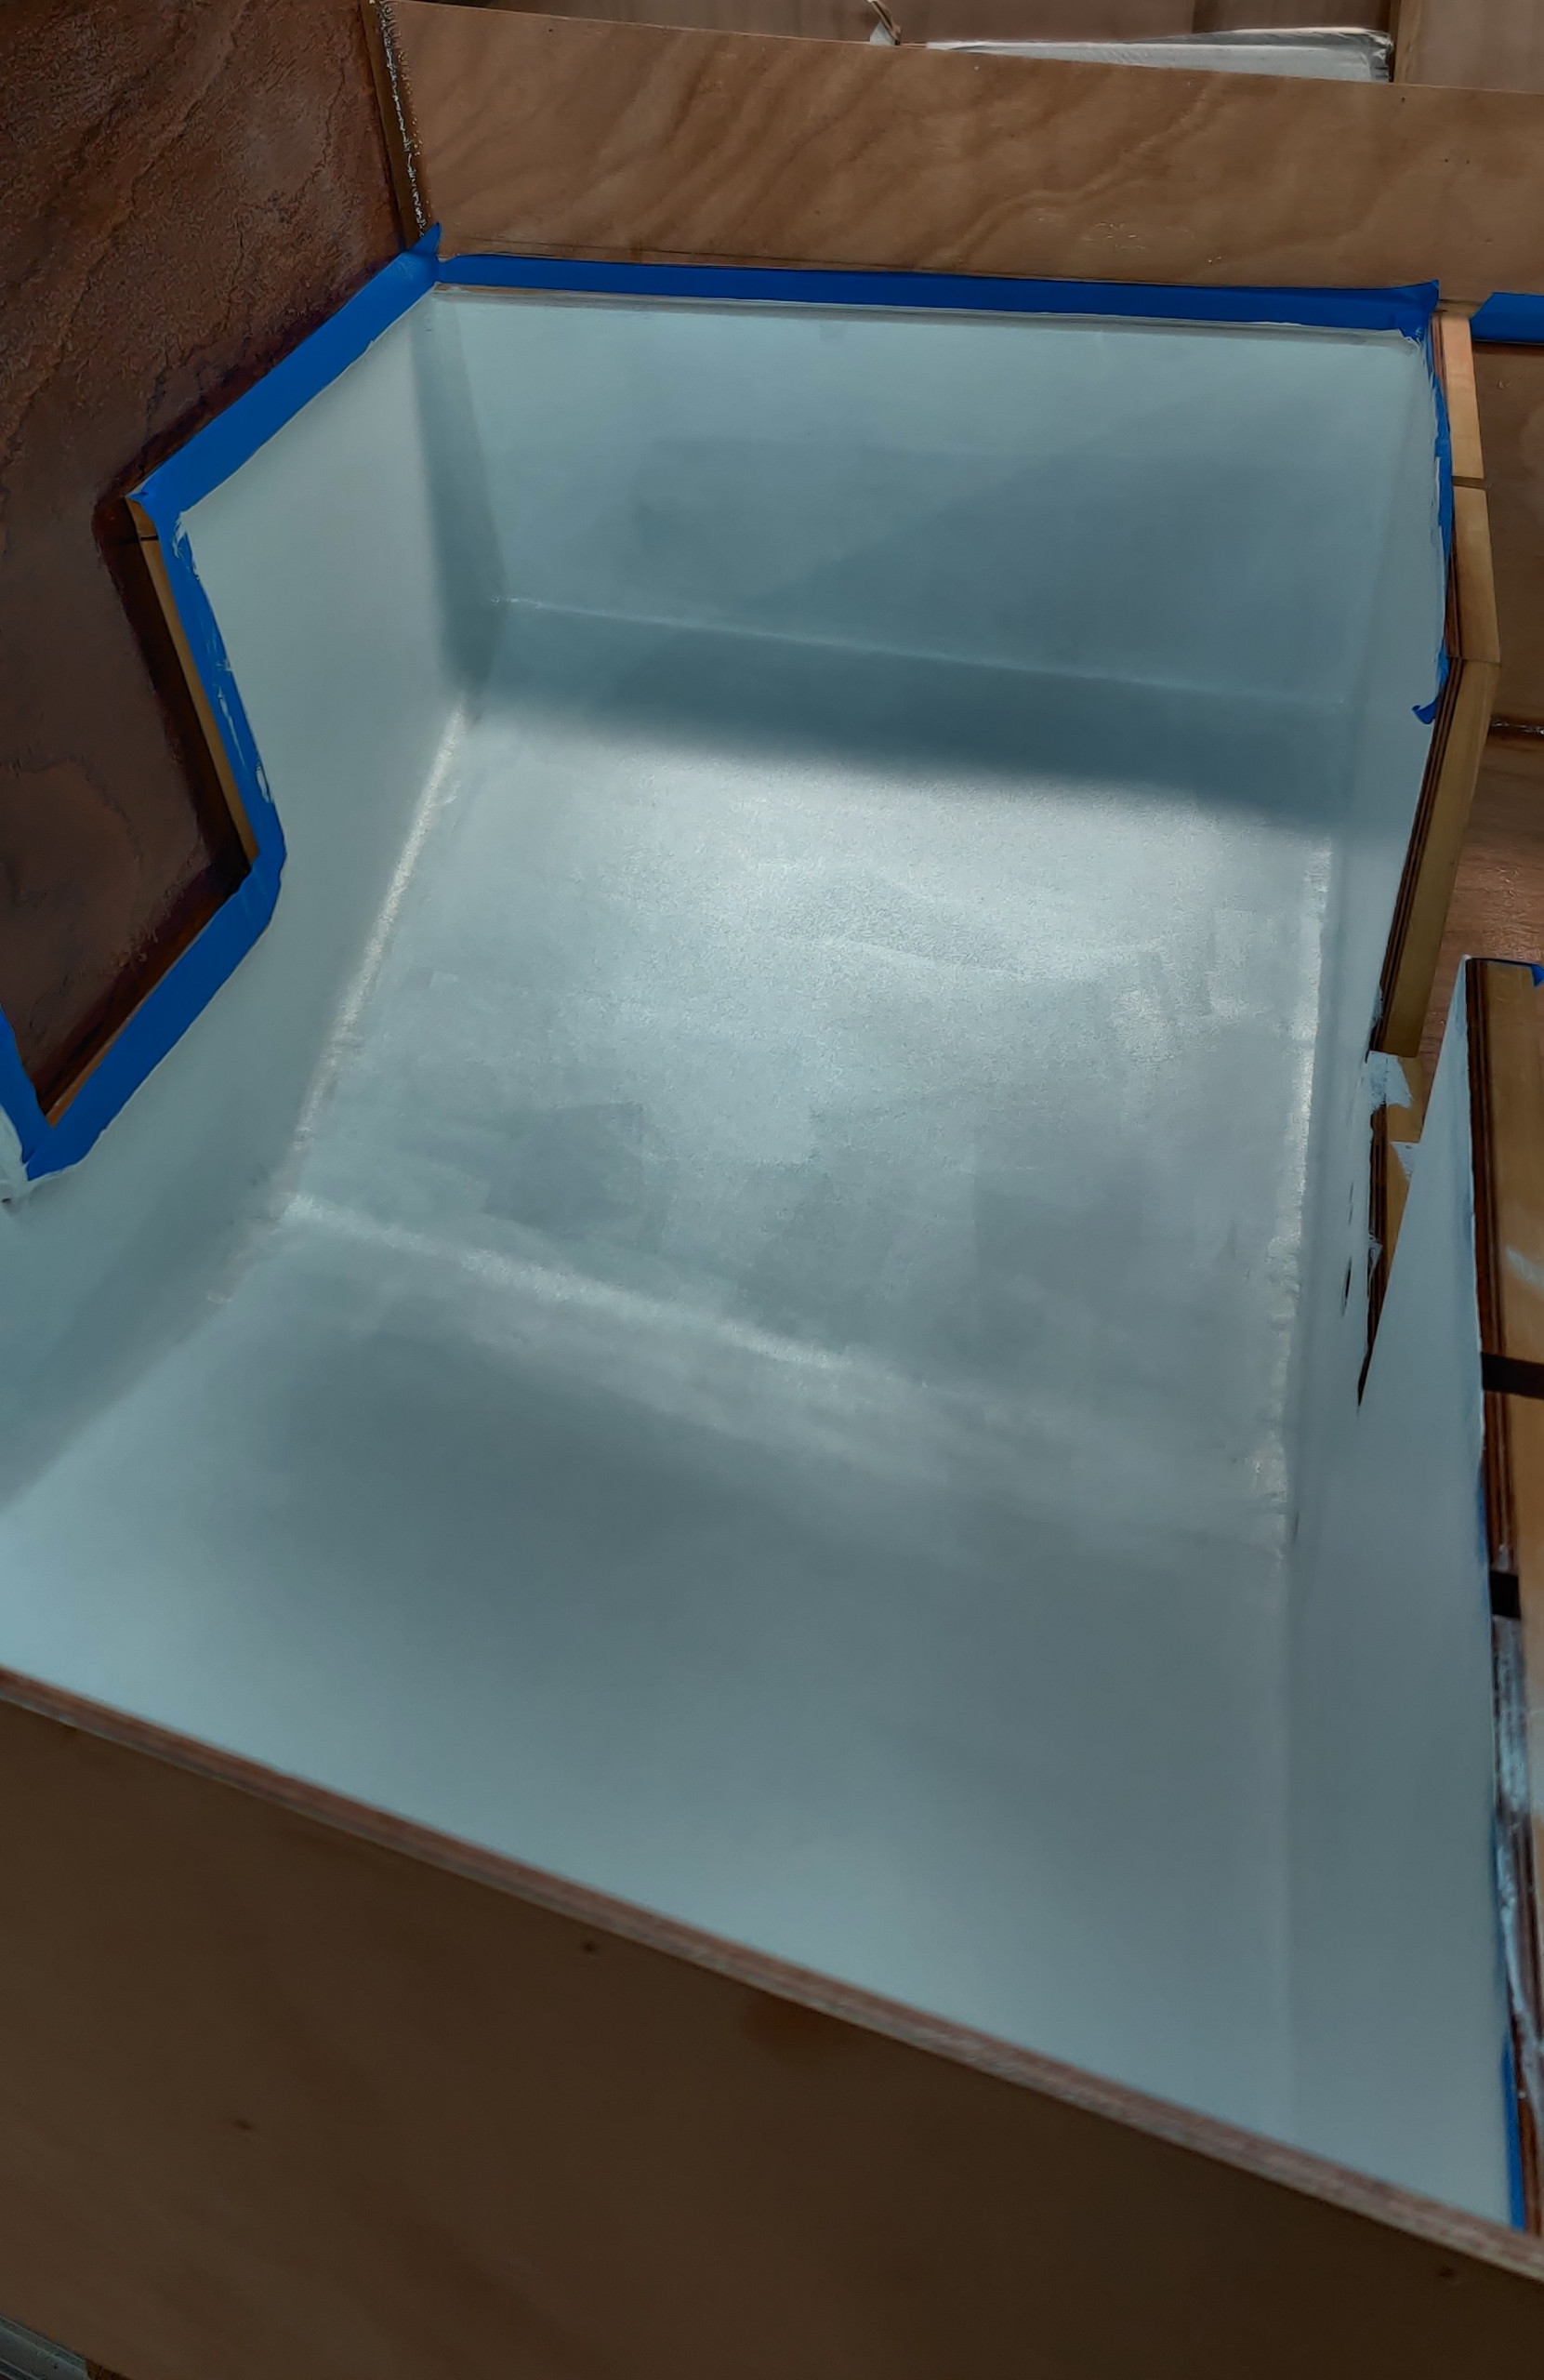
Moving forward
I have another two coats in the aft compartment to go but decided to get some paint started on the sides.
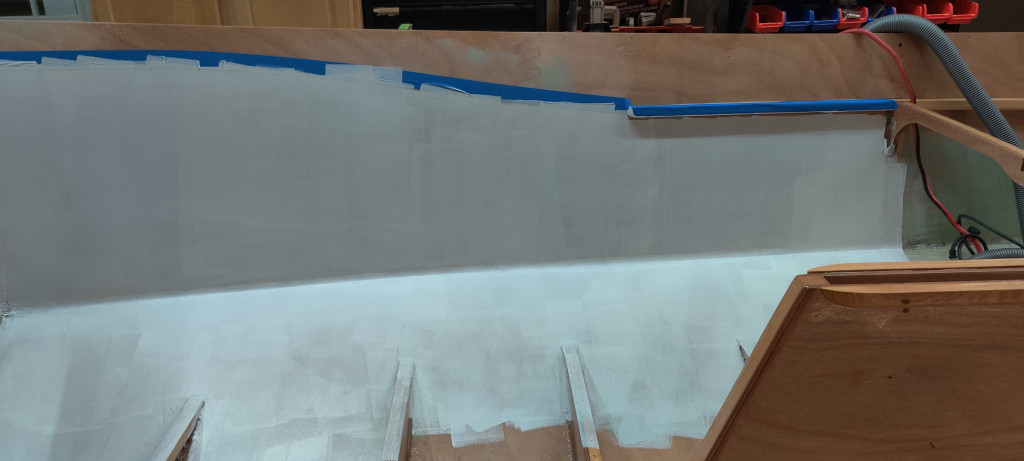
I need to brew beer again so this Sunday will be focused on that. I will be able to how the paint cures and estimate how long I need to wait before sanding for final coats. I’m obviously going to need to do quite a bit of brush work around the floors before rollering.