fbpx
Woodenboat show PS1

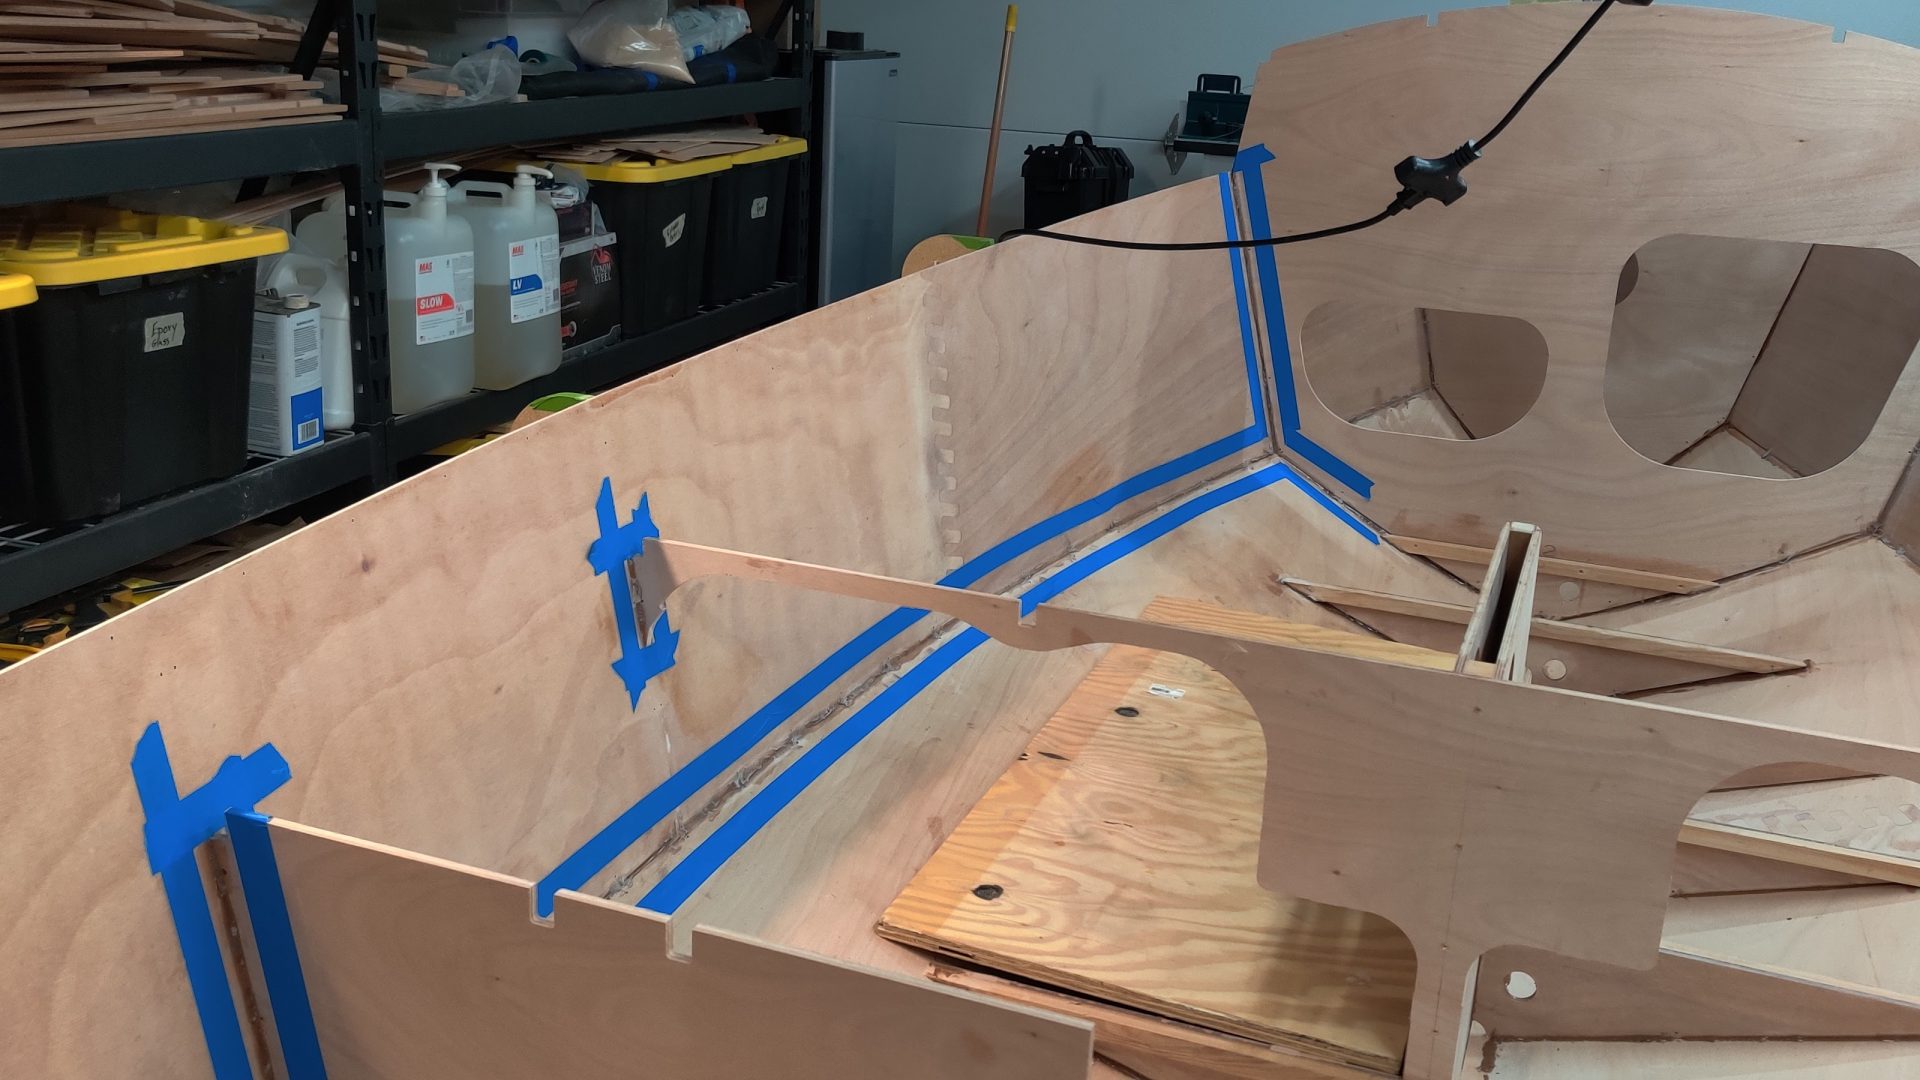
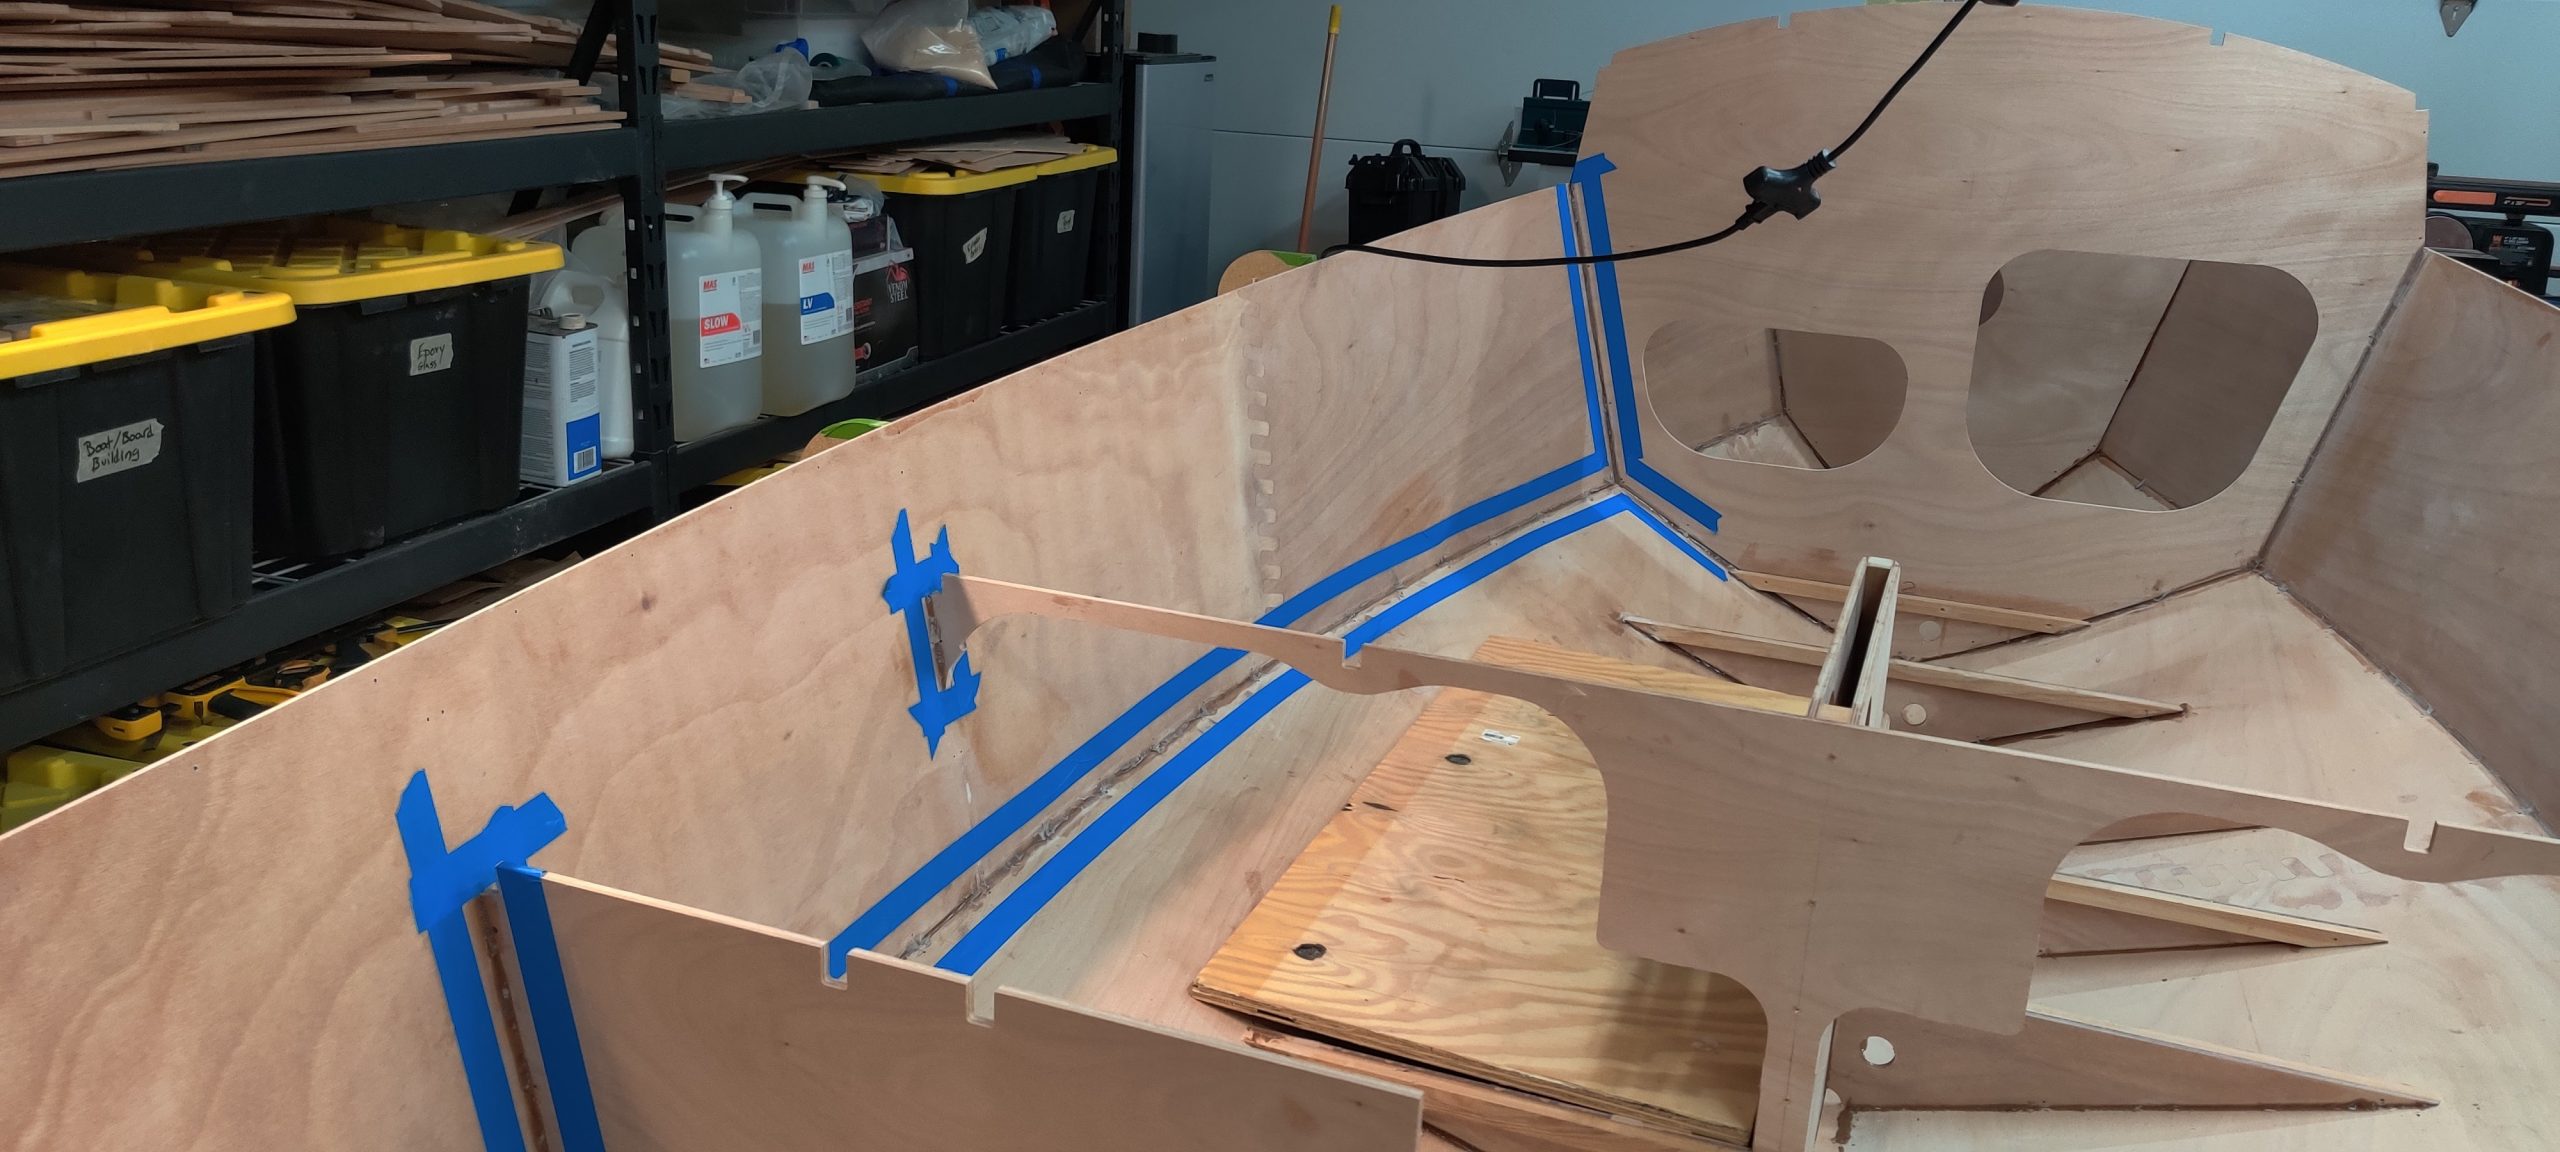
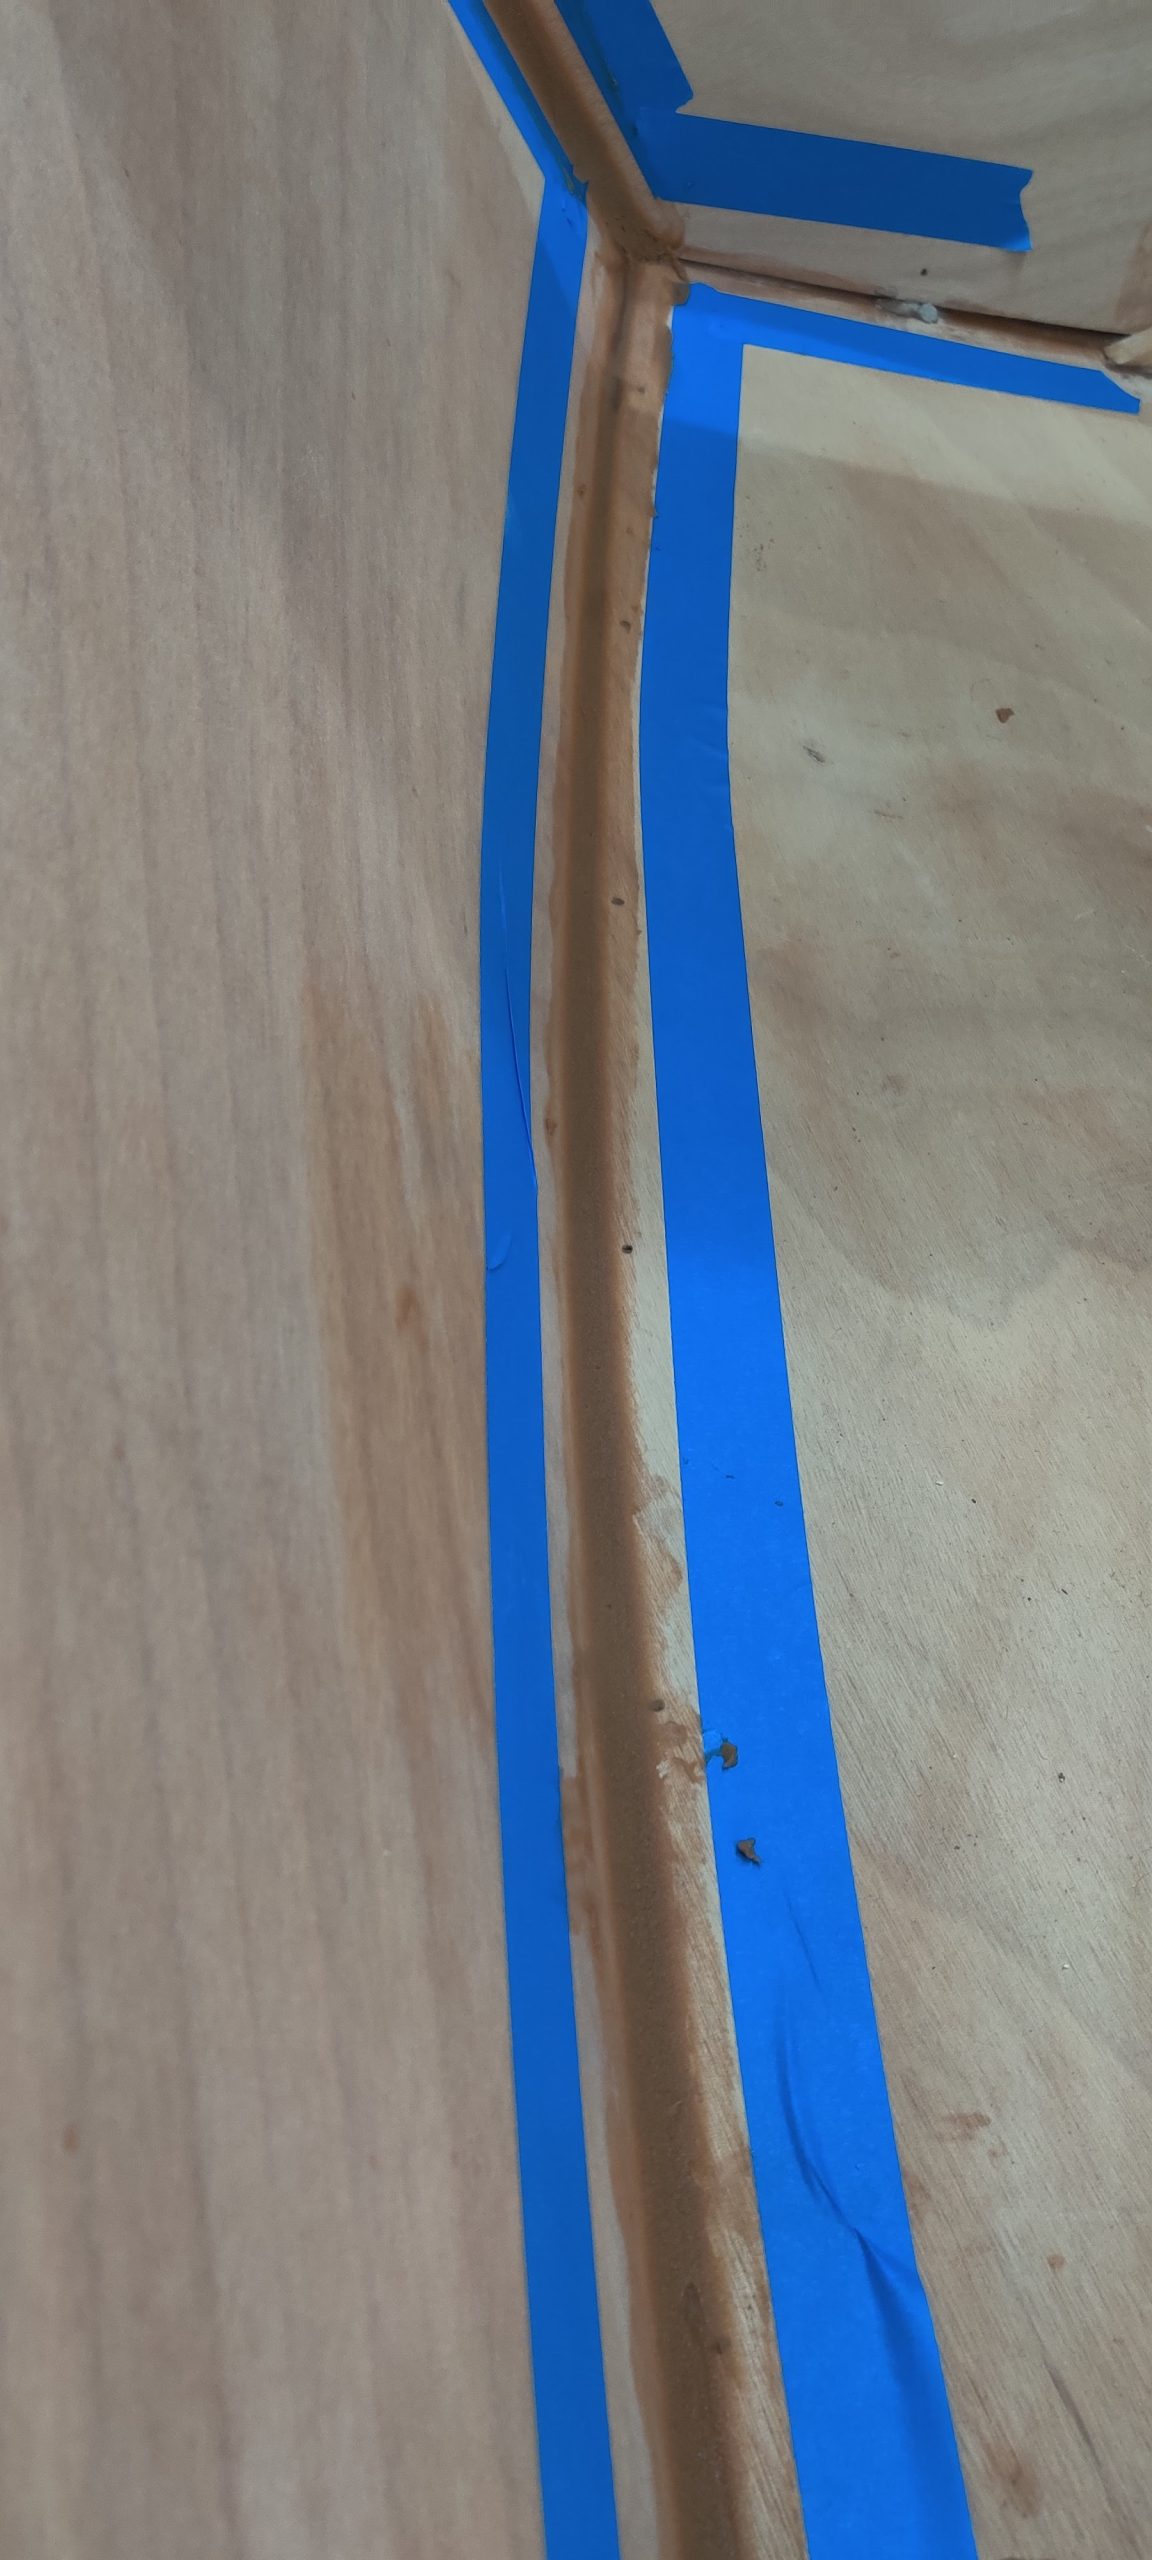
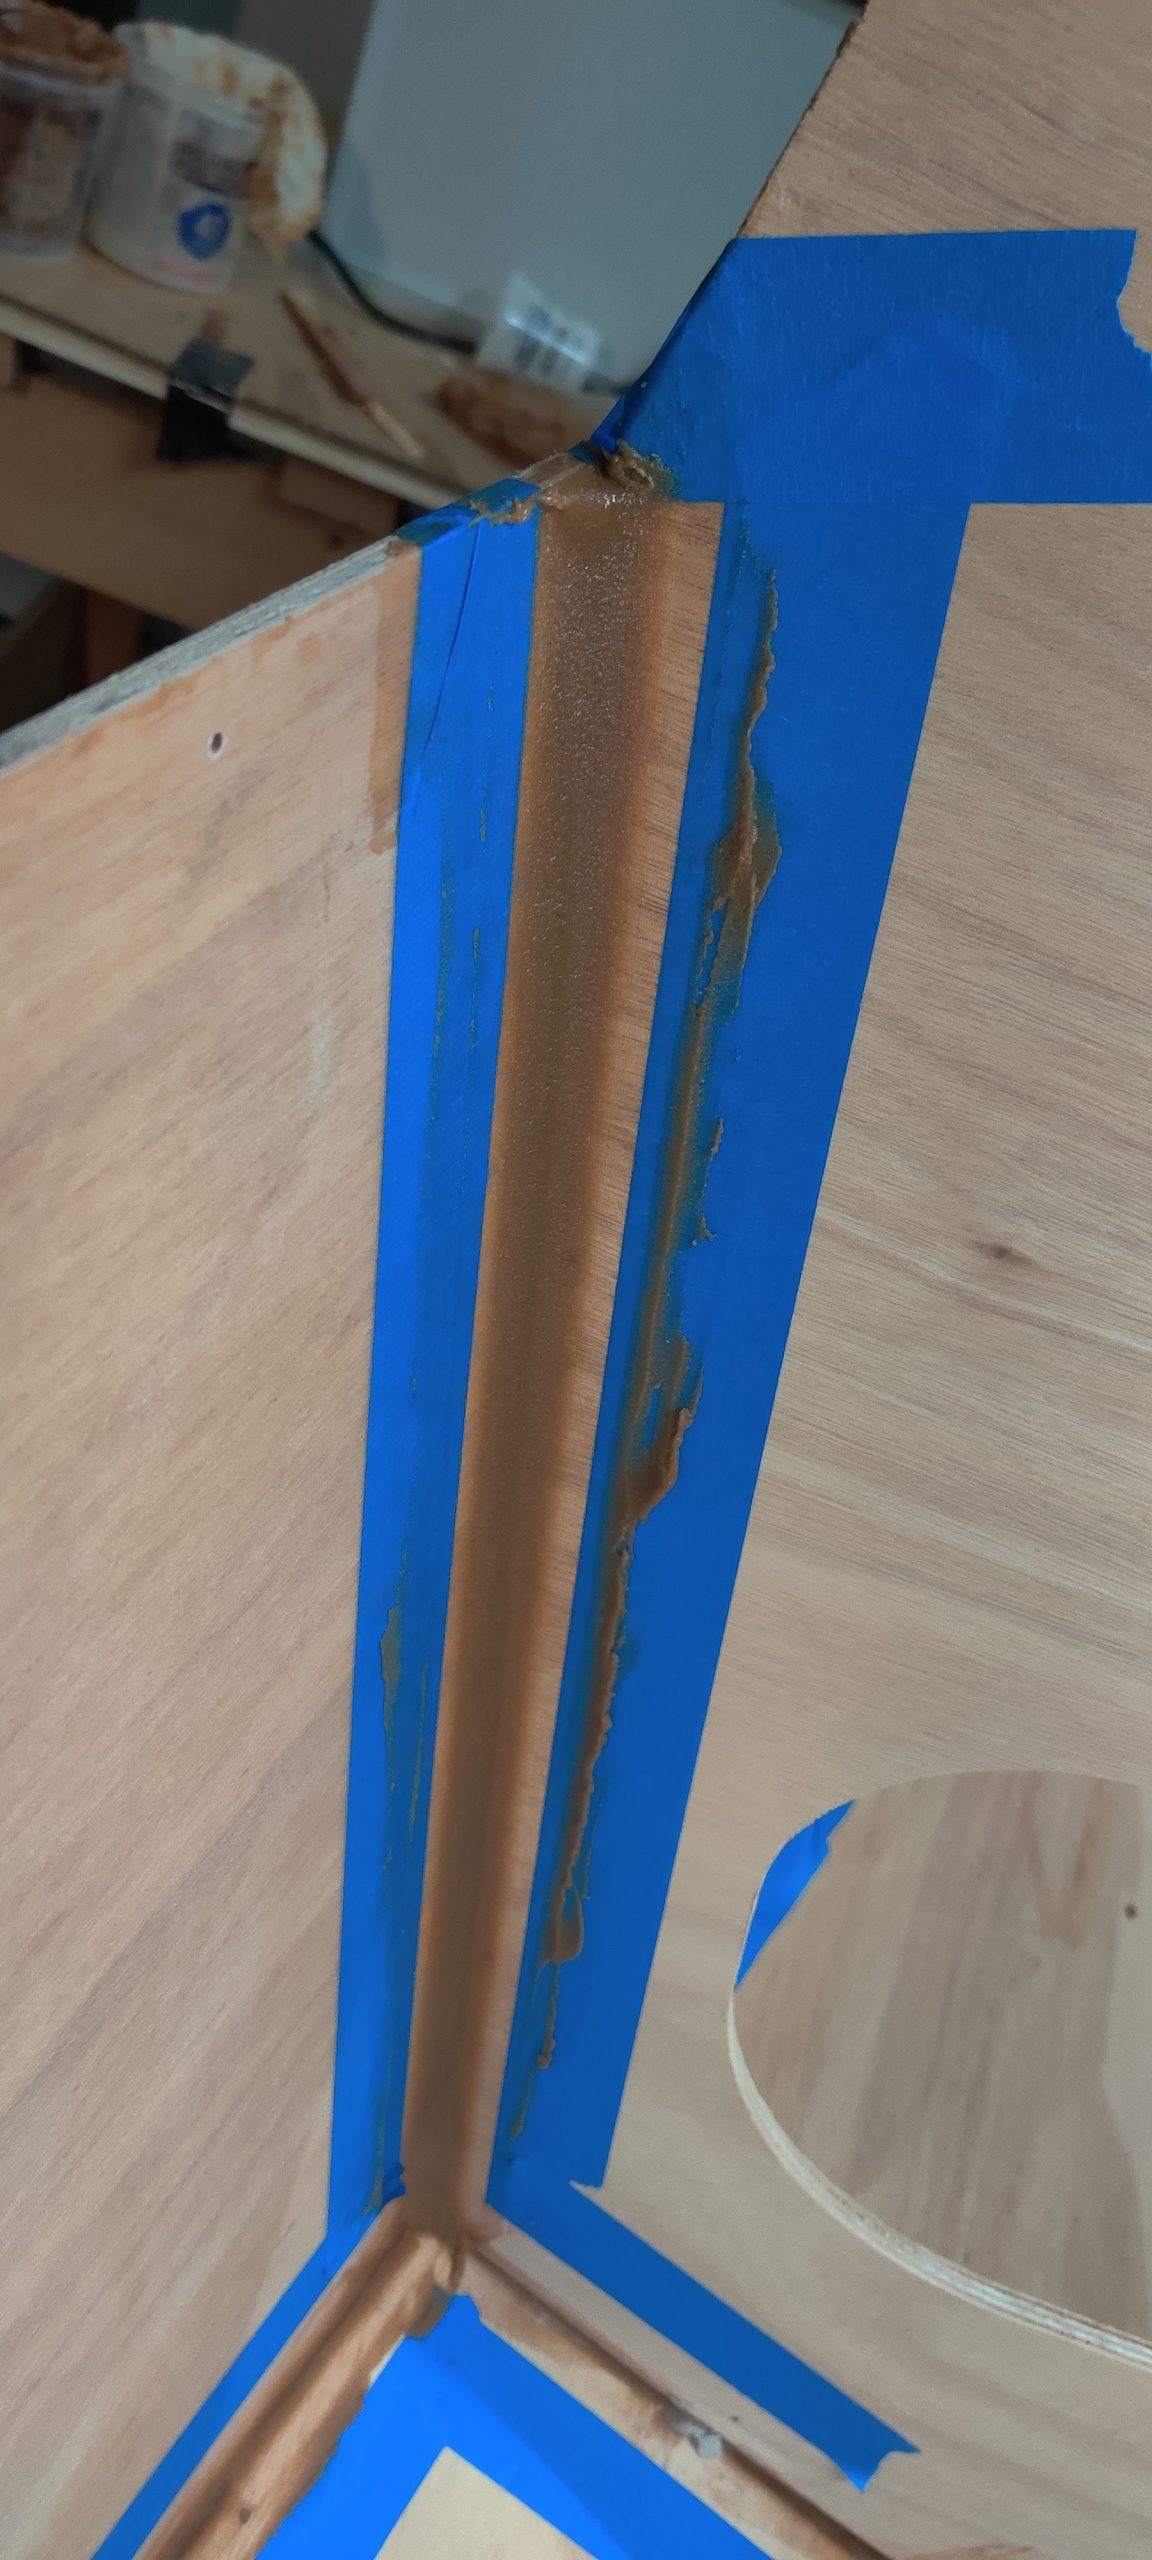
10/21/21 – Epoxy curing on the seams

All Stitches are out

I’ve pulled all the remaining stitches and allowed a few extra days cure time due to the colder weather and temp drops in the garage.

Epoxy curing on the seams and remaining stitches pulled
It feels like many moons have passed. Work finalizing the end of the FY21 has eaten into my after-hours work on the boat.
Epoxy curing on the seams and remaining stitches pulled
Added the lower breasthook during the cure process. I finally shaped the edges to match the angle of the hull. Some additional work was done to fair the curves towards the front of the bow. Once the glass is added into the front compartments I will replace the screws holding it temporarily and secure it in place with epoxy.
Epoxy curing on the seams and remaining stitches pulled
I am starting to do the full fillets for the seams. Taking a few minutes and adding extra tap allows for a much faster cleanup and drastically cuts down the sanding. I am taking my time here and will do the outside perimeter first before moving to the floor supports.
Epoxy curing on the seams and remaining stitches pulled
Rushing the epoxy process here makes for quite a bit more time sanding. We’ve got enough sanding ahead of us. My old detail sander does not have the proprietary sanding pads available anymore so I may be looking at a replacement soon.
Epoxy curing on the seams and remaining stitches pulled
Minimal sanding and cleanup needed on the fillets
Epoxy curing on the seams and remaining stitches pulled
Another key aspect of filleting, make sure the edges and corners are smoothed out and wait for them to set for a few hours before coming back. Get any overlaps cleaned up where wood pieces or additional panels will go to avoid dealing with very hard clumps. As you can see, the tape helps with having to go through and do extra work with a putty knife as often. This really helps when you are trying to work in harder to reach areas.
I have found myself sneaking out and having my coffee in the boat during the day. Apparently, this is now my favorite happy place. I am slowing down to start enjoying the process.

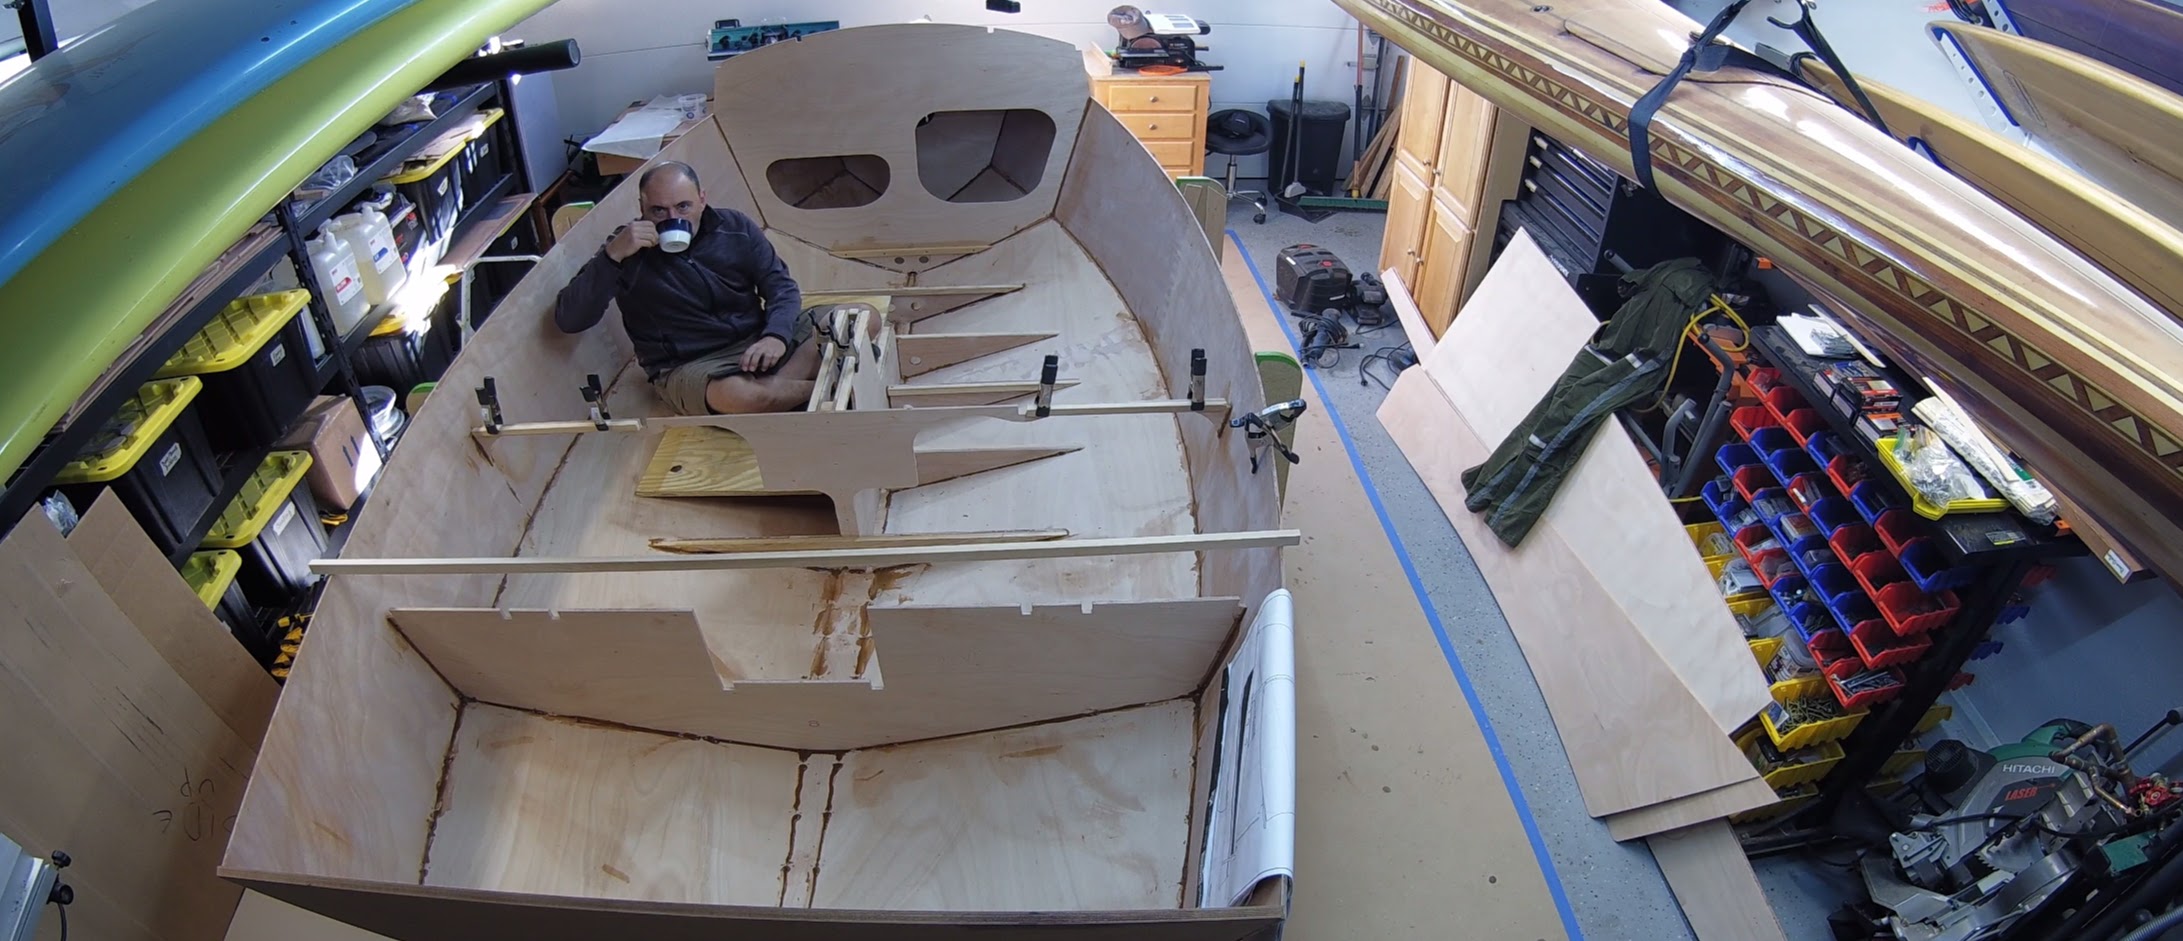
Electrical designs and planning

PocketShip electrical panel planning
I have started thinking about electrical design and desired functions. I am currently laying out using the cutout from the panel opening since that echoes the negative space but may change that down the line. I have seen others do this same thing and appreciated the play on the shapes. Not pictured here is the radio as I am still deciding on that after the actual components arrive and I determine actual cutout sizes needed and how much space is available up to the deck cleat.

Planning electrical now allows me to start thinking of what needs to be routed before the hull gets closed up permanently making access harder. I will minimize through bulkhead routing as much as possible. I did drill out additional holes for cable/hose routing in the floor supports in case I need to route anything port or starboard on the way back to the stern.

I am not planning on adding a shore power option but will have solar for maintaining a charge and a controller will be wired in eventually. There is also not any need for AC current at the moment so an inverter is unnecessary. I am comfortable with electronics and residential wiring. The main update I studied to get comfortable with marine electrical work was the ABYC cable and wire color codes. I tend to overbuild things at times. There will be breakers with the switches as well as inline fuses for the various components. The master battery cutoff also has a 60 amp fuse in-line with the battery. All of the lighting will be LED to reduce overall capacity requirements.

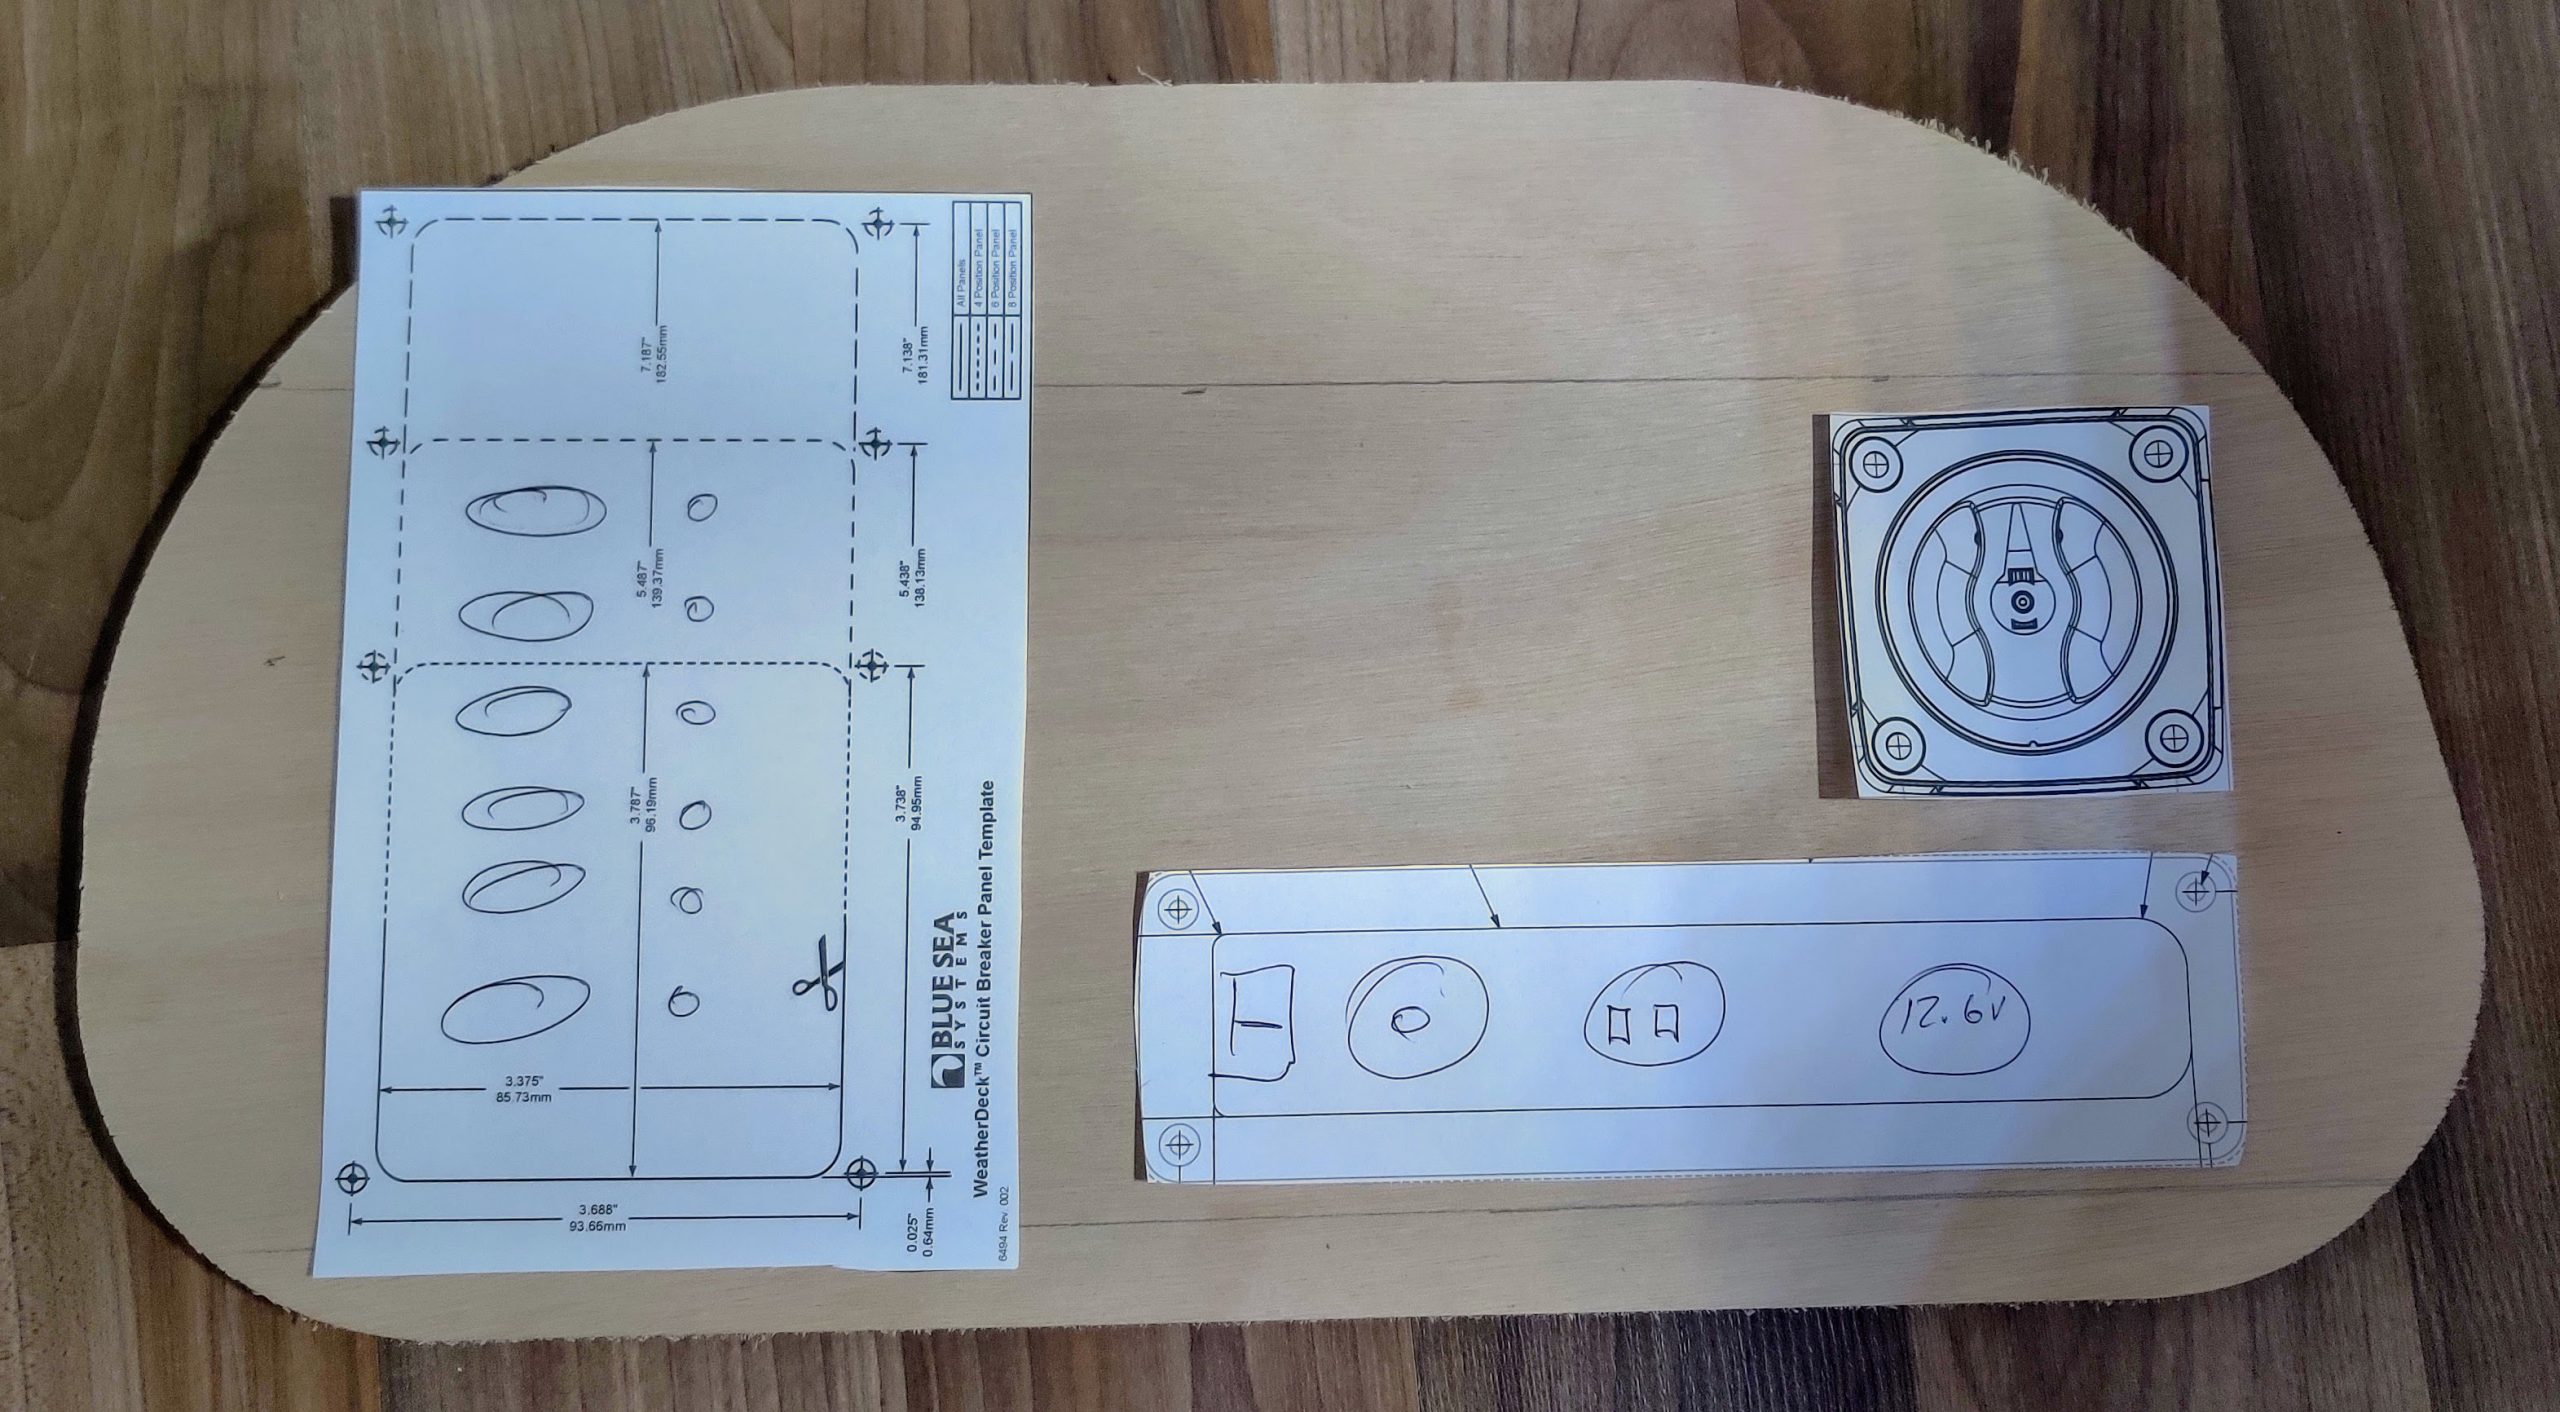
Planned electrical components

  • 12v battery box with fuse
  • Switch/breaker panel
  • Fuse block
  • Bus bar for negative
  • Accessory 12v plug, USB charging ports, small OLED battery gauge
  • conservative radio with bluetooth
  • VHF radio
  • Running lights – Port/Starboard/Stern/Steaming
  • All around anchor light on mast
  • Red/White LED courtesy lights for cabin

Sailboat USCG Navigation light requirements

https://www.boatingmag.com/navlightregs/

The Nav lights I have found are 2 NM. I am located in coastal New England and we do get some rolling fog now and again. I do not plan on night navigation but having lights will give me peace of mind in lower visibility situations if they do arise. I would rather build in the ‘nice to haves’ now while the access is there. This includes running wires with disconnects during the mast build.

0 0 votes
Article Rating
Subscribe
Notify of

This site uses Akismet to reduce spam. Learn how your comment data is processed.

0 Comments
Inline Feedbacks
View all comments
0
Would love your thoughts, please comment.x
()
x
WordPress Cookie Plugin by Real Cookie Banner