The journey to a Chesapeake Light Craft (CLC) PocketShip – a pocket cruiser sailboat
10/2/21 – Keel gets lead today!
Today is the keel pour for the PocketShip and explain and show how I went about fixing my mistake from yesterday.
First thing this morning after coffee was the fix with a mix.
Fix the first mistake of the build
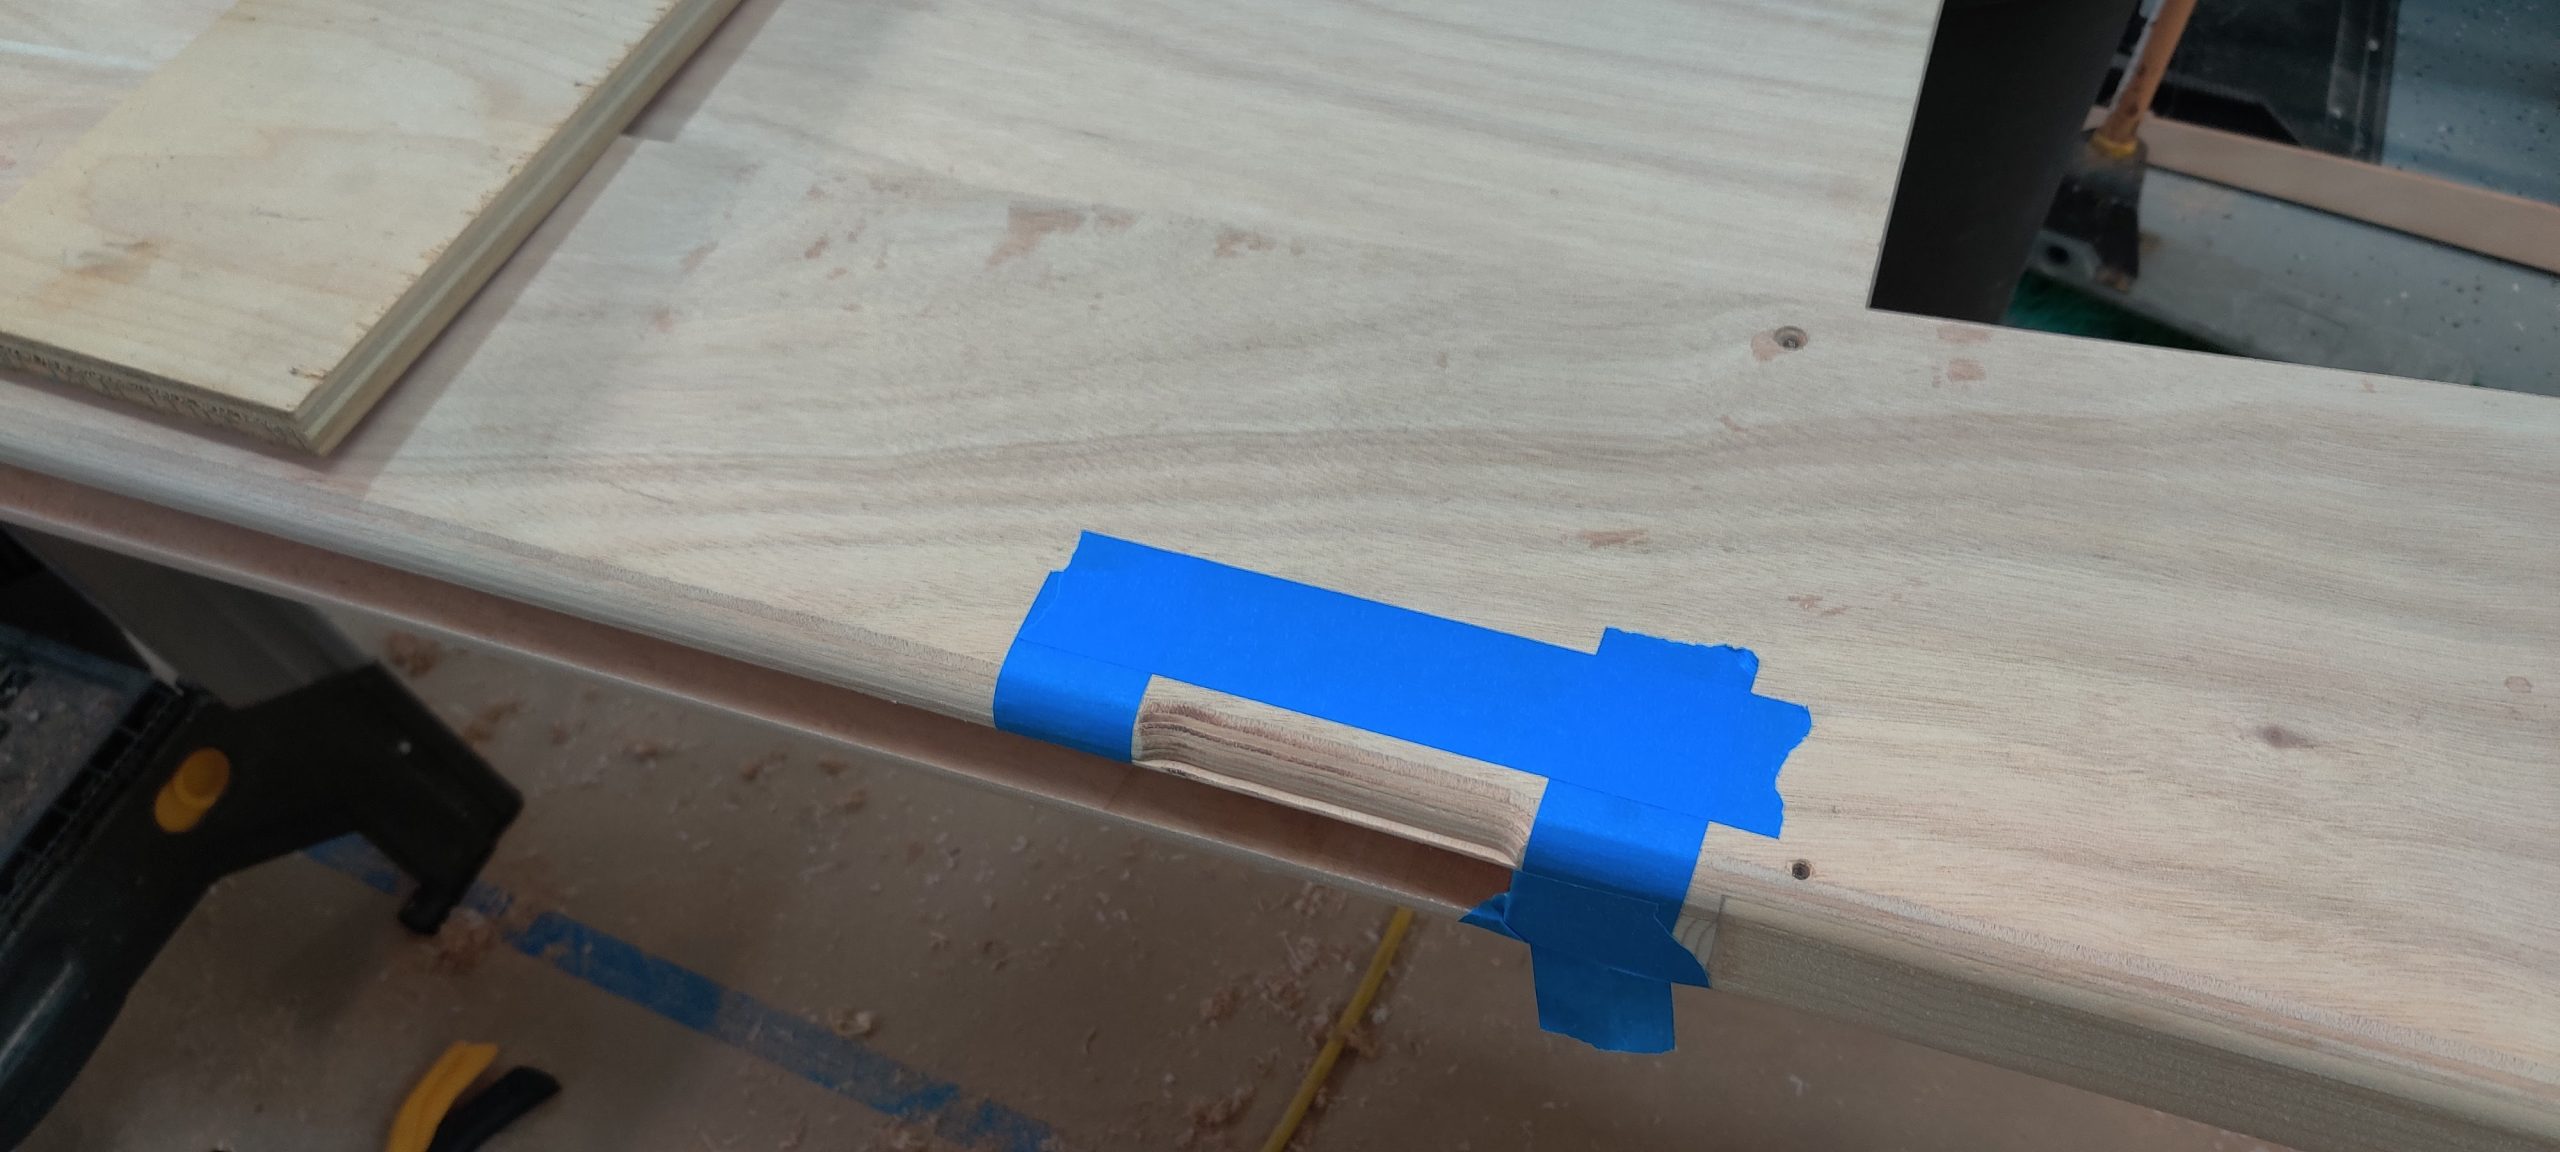
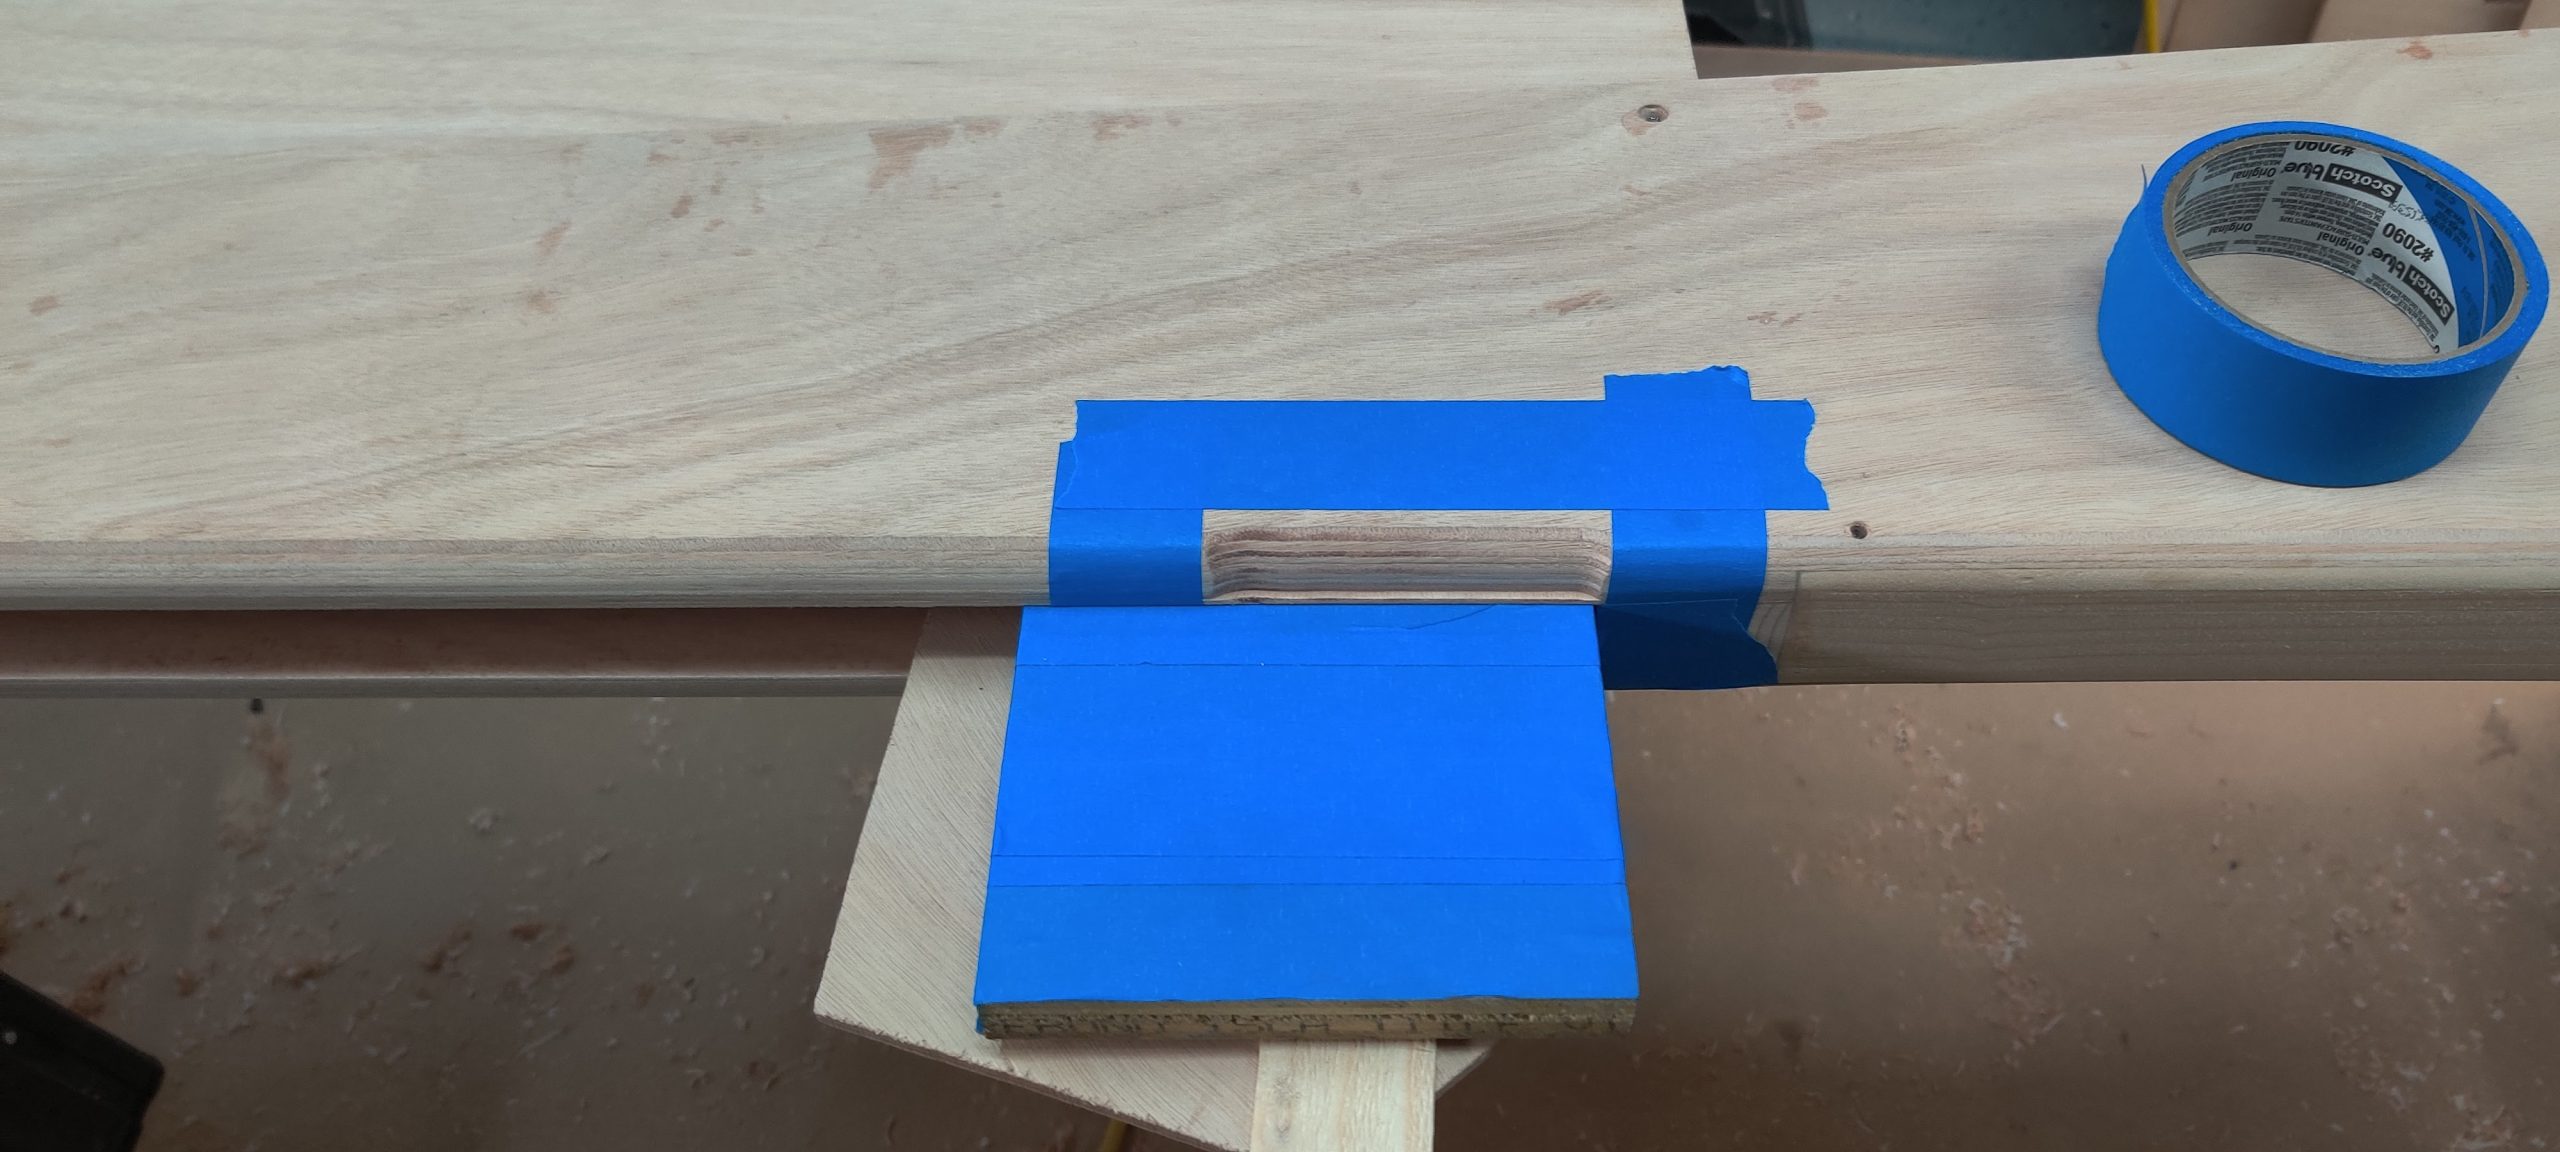
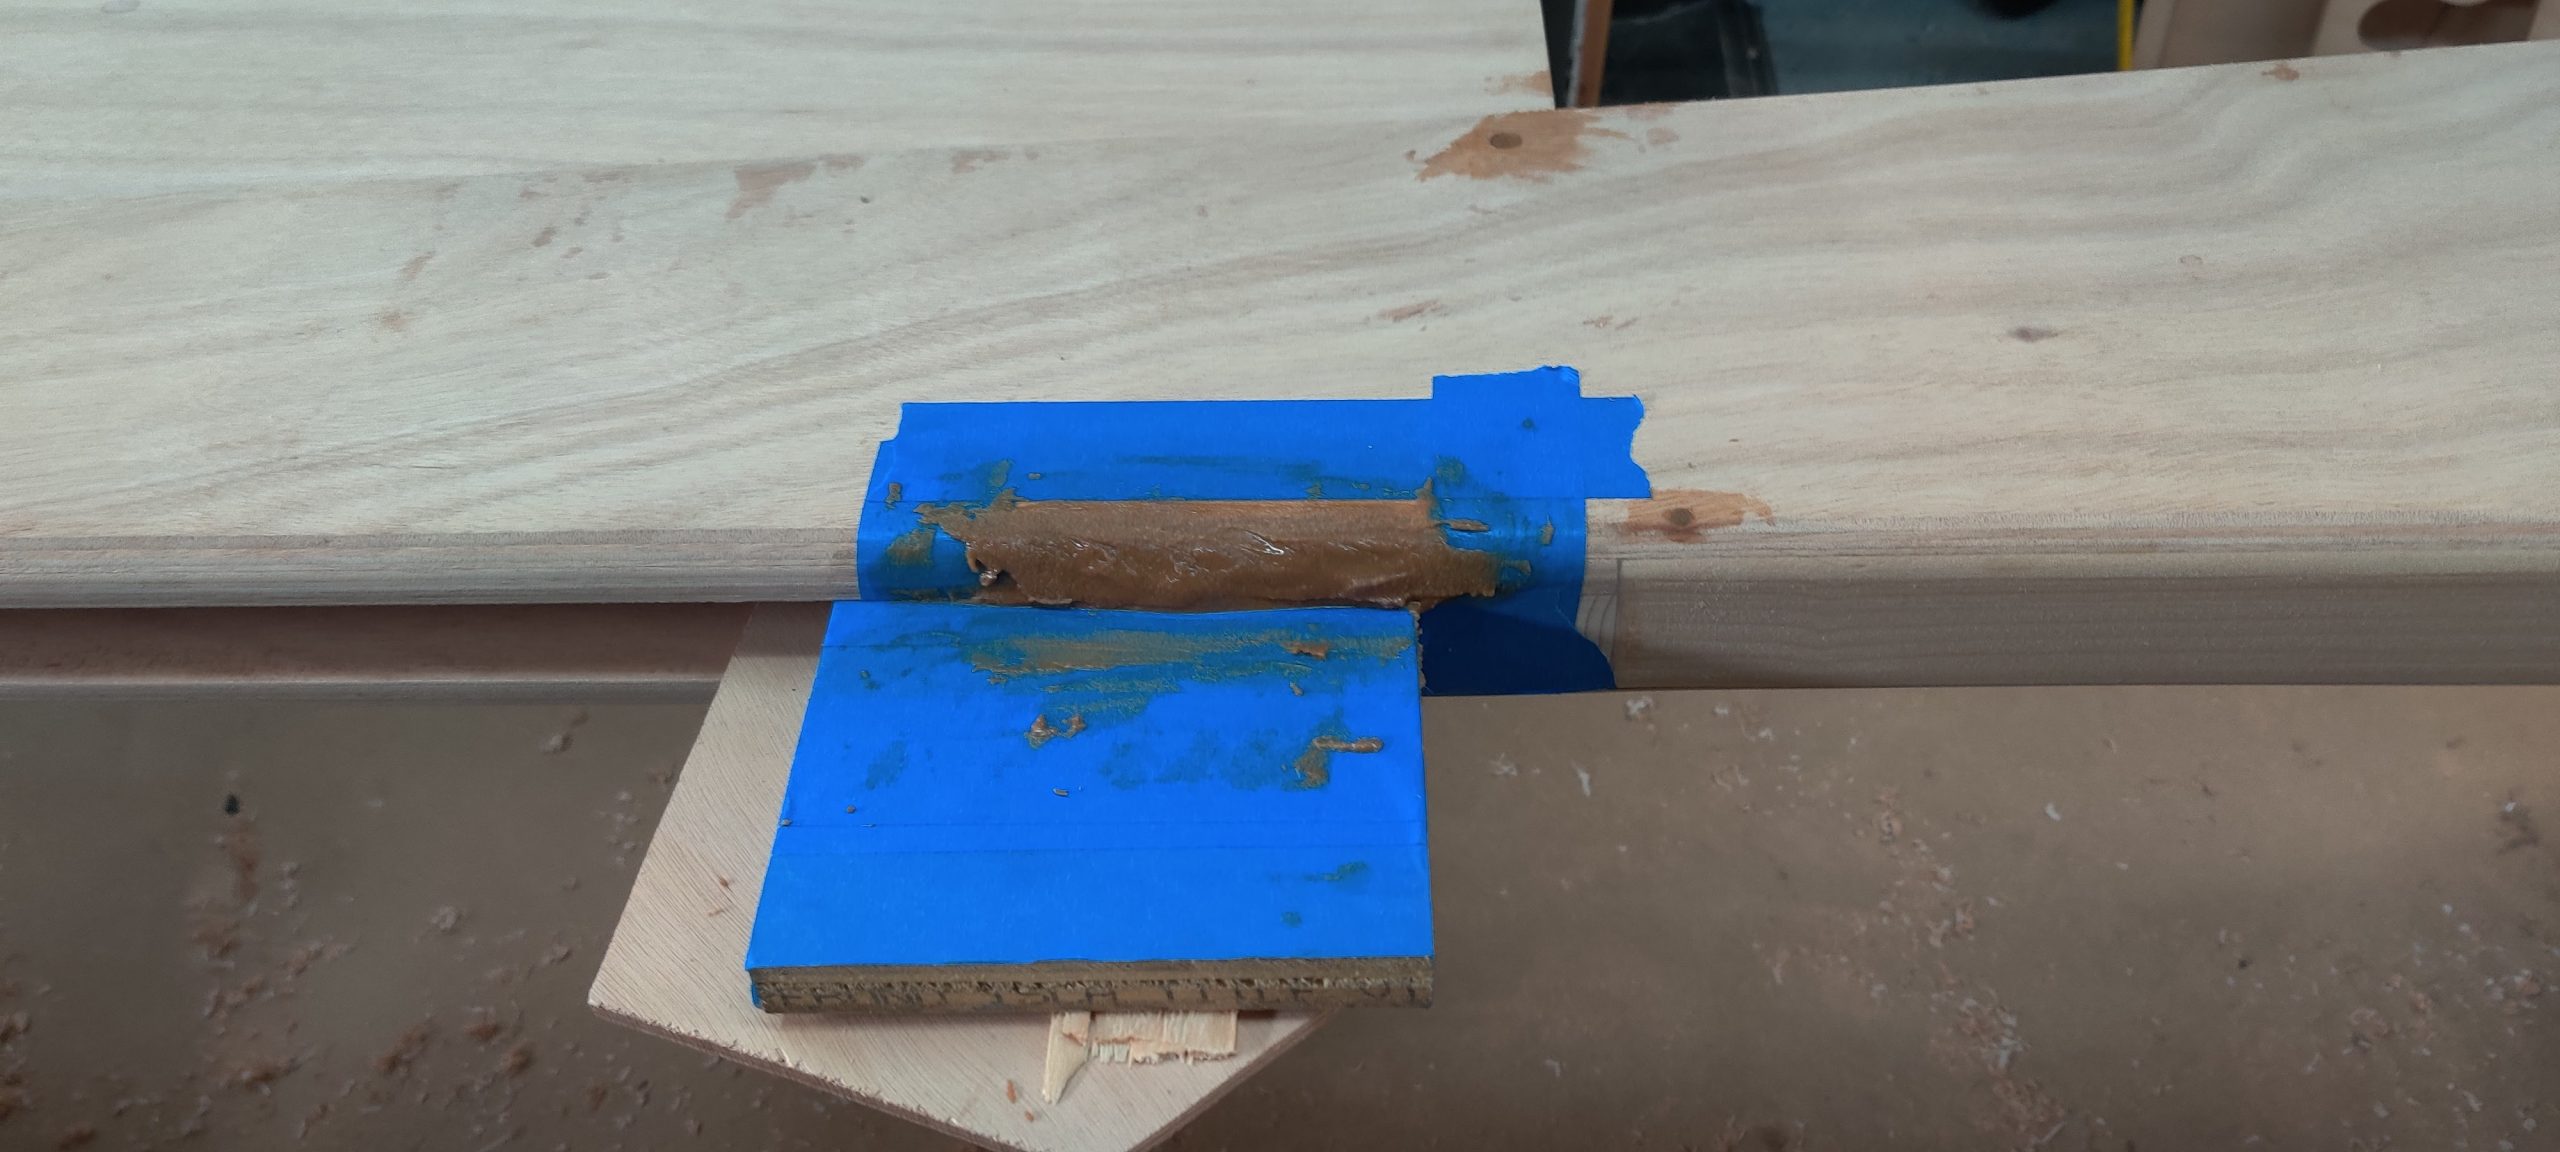
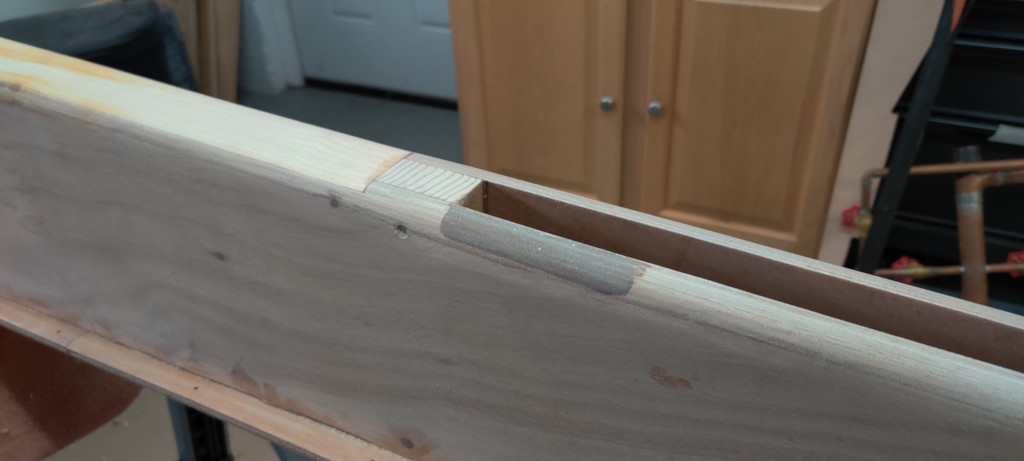
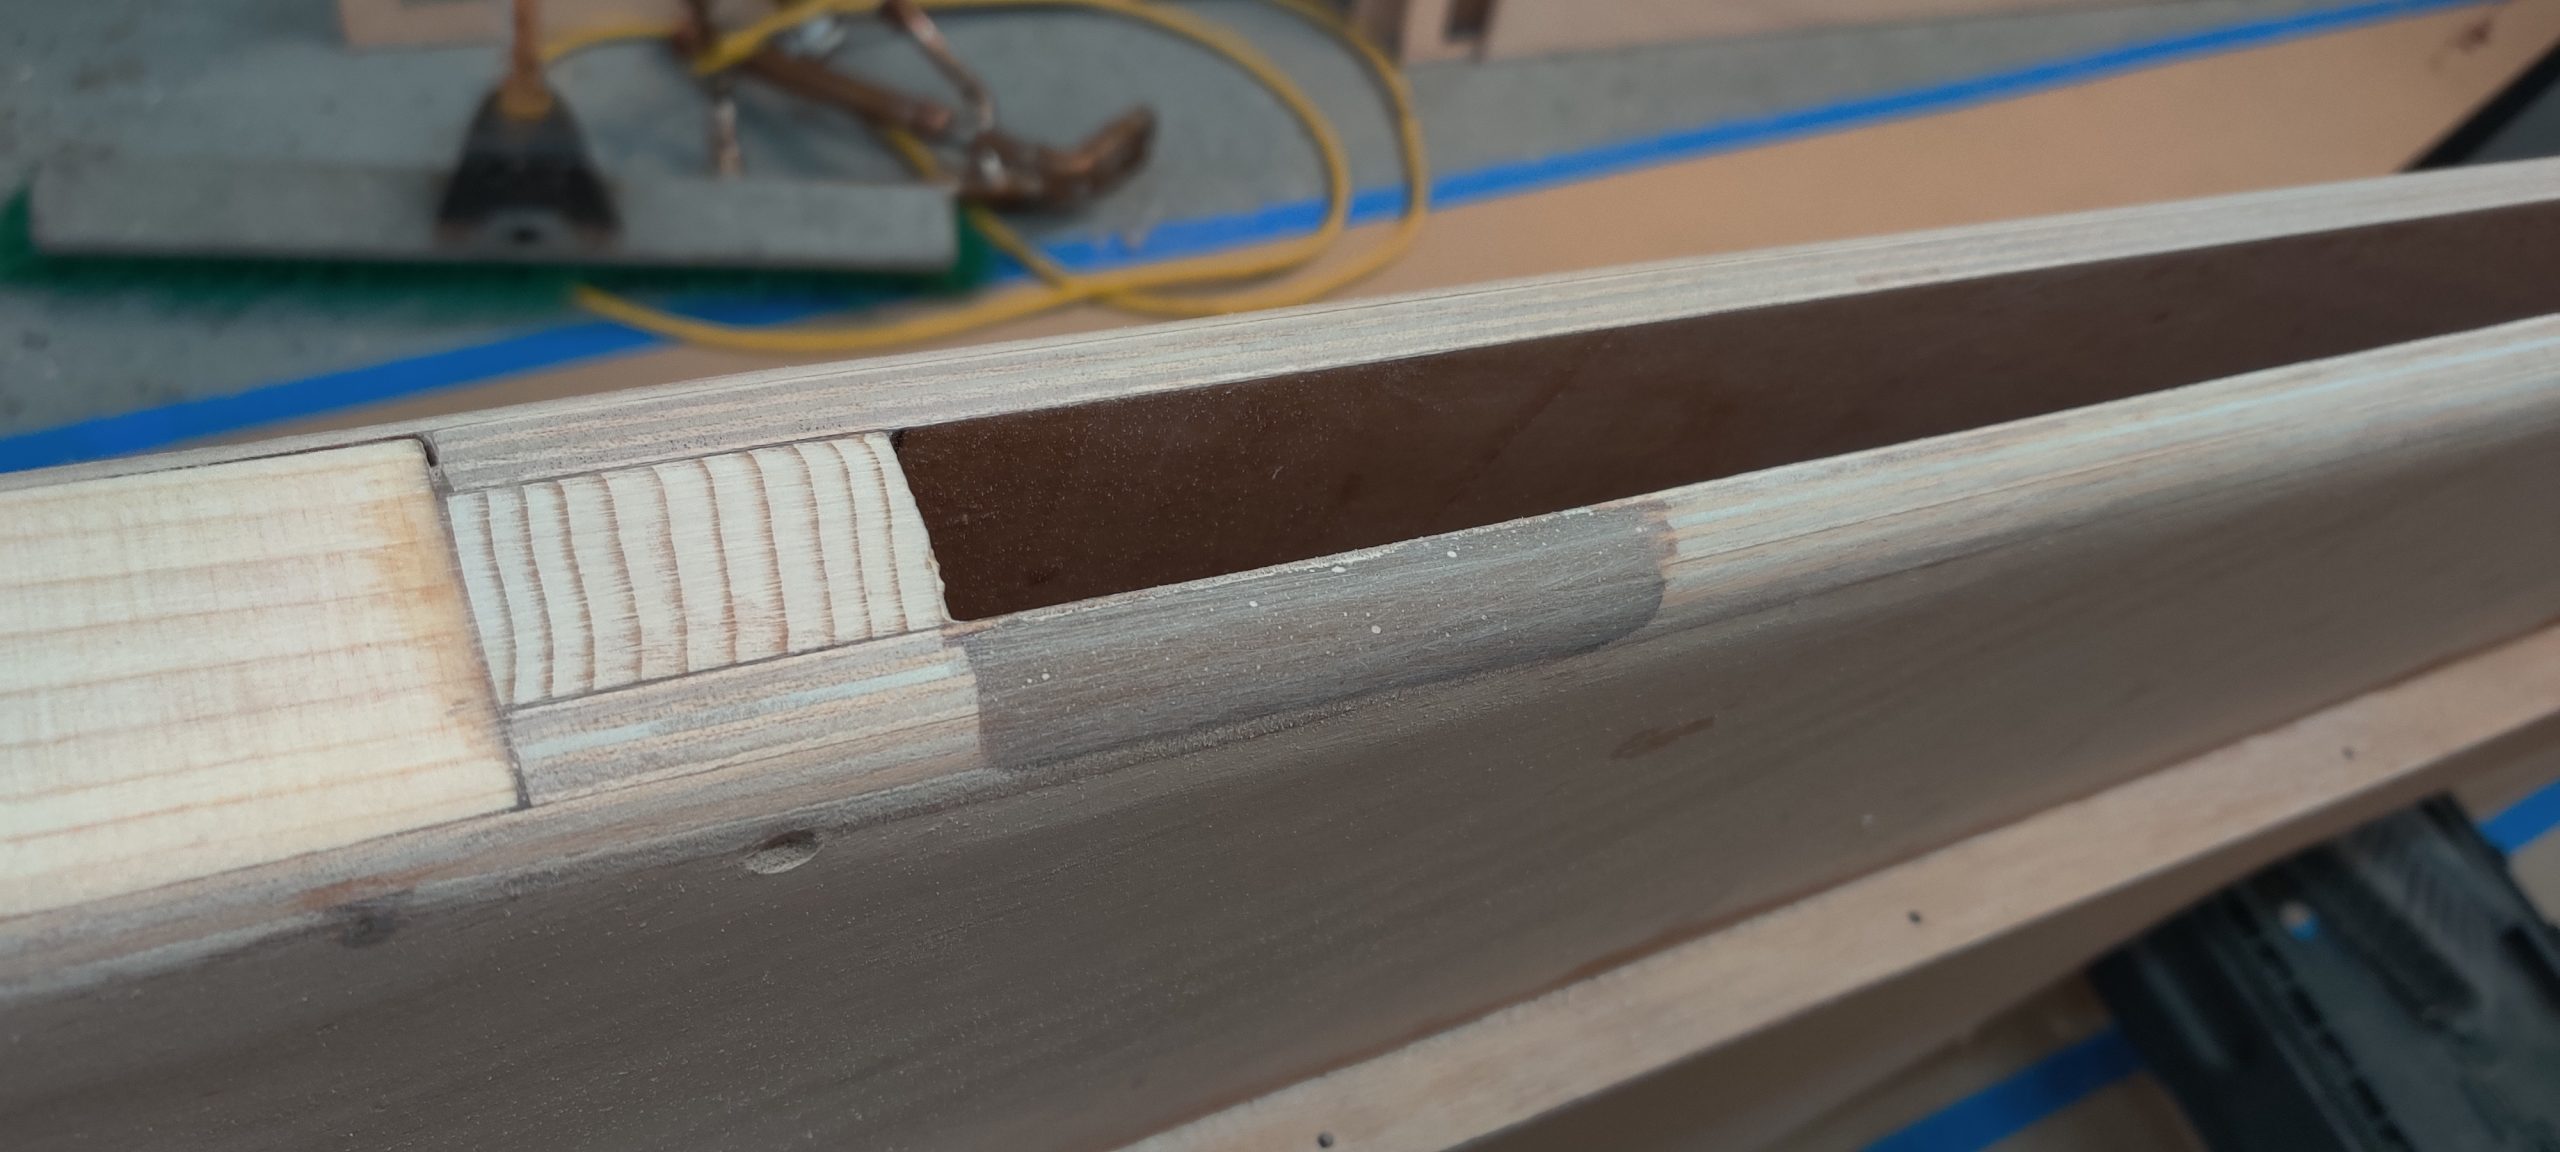
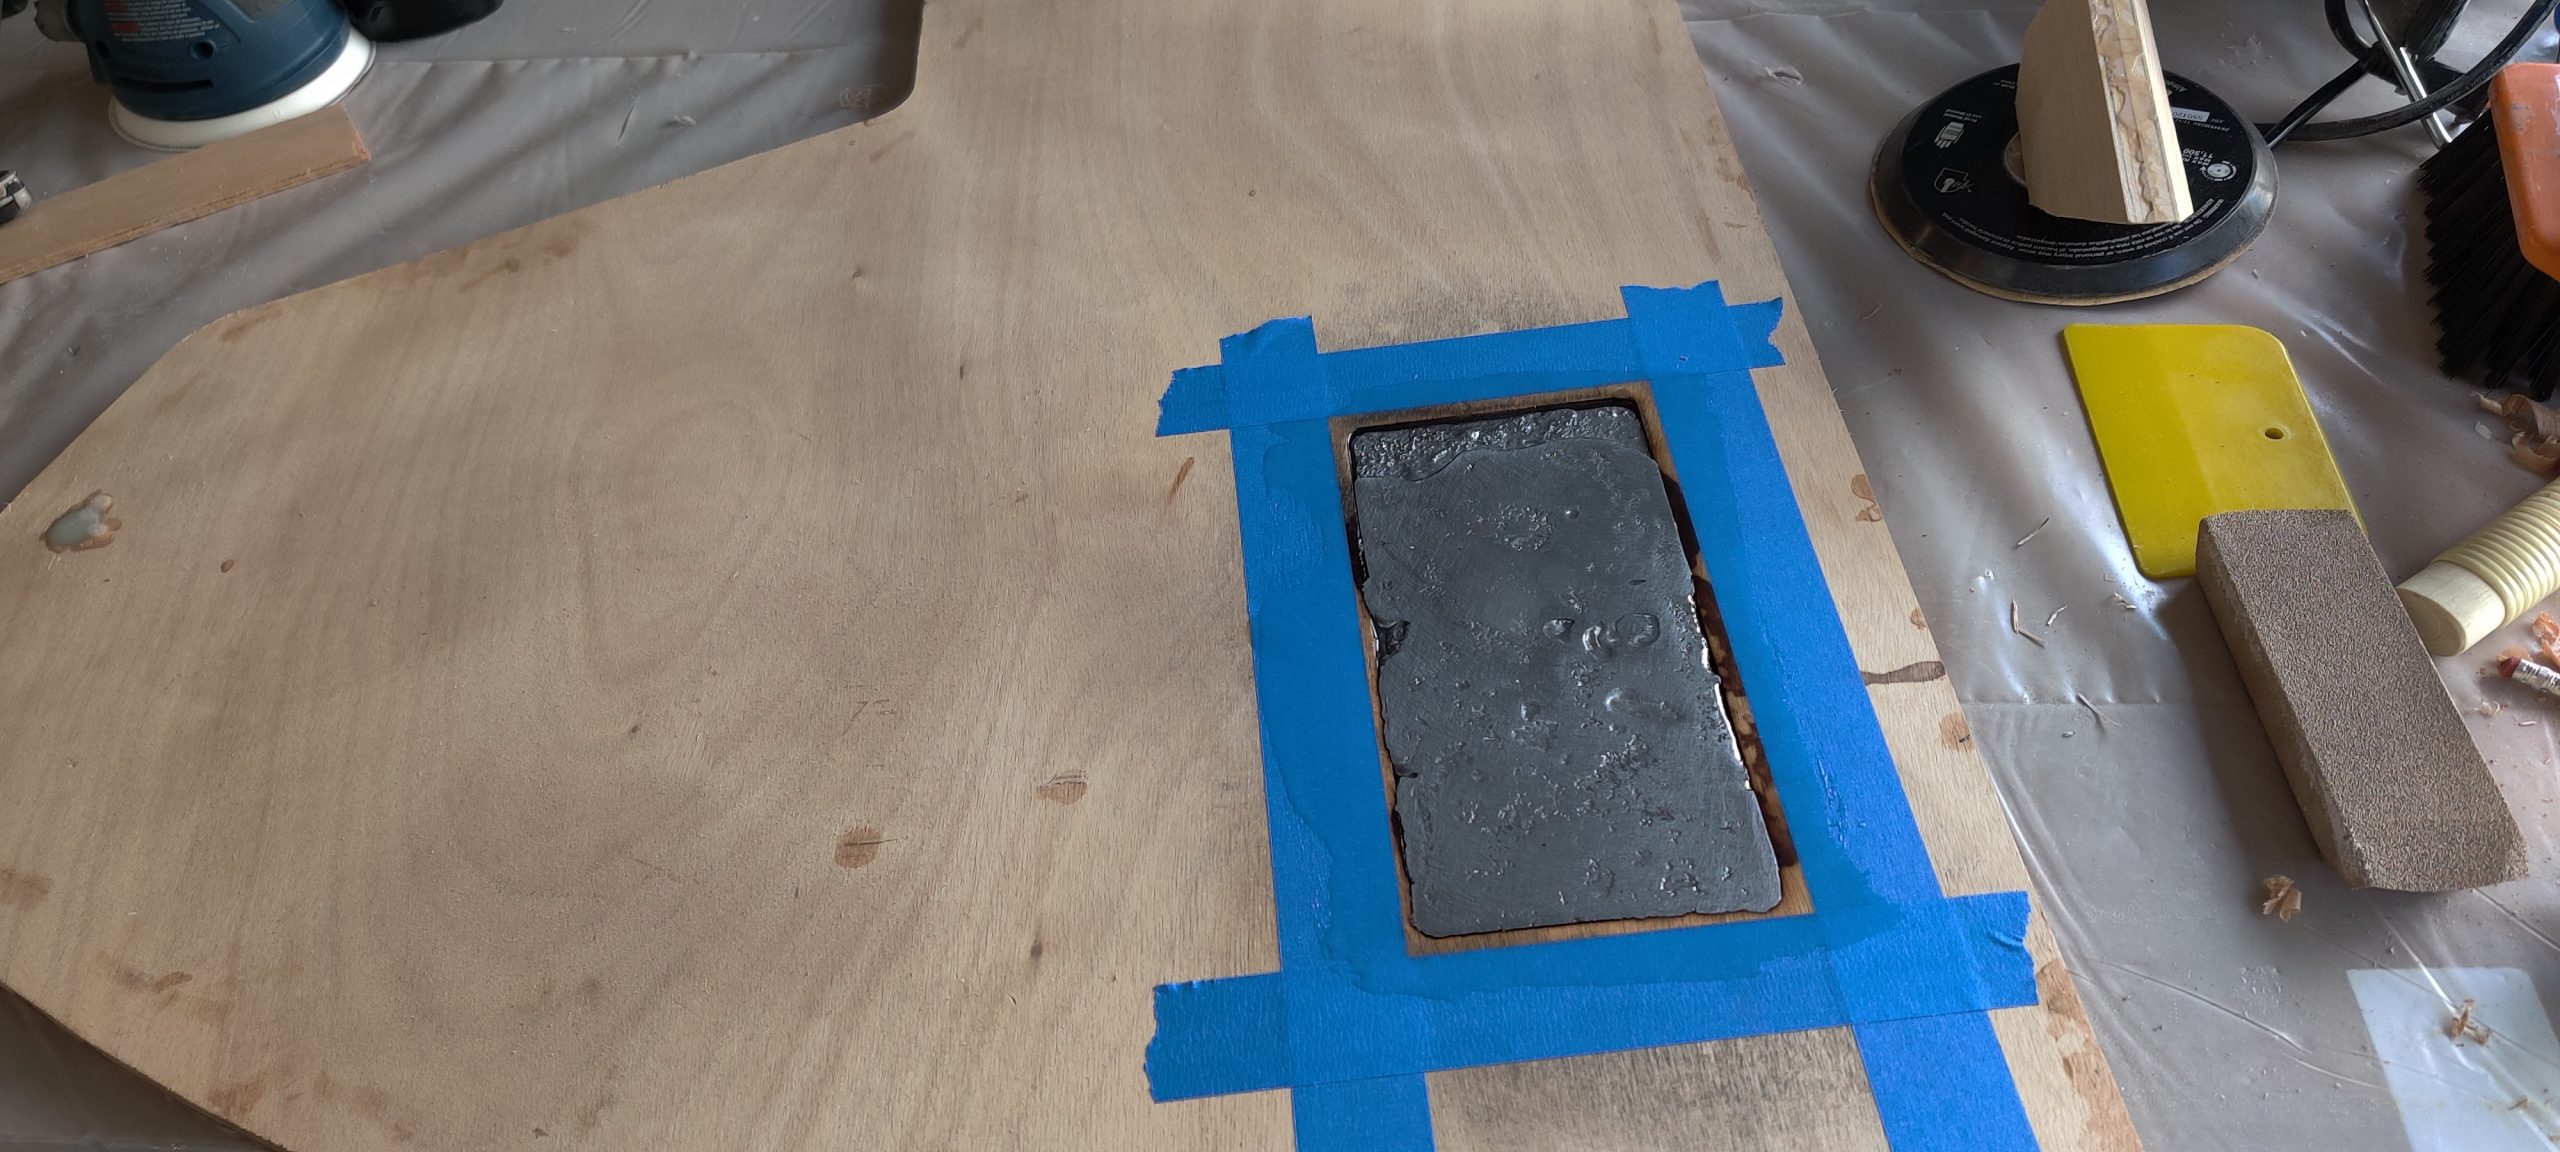
The router gouge from yesterday surrounded by tape to make clean up much easier.Plywood with blue tape held flush with shims to prevent incursion into centerboard slotCellofill, wood flour, and fast curing epoxy built up and left to cure. I’ll handle the sanding and matching of the contour after the keelson is attached. I removed the shims and plywood shelf after this picture.Update 10/3 – after shaving down with block plane, sanding contour with a block and finishing up with the random orbital sanderRemember, you can fix almost anything when working with wood. Don’t panic, come up with a plan, and execute!
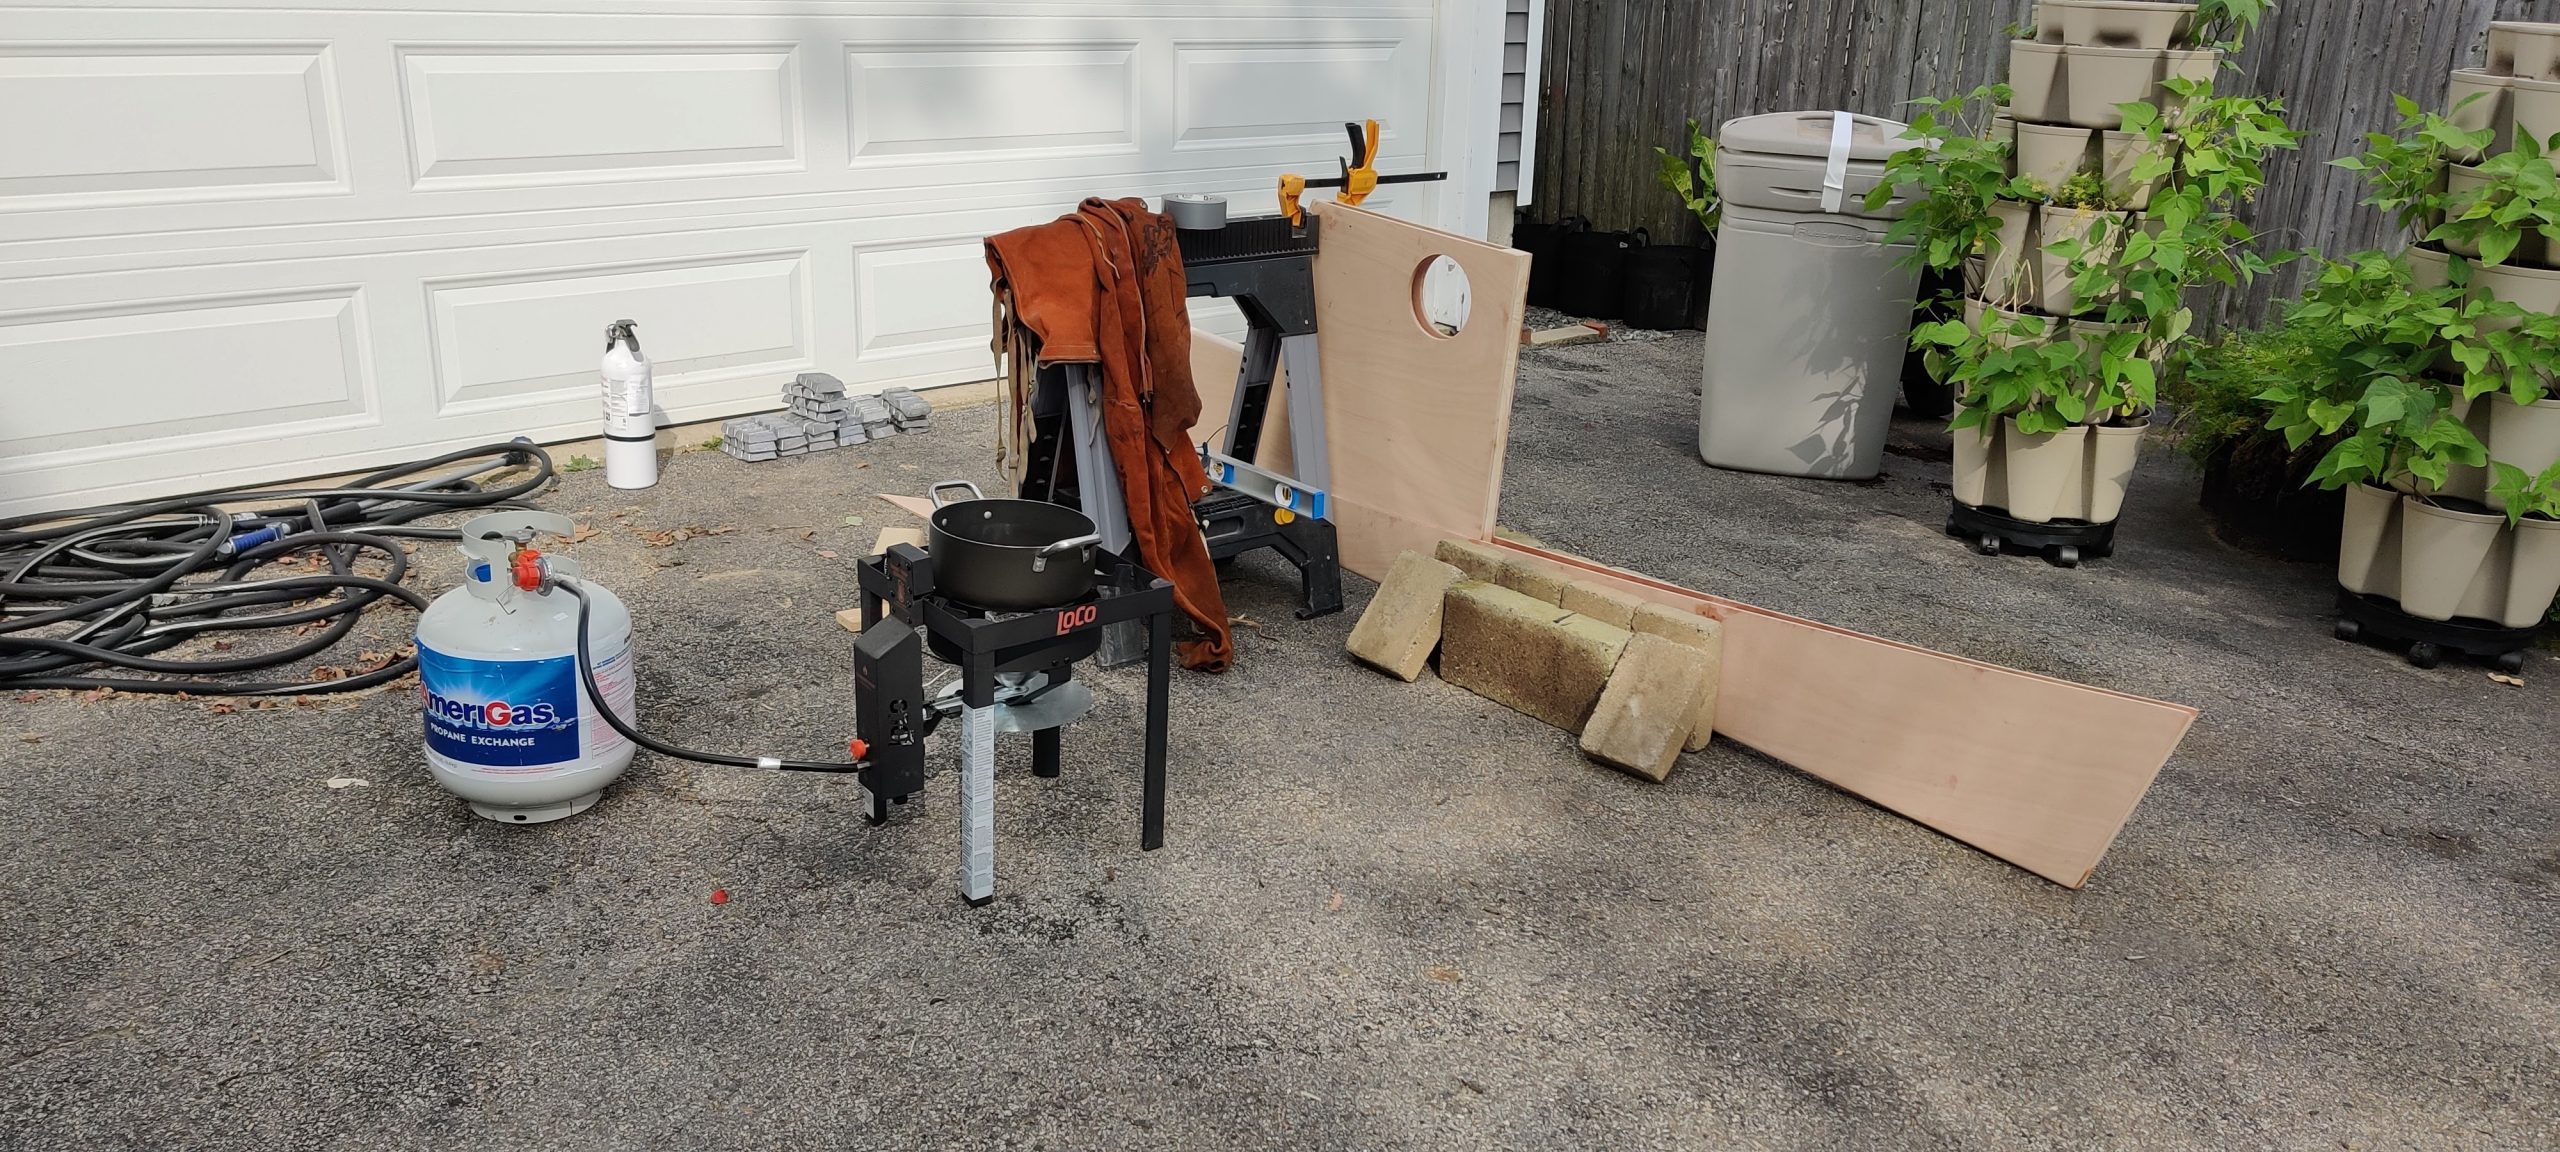
We’re going to cast lead! Quick move everything outside
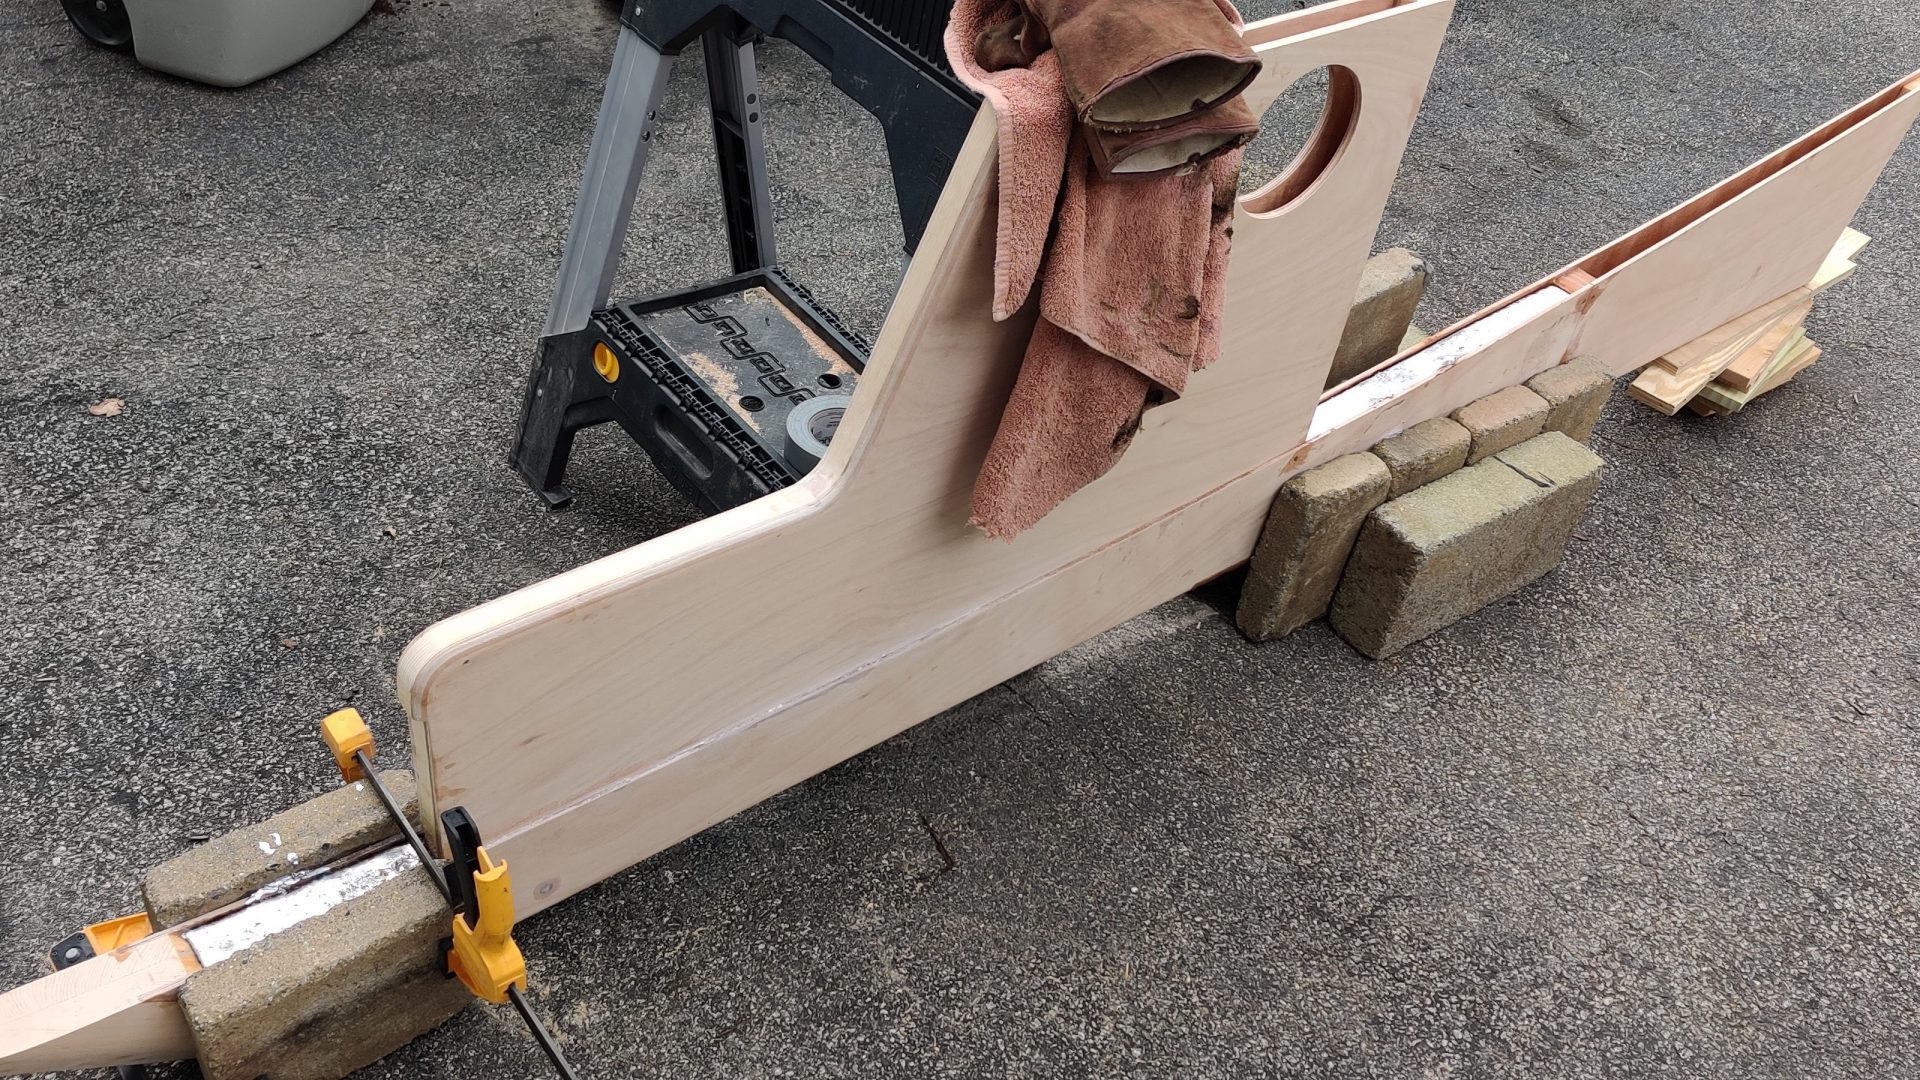
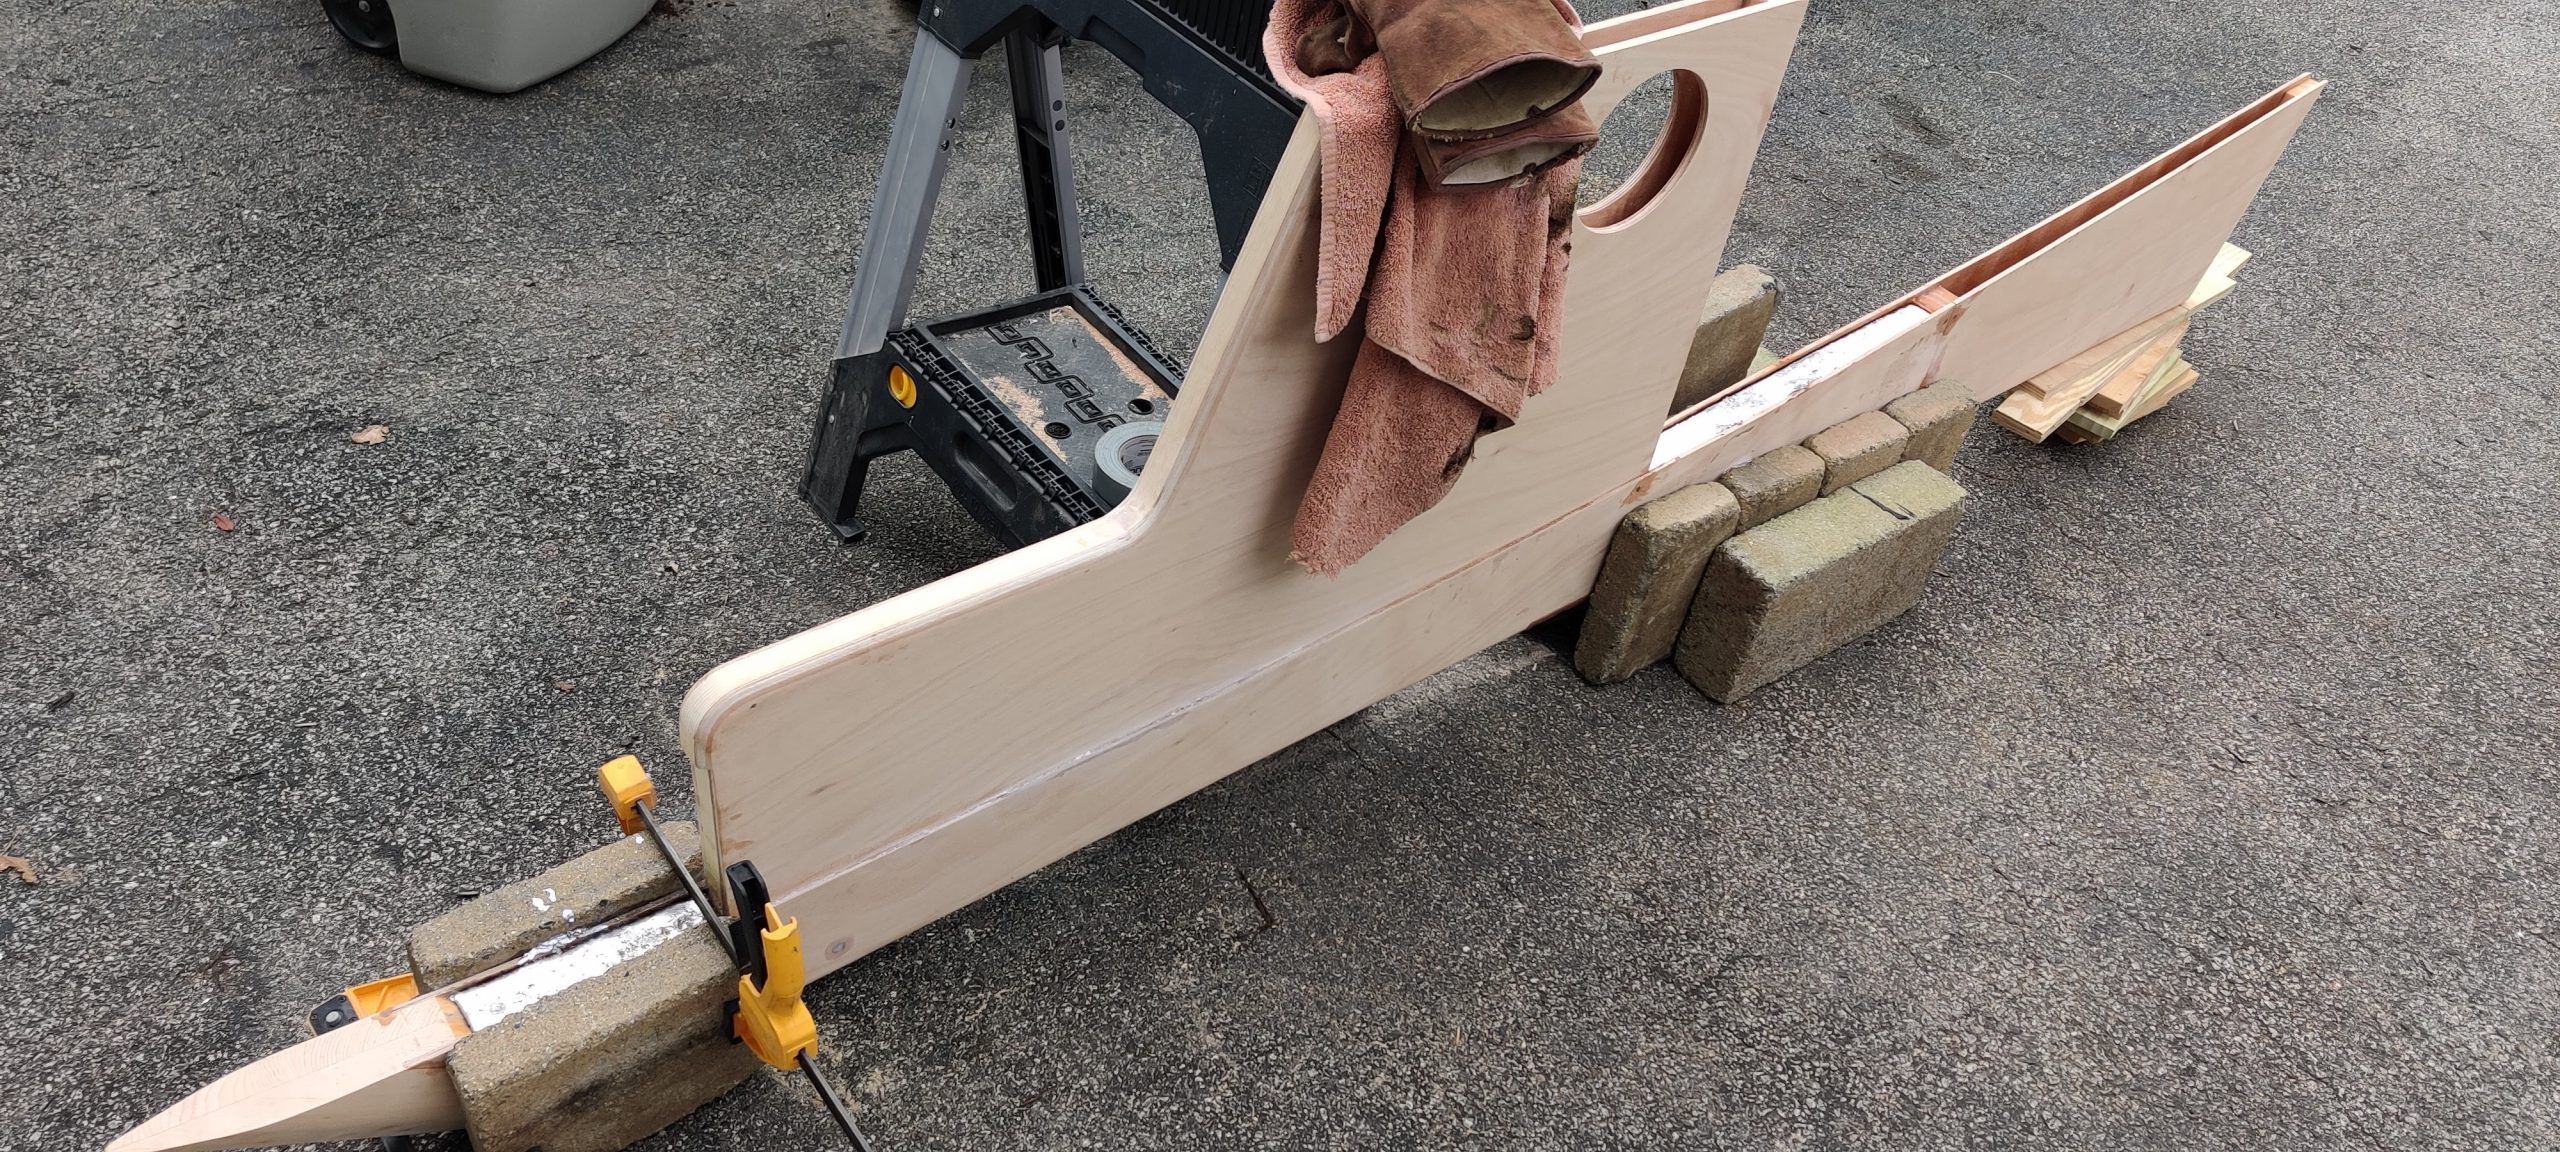
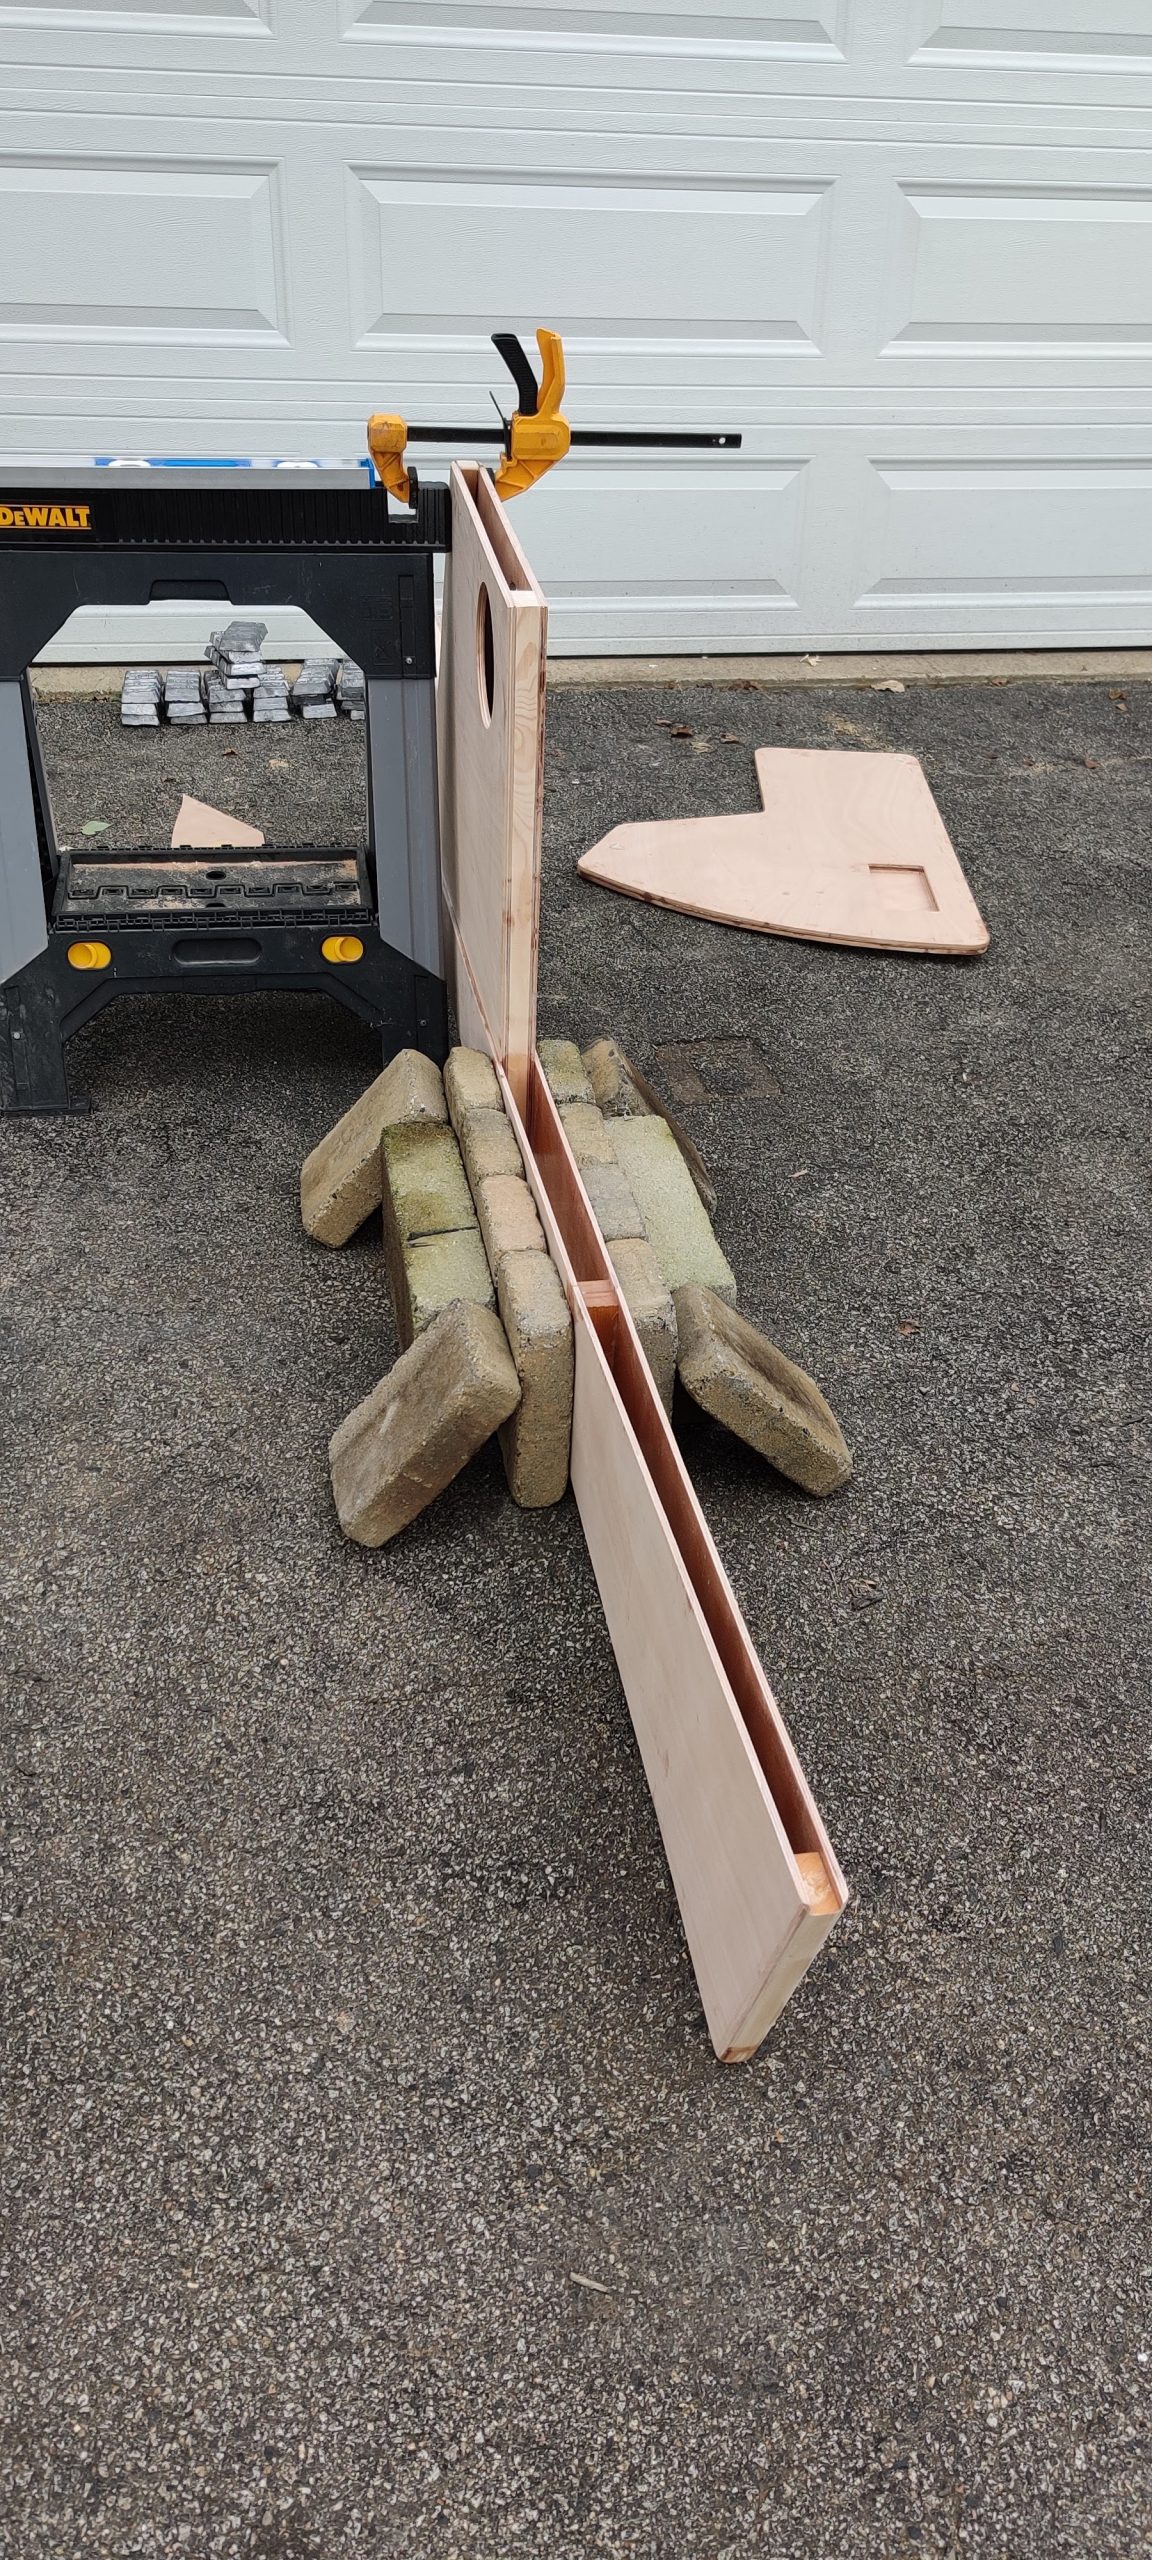
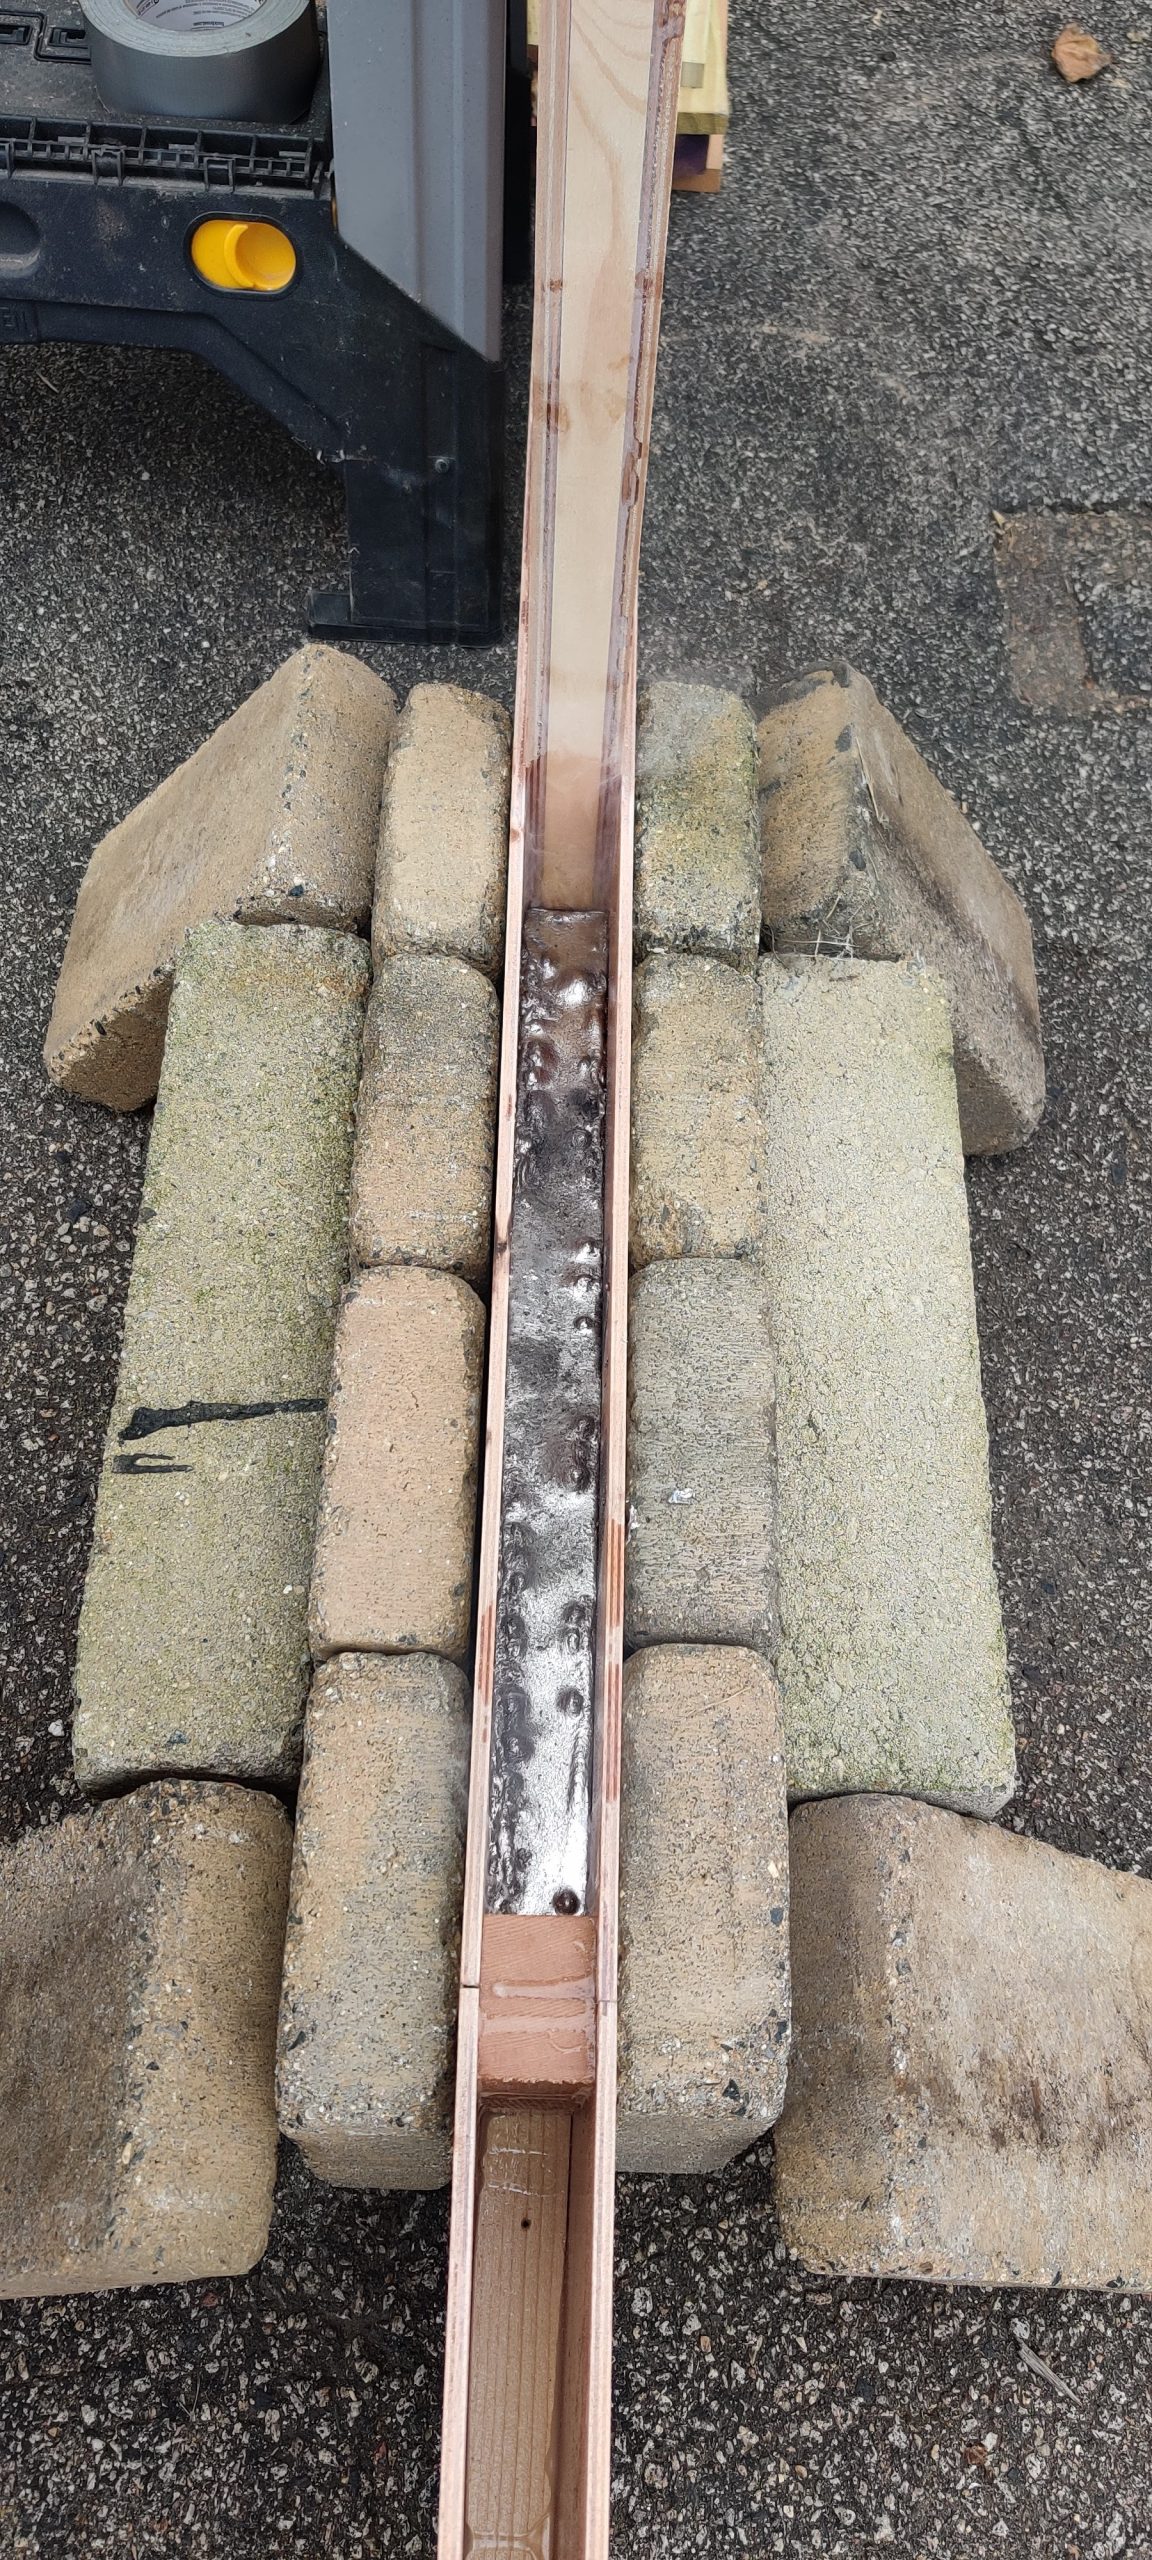
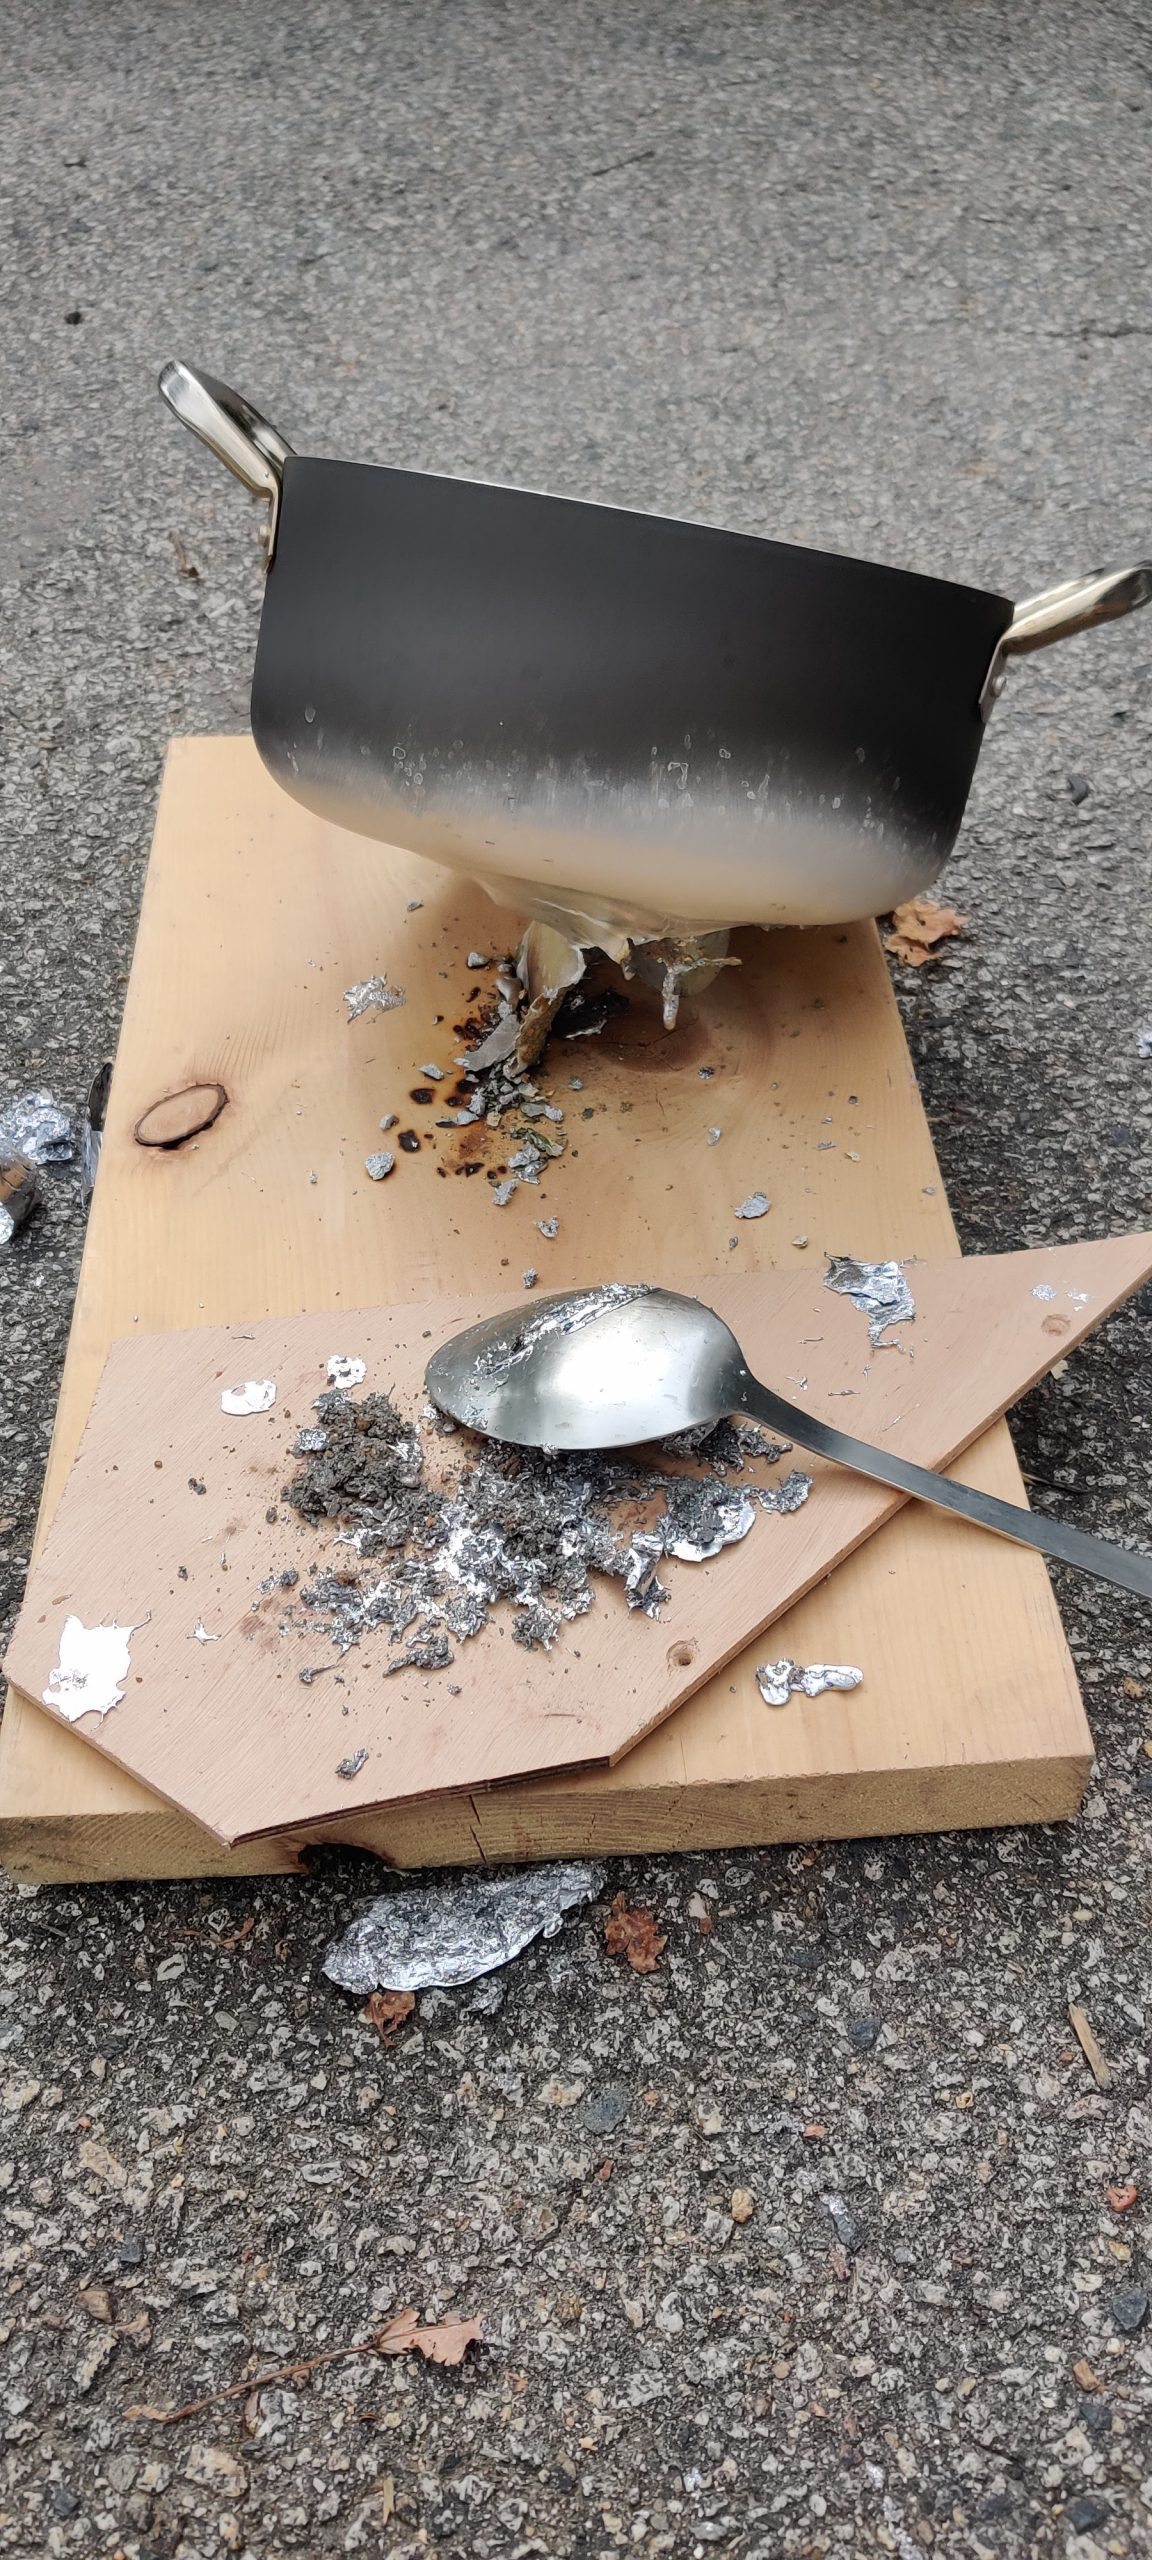
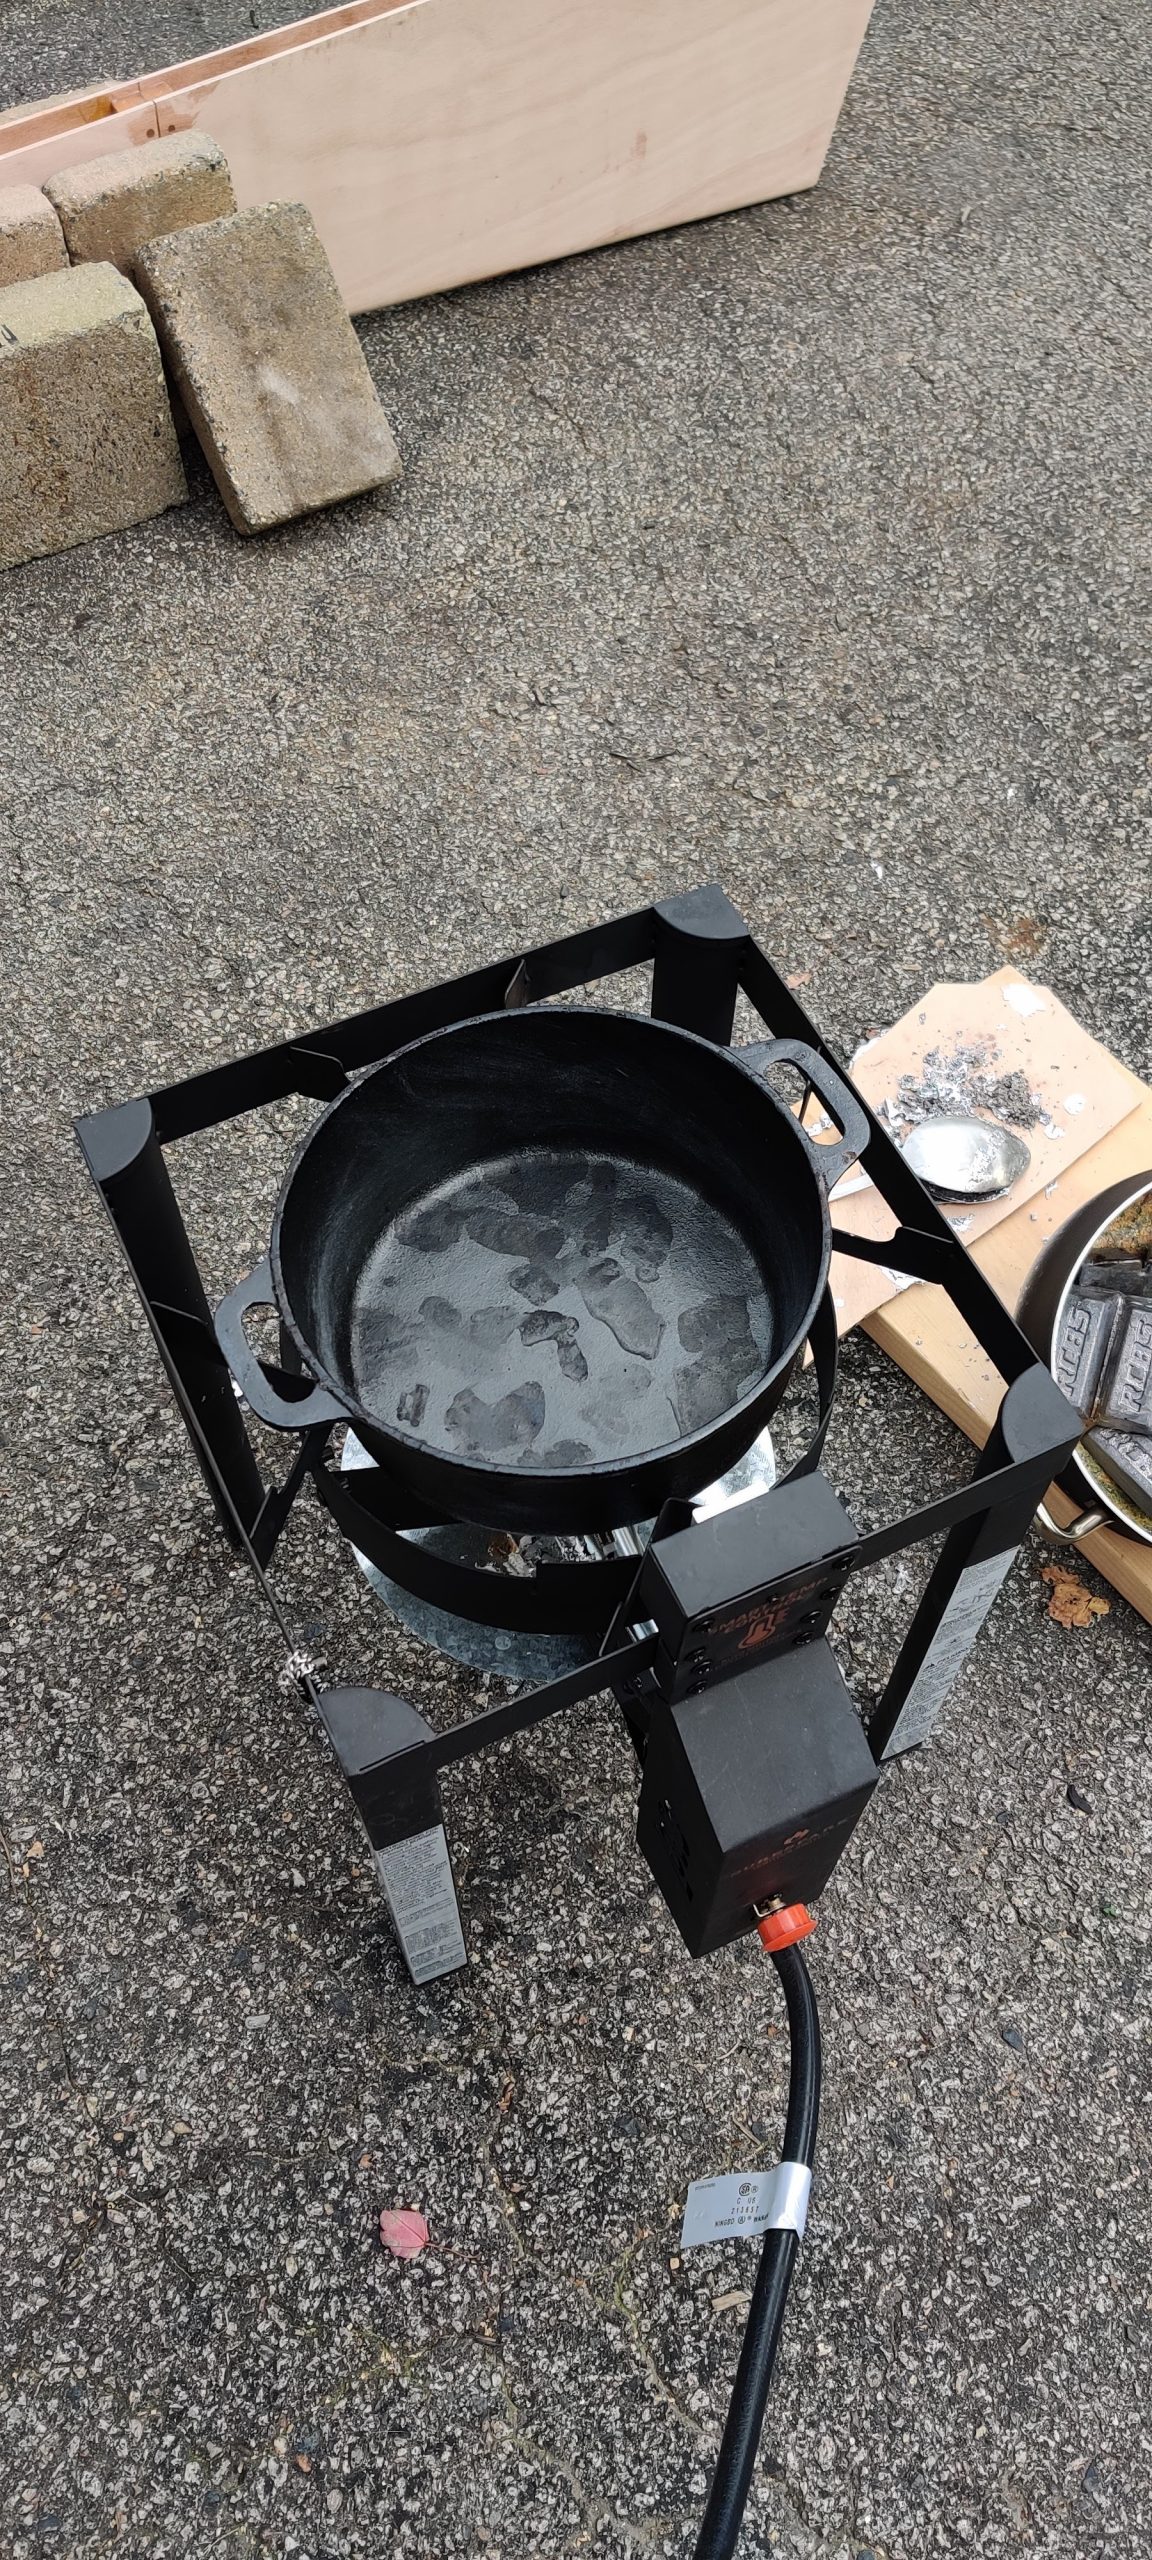
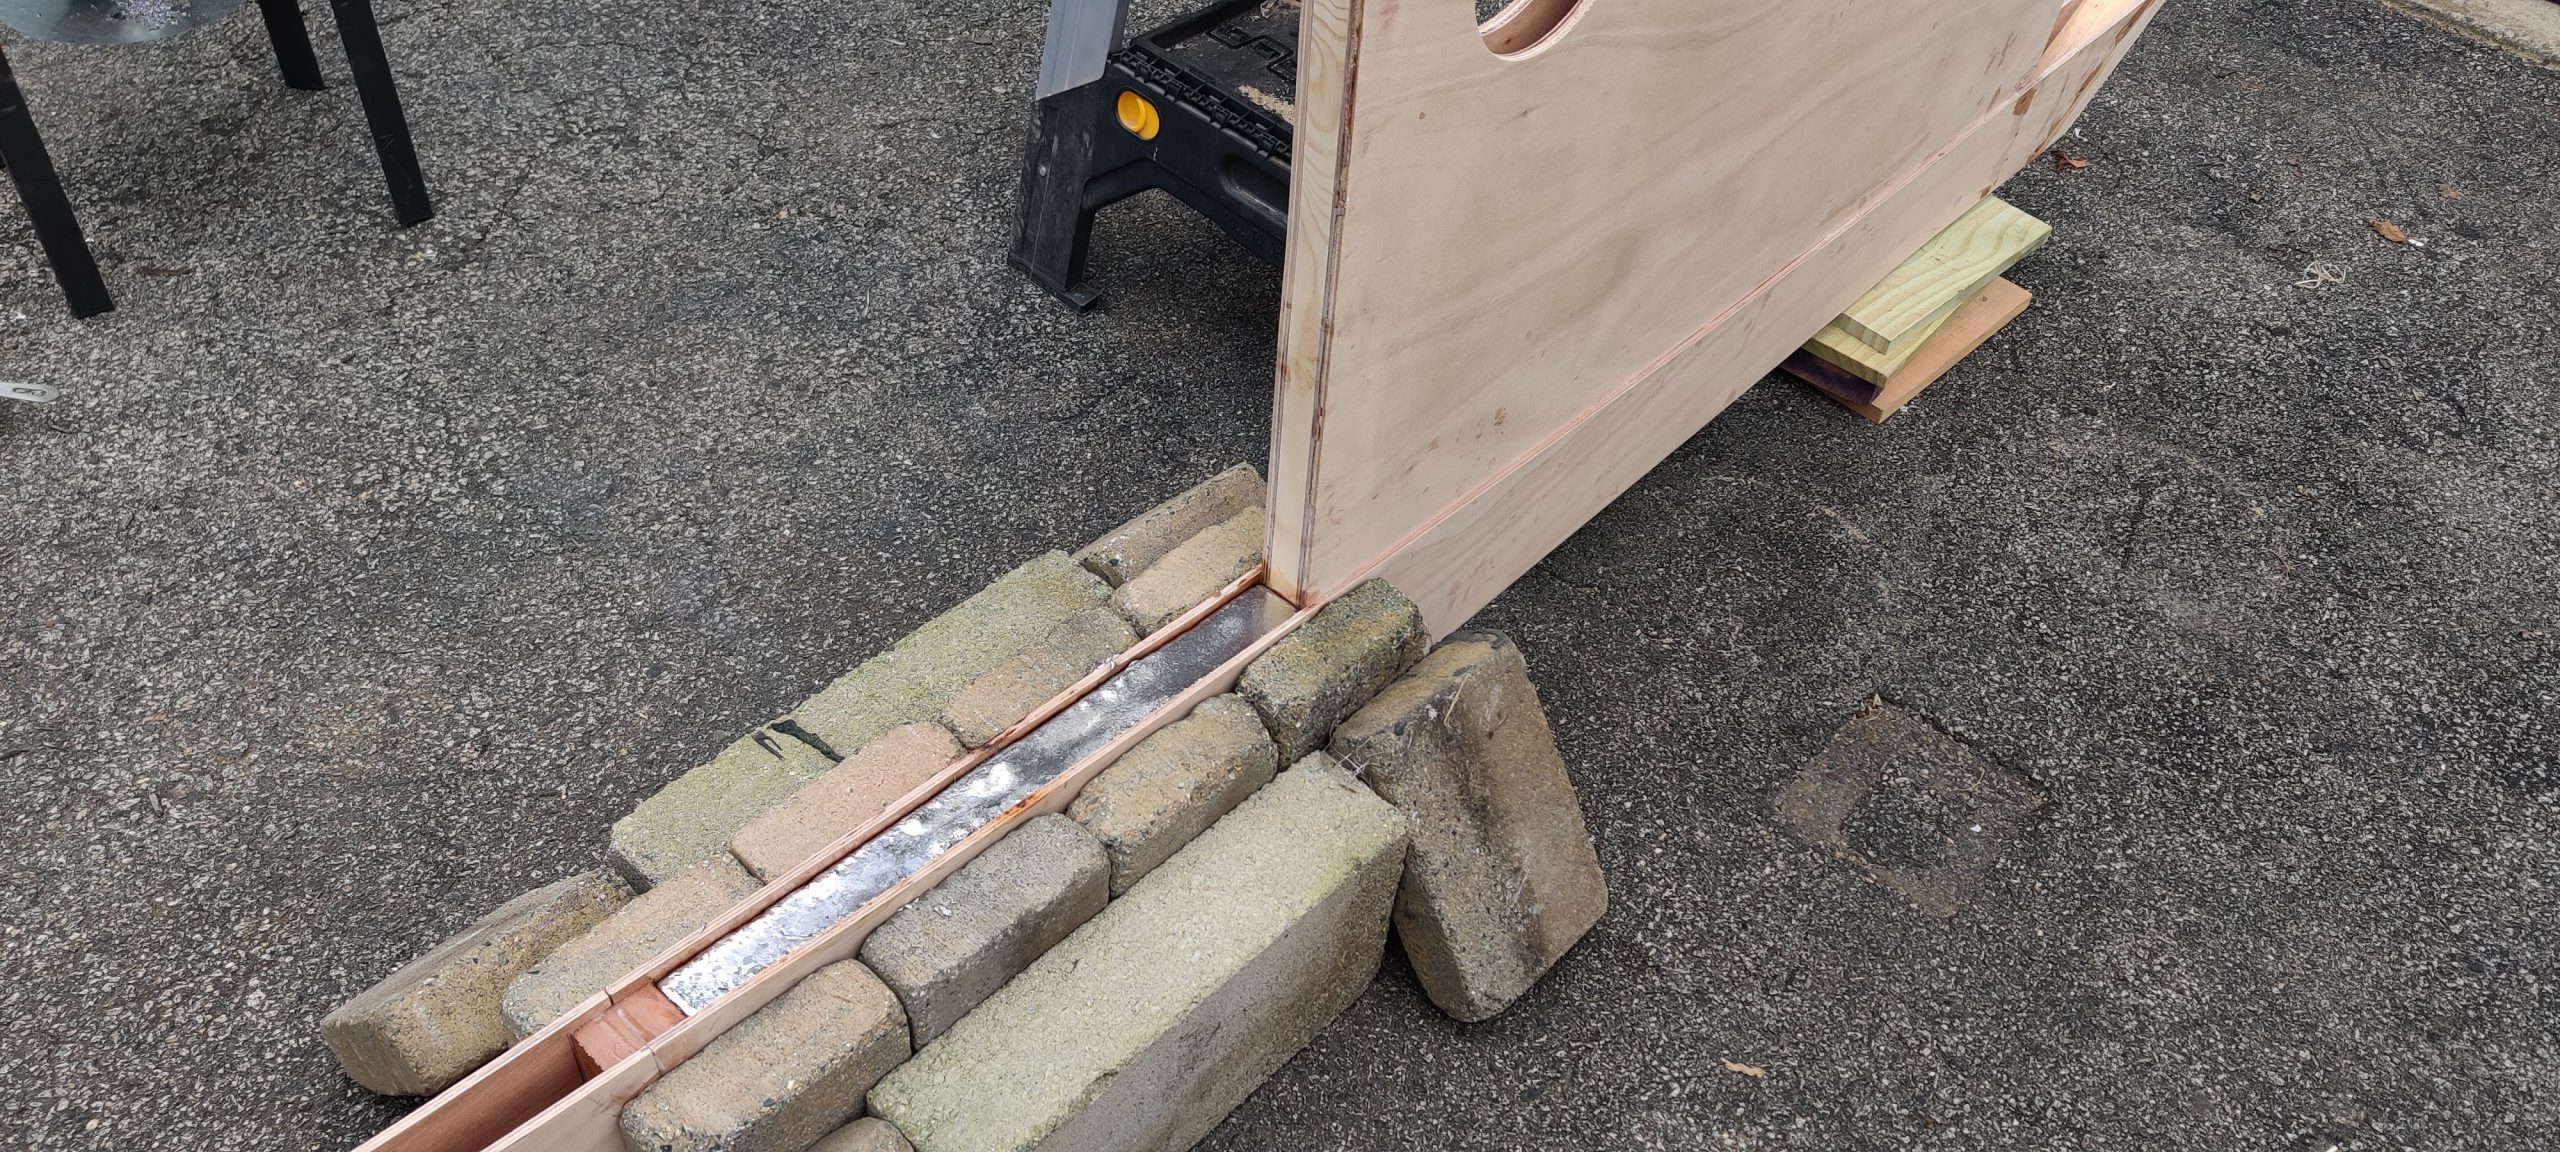
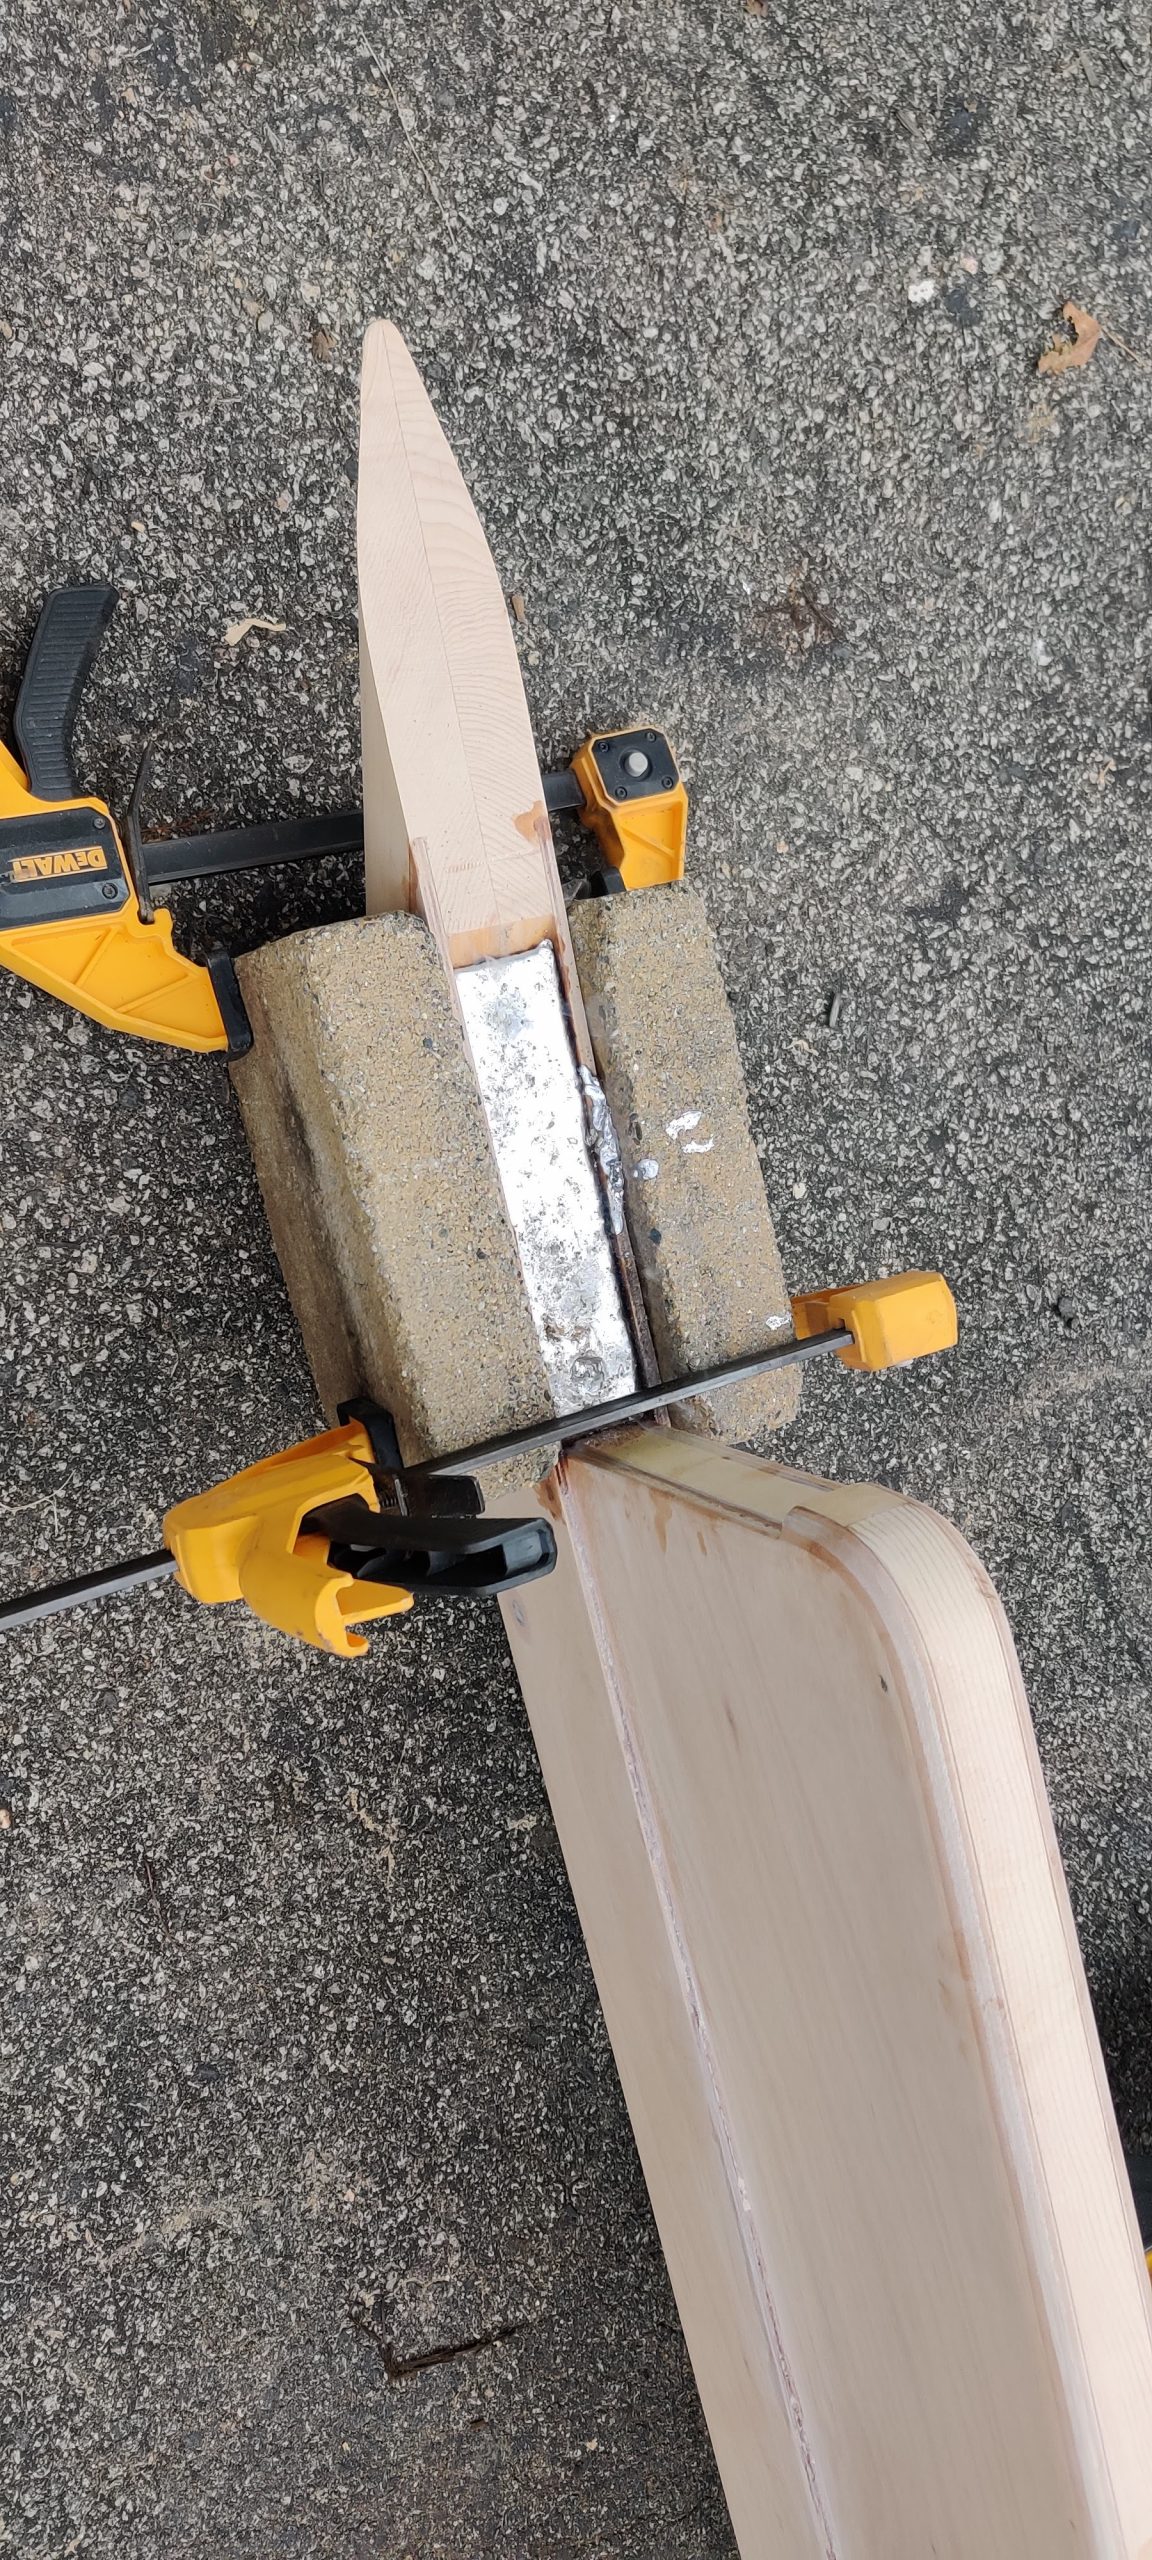
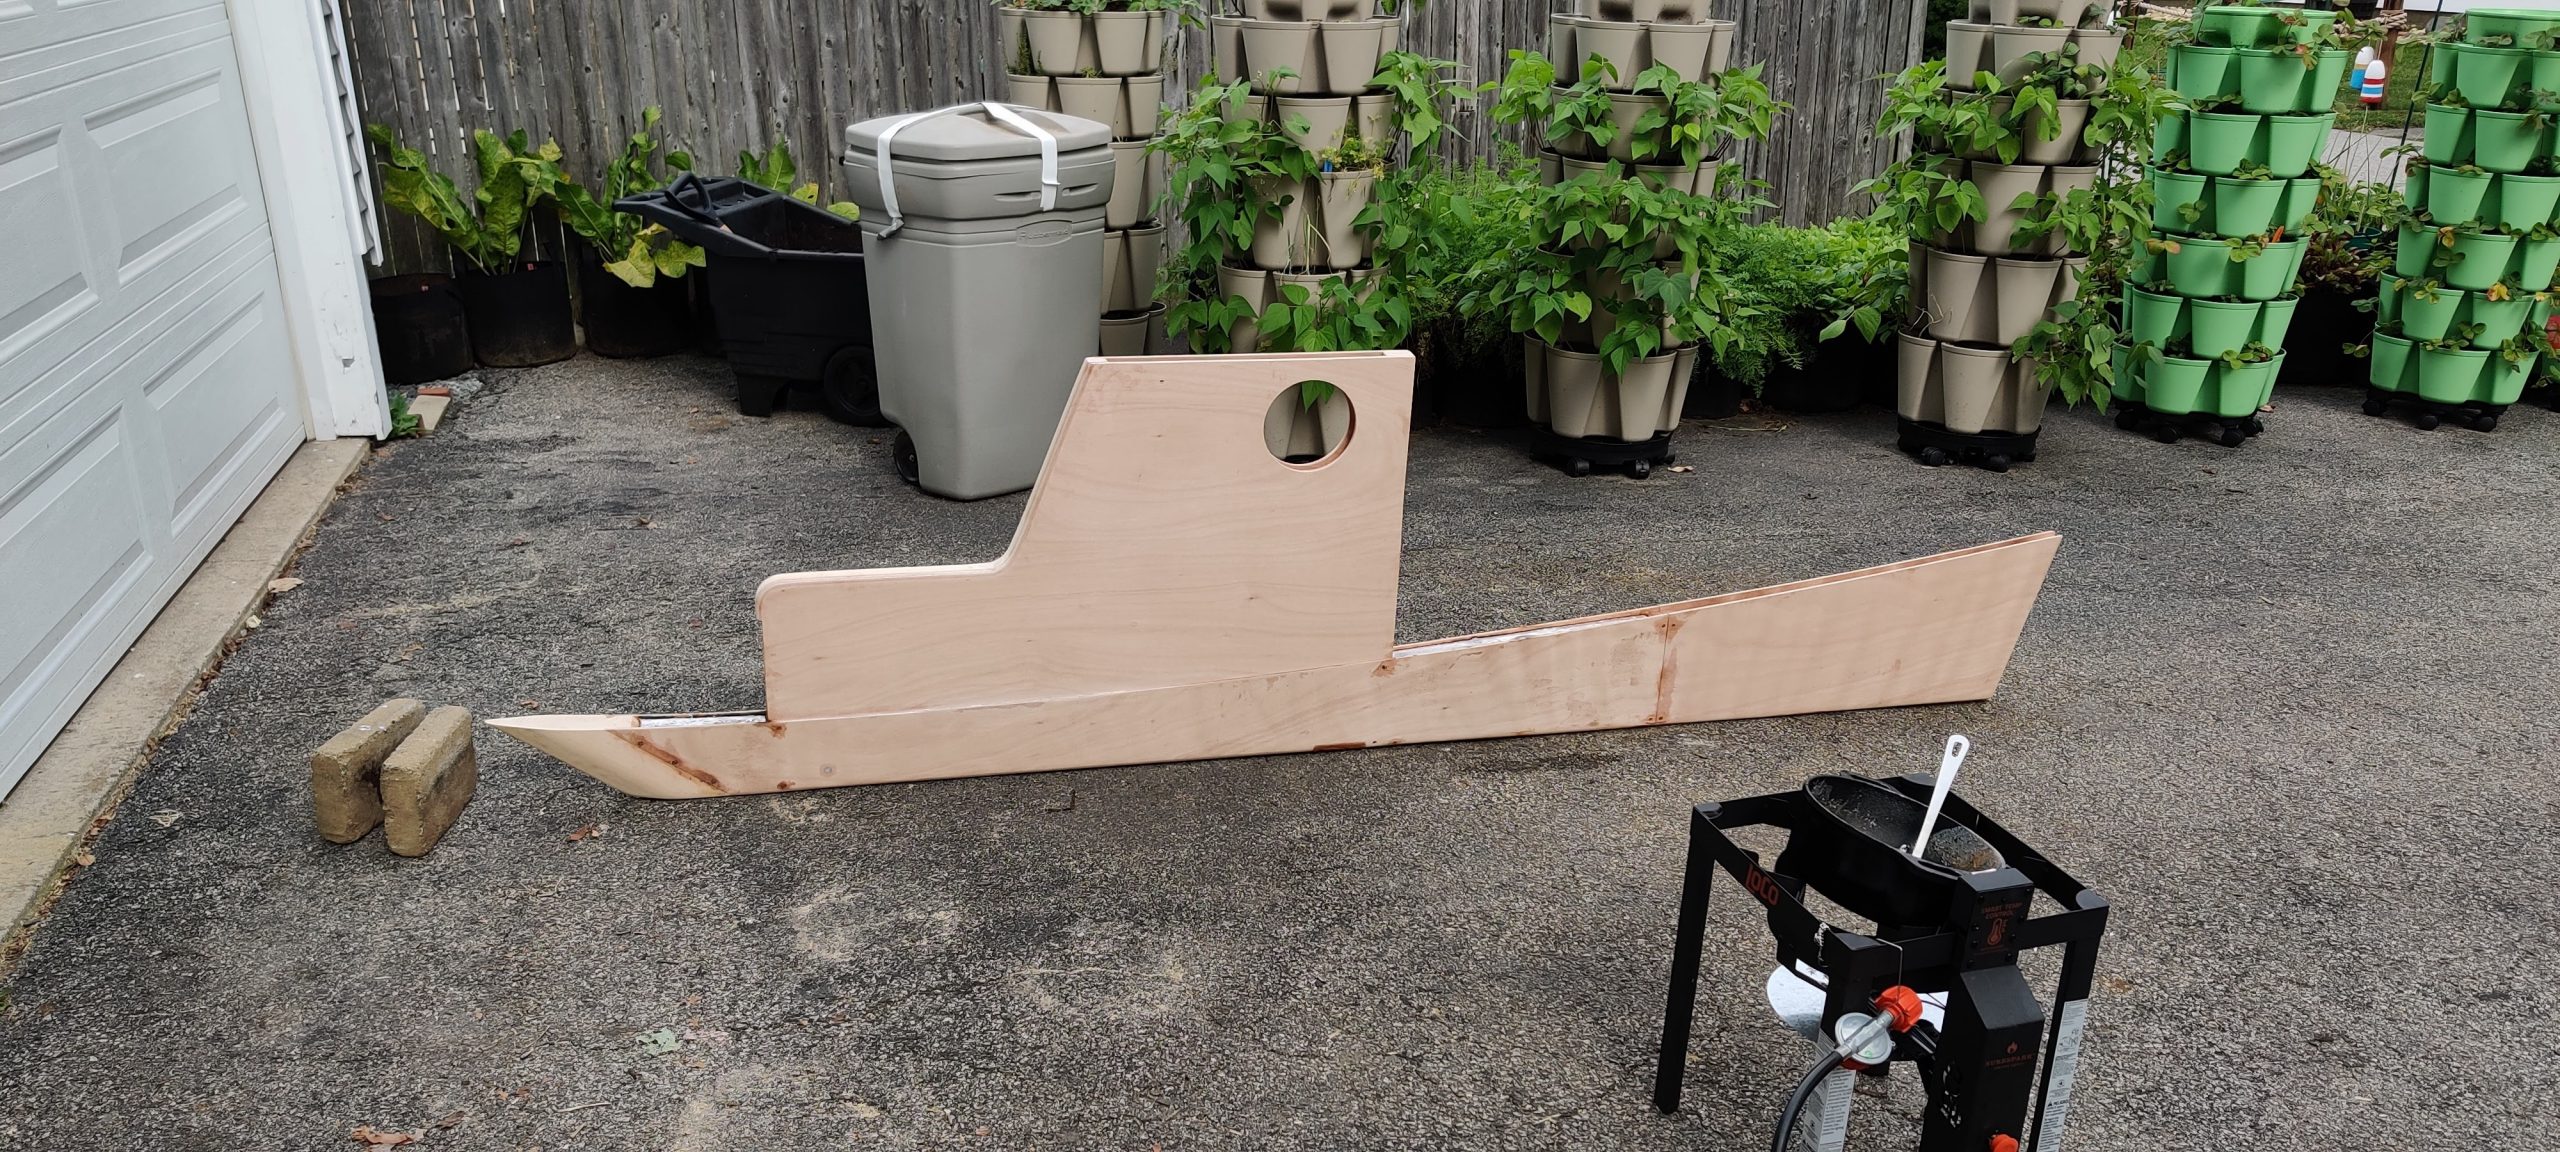
Keel leveled for the aft section fill with pavers acting to help prevent bowing of the ply panels.Ready to fire up the burners. Notice the extra safety precautions including a fire extinguisher nearby and welding leathers I’ve used previously doing other metal casting including aluminum, bronze, and cast iron. Fully prepped and melt started. Pro tip for casting molten metal – add duct tape over your laces on boots to prevent any splatters from pooling in a dangerous spot if you don’t have spats or solid leather uppers. I’m using an aluminum pot here for the melt.First up on the pour was the centerboard drop weight. That went quick enough.It does smoke and bubble impressively when you pour molten lead into a cavity of marine plywood with epoxy. It’s taking longer than I thought it would to fill the aft portion. It’s getting there. I am doing smaller batches to avoid heavier pours. So far so good!Well, that’s not good. I’ve still got more to pour. The aluminum pot lasted for about 6-7 heats. I’ve still got more to go. What to do?Moved onto a cast iron dutch oven that I restored from a rusty mess. Time to heat up again. I ended up having to skim off some floating aluminum from the lead I salvaged.The aft keel pour is complete! Time to move onto the forward smaller section after leveling for that partand done… Burner is off and time to start cleanup from the pour. A much heavier and almost functional keel – let’s seal it up next.
Back into the shop
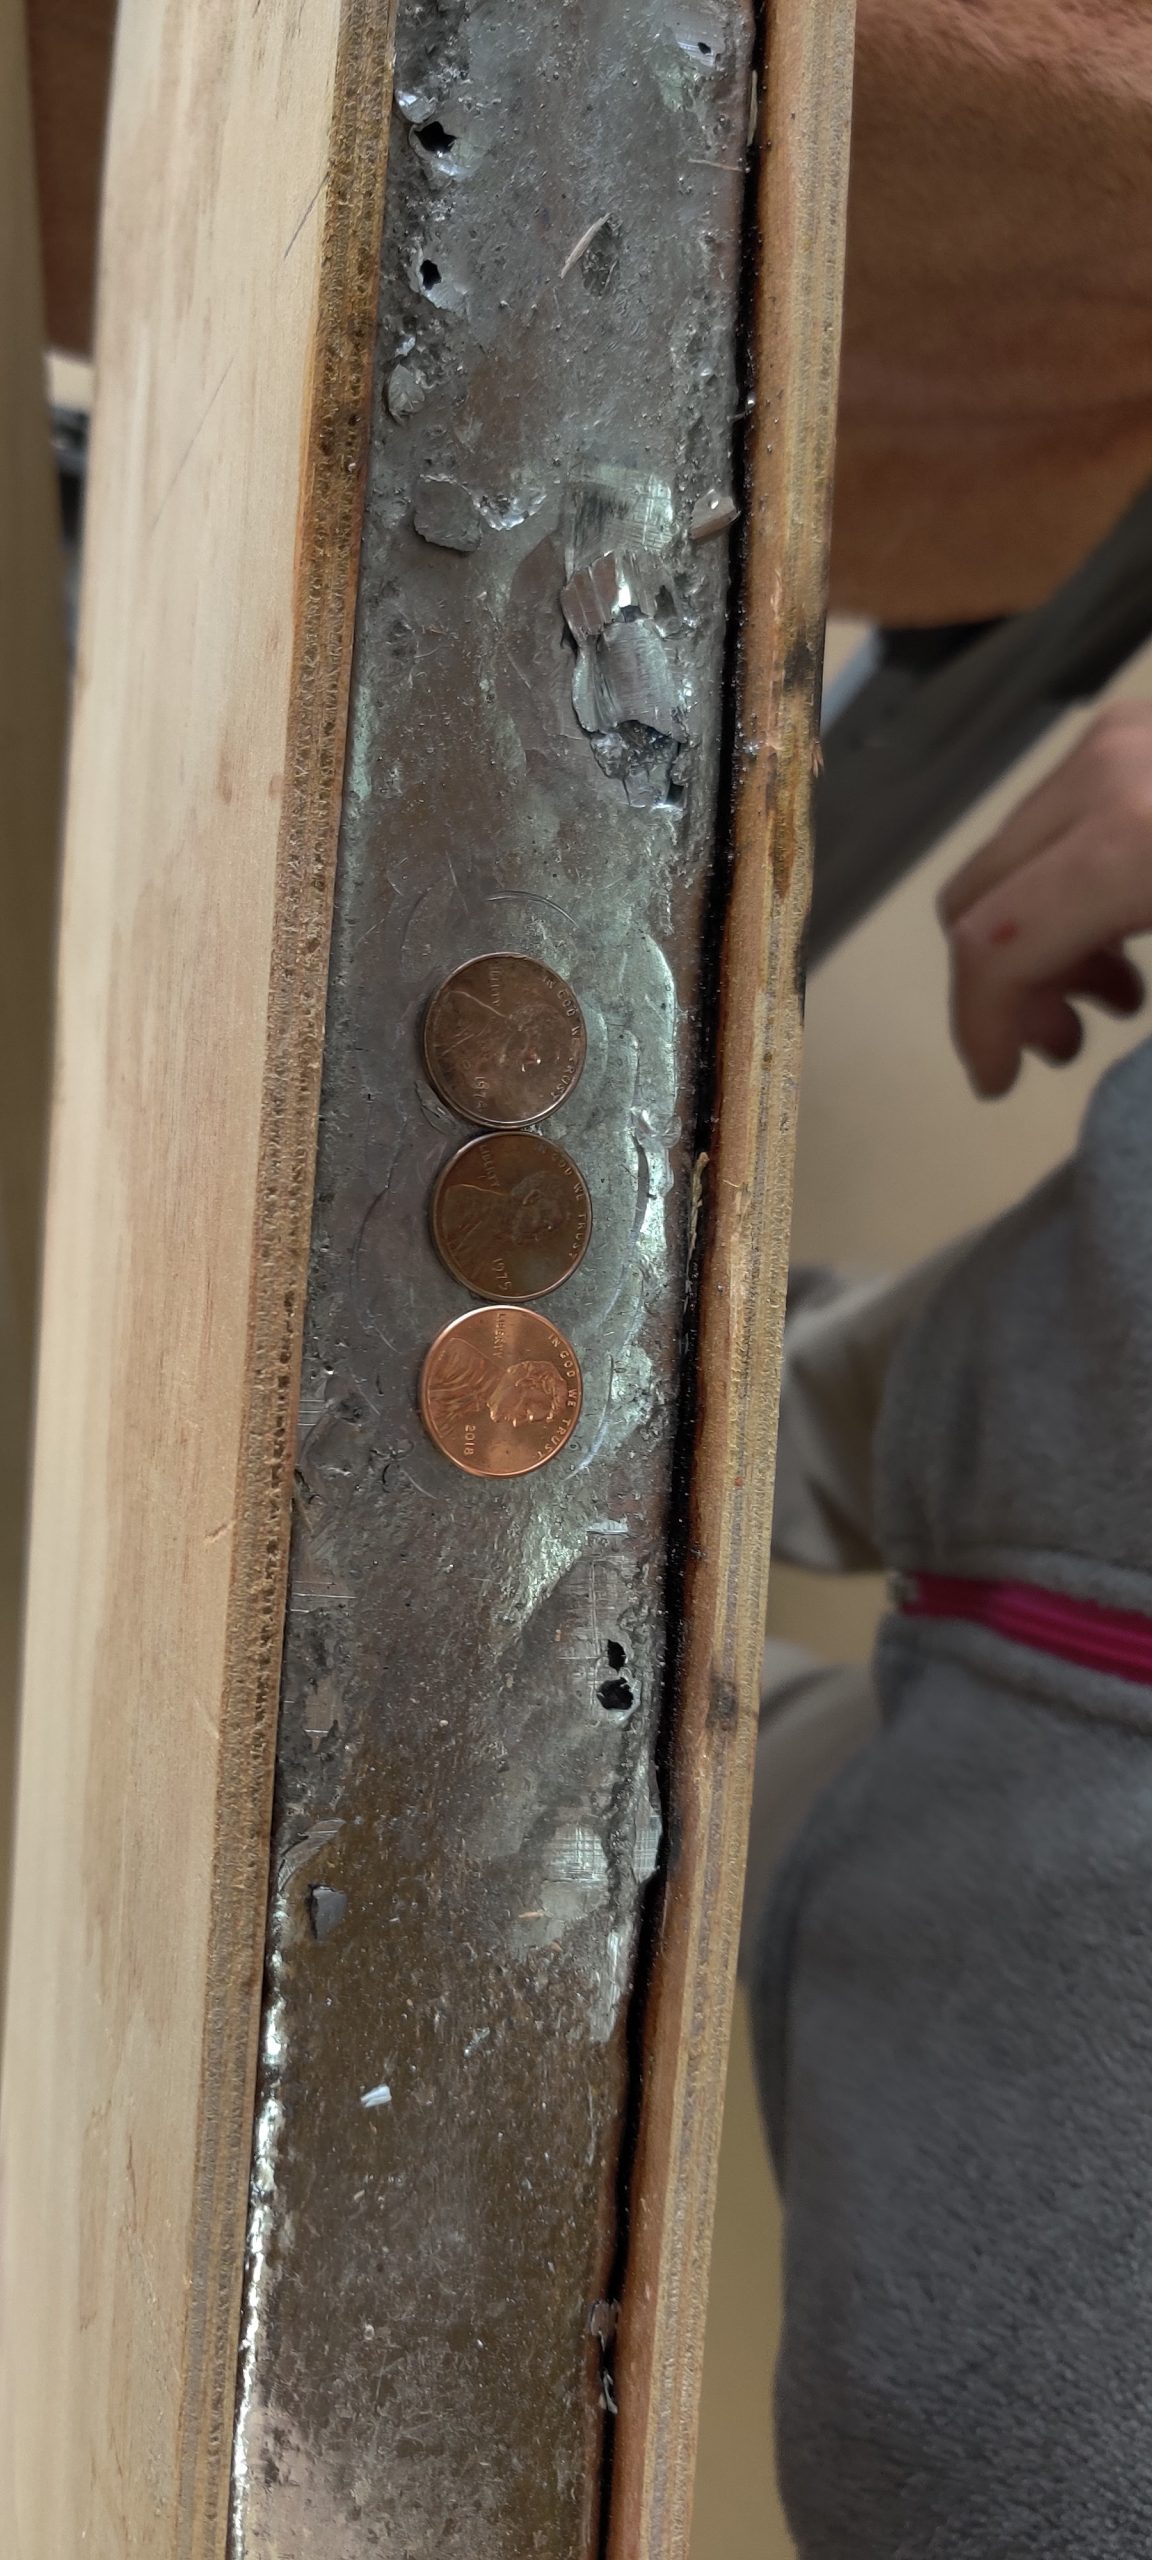
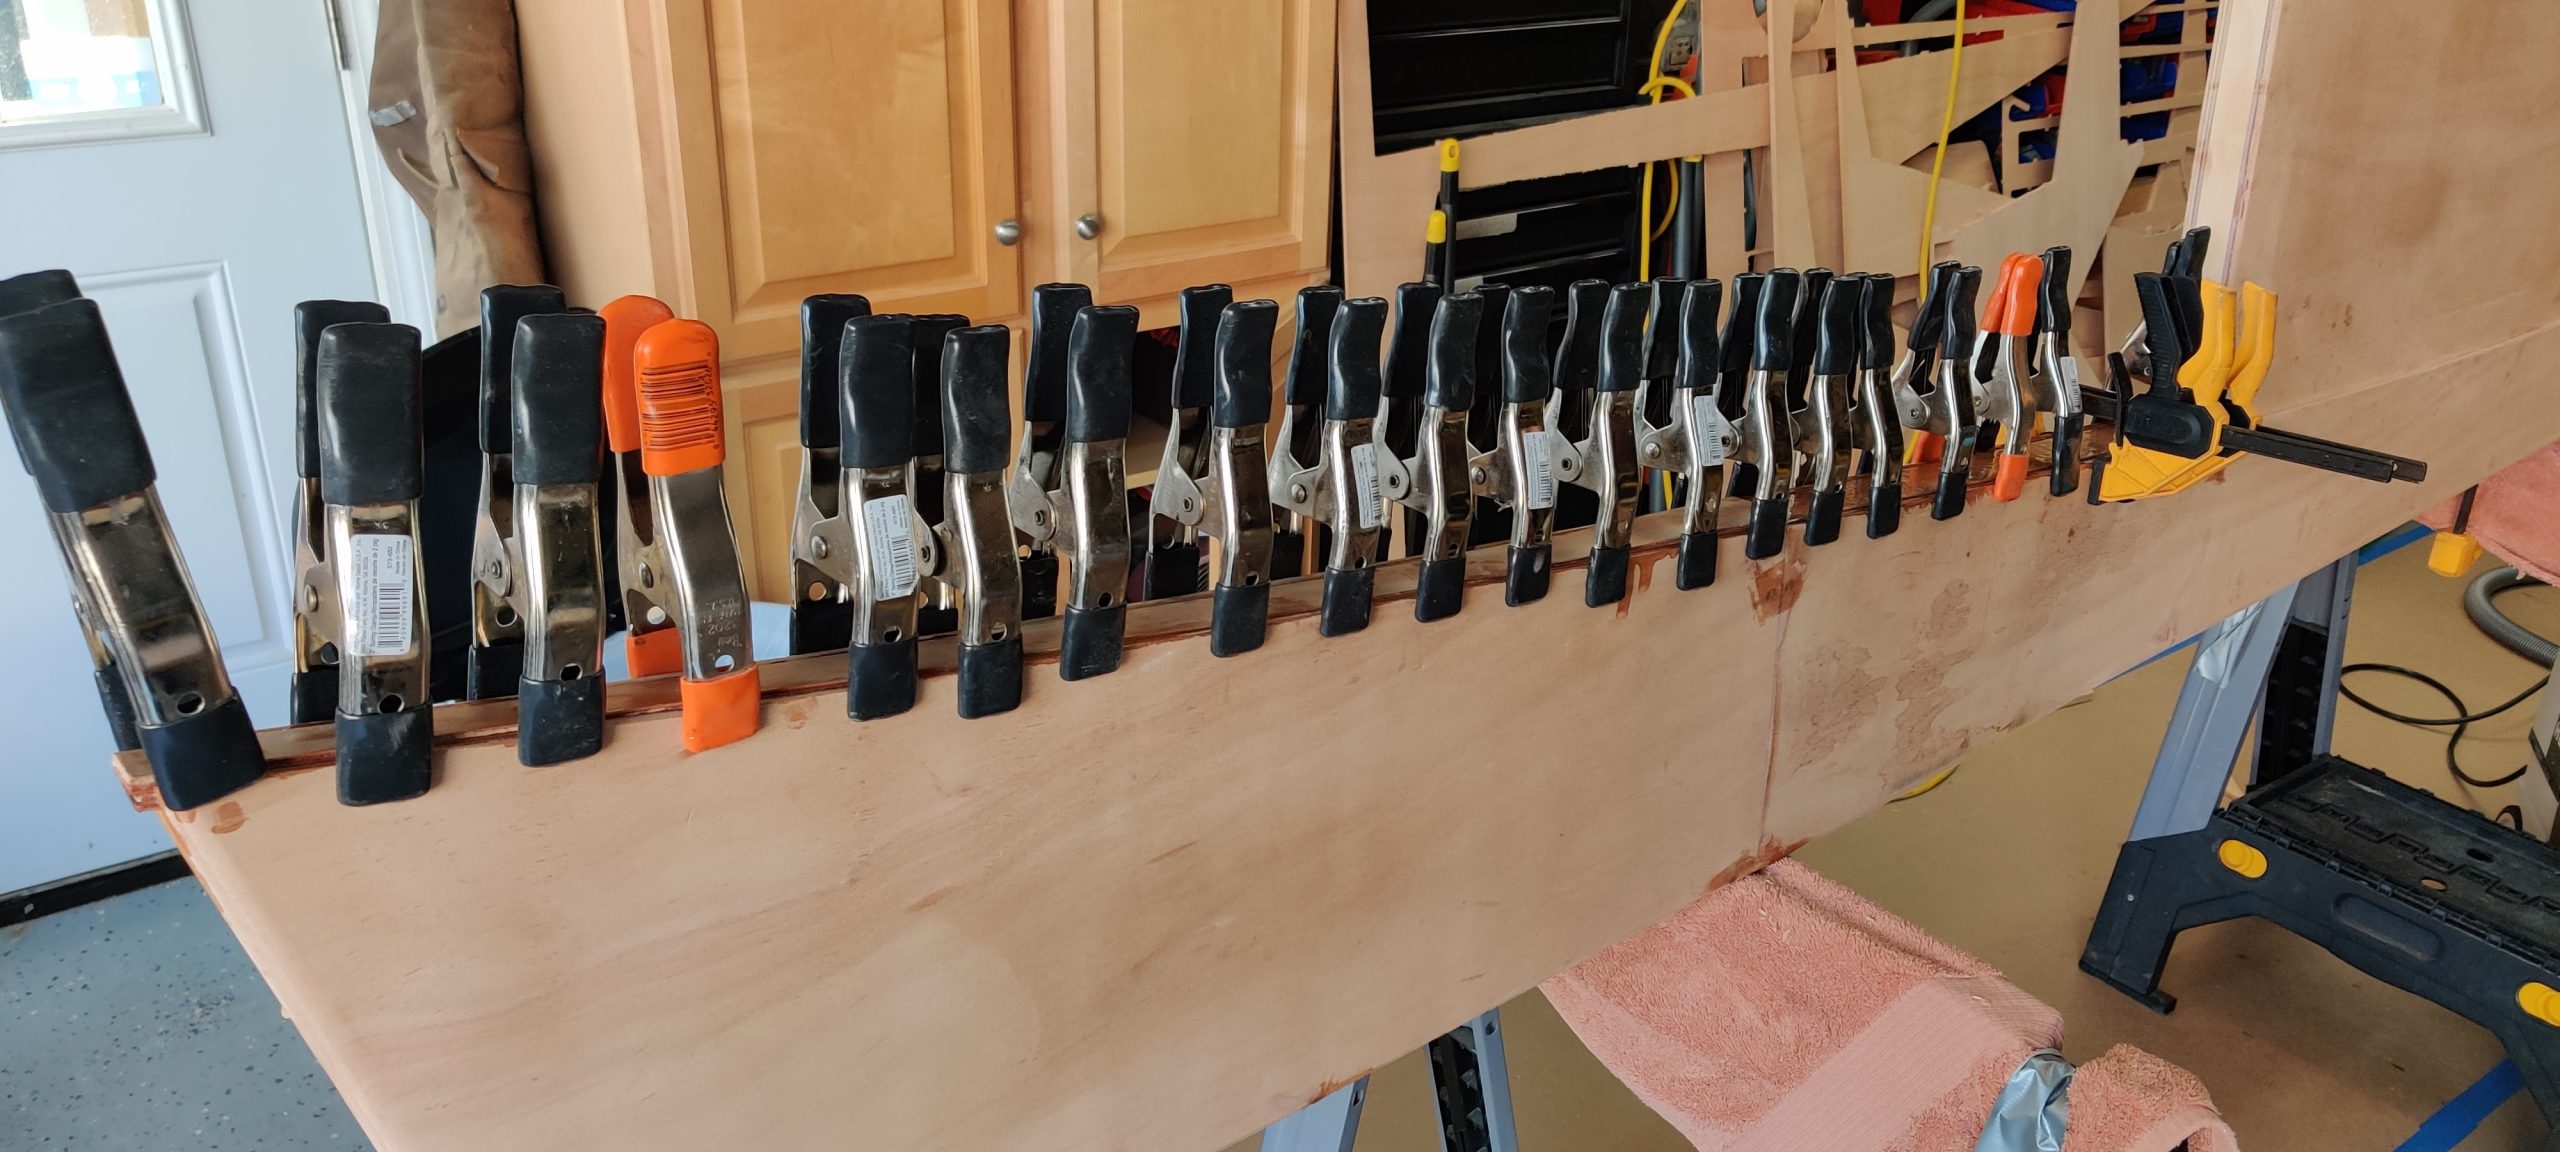
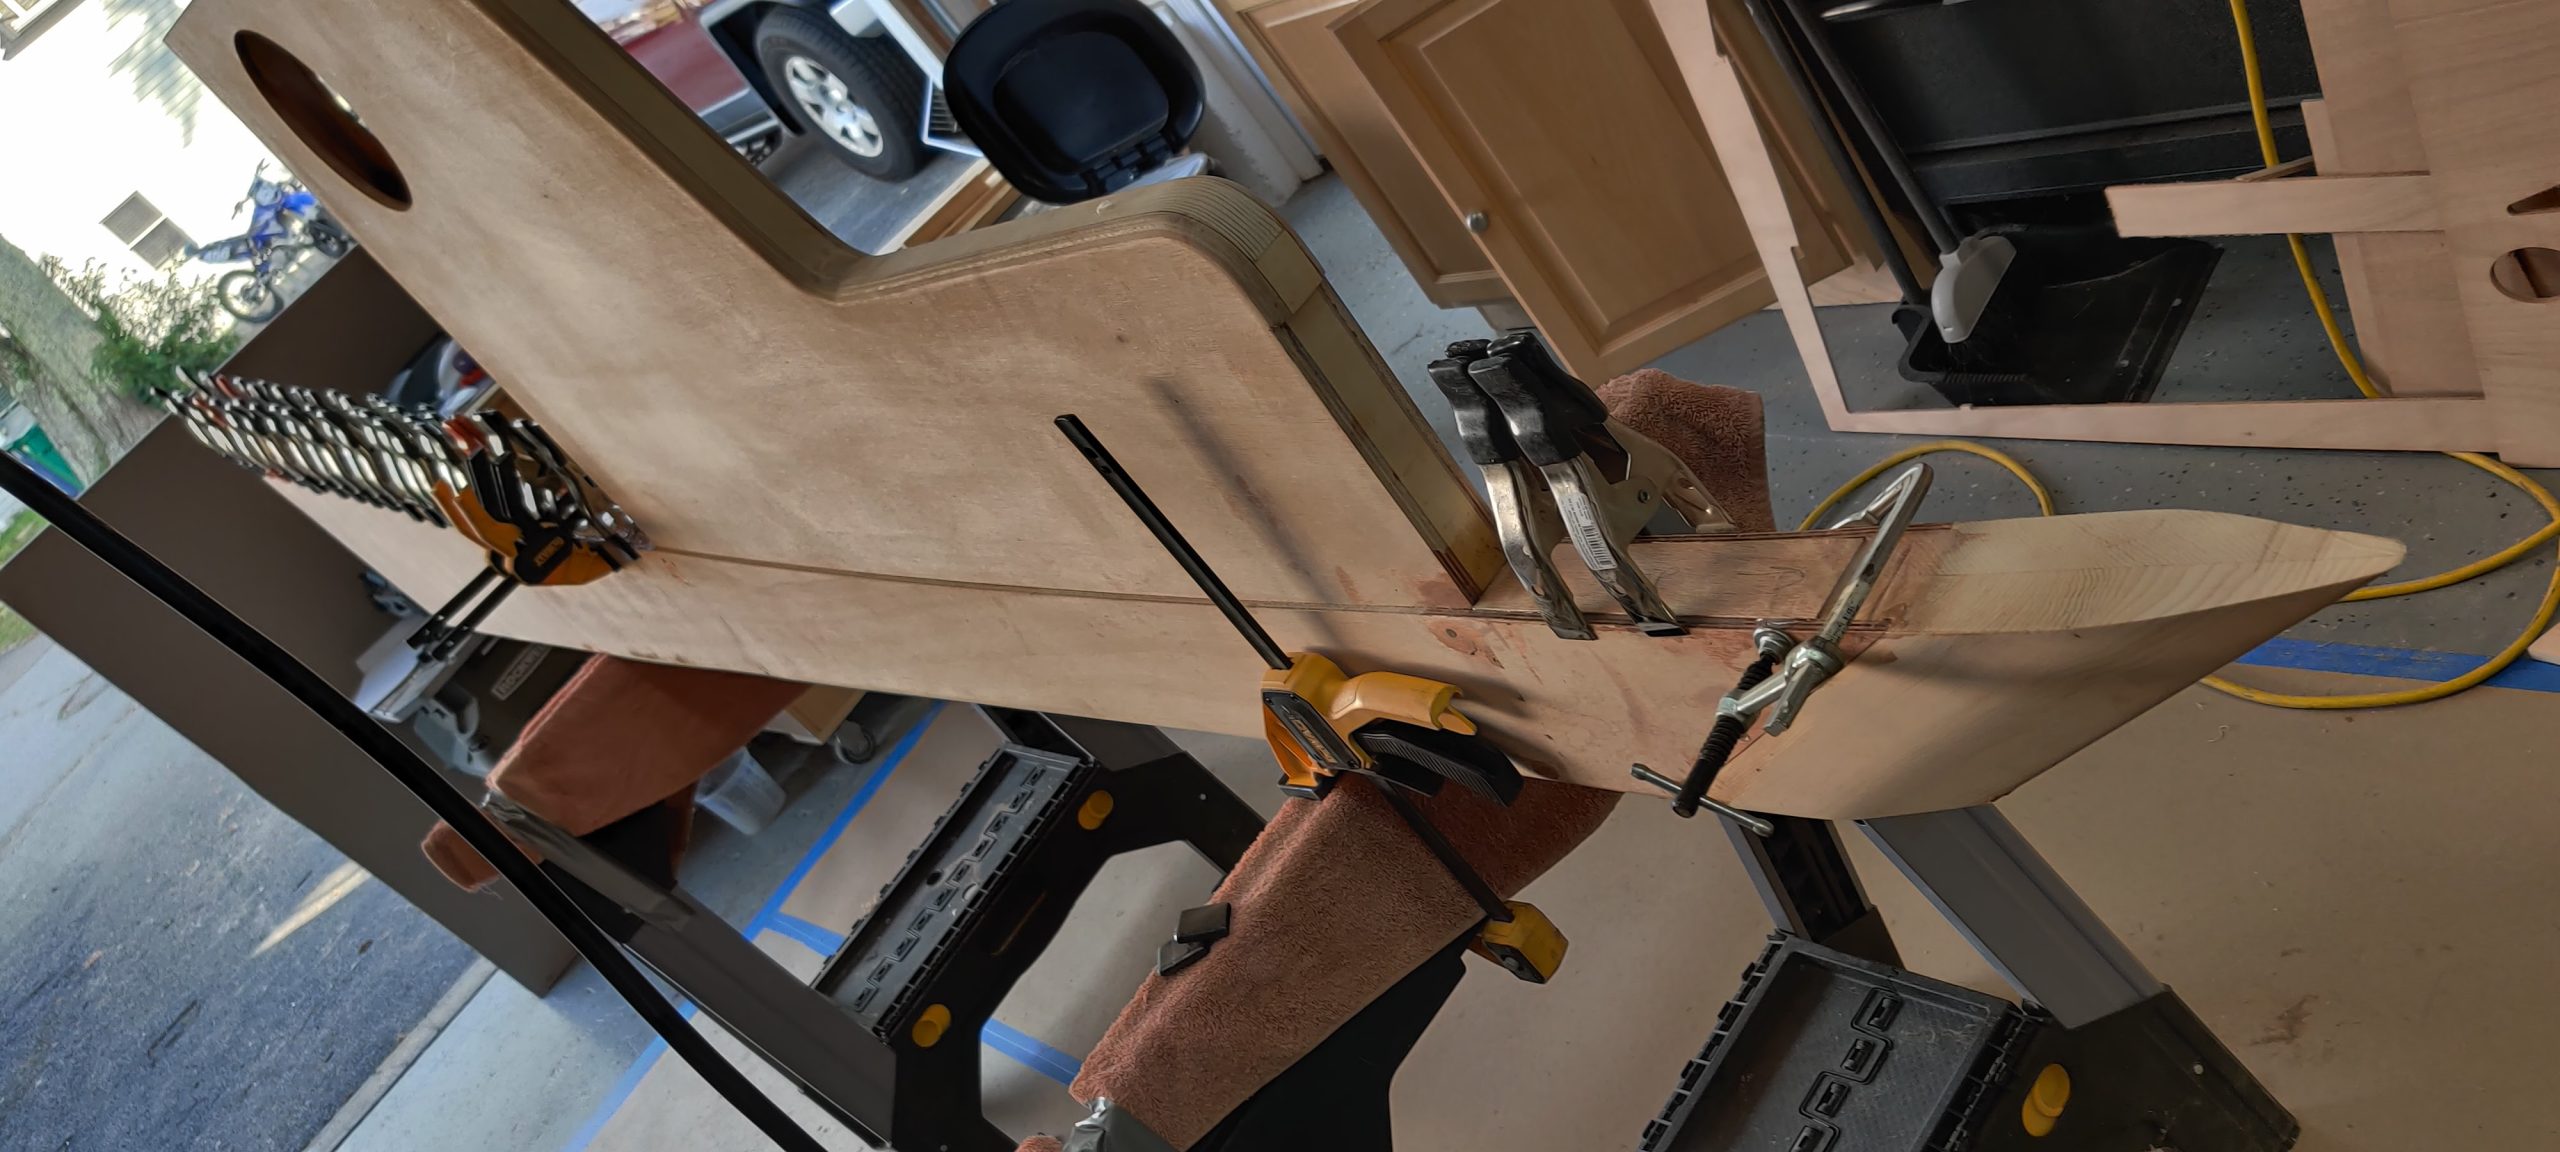
The keel was brought into the shop and put up on two sawhorses to continue work.
Three pennies getting sealed into the keel on top of the lead forever.Meanwhile, I leveled out the centerboard gaps with epoxy prepping for shaping and glass.Lots of clamps while the epoxy cures sealing the keel aft section. A quick sand afterwards will make it ready attaching the keelson. Forward keel section cap curing. Tomorrow is epoxy cleanup and sanding level followed by keelson.
After that, the one thing left to finish out ‘Chapter 1’ is to cast some epoxy to reinforce the edges of the centerboard and then foil. It was a busy day and a productive one. No injuries and only one pot lost to the pressure of the pour.